How to Start Streaming and Recording on OBSBOT Talent 2
OBSBOT Talent 2 brings livestreaming and recording into one streamlined workflow. This guide walks you through how to set up livestreaming and recording on OBSBOT Talent 2.
Configure Your Encoding Settings
Before starting a livestream or recording, first configure your encoding profile.
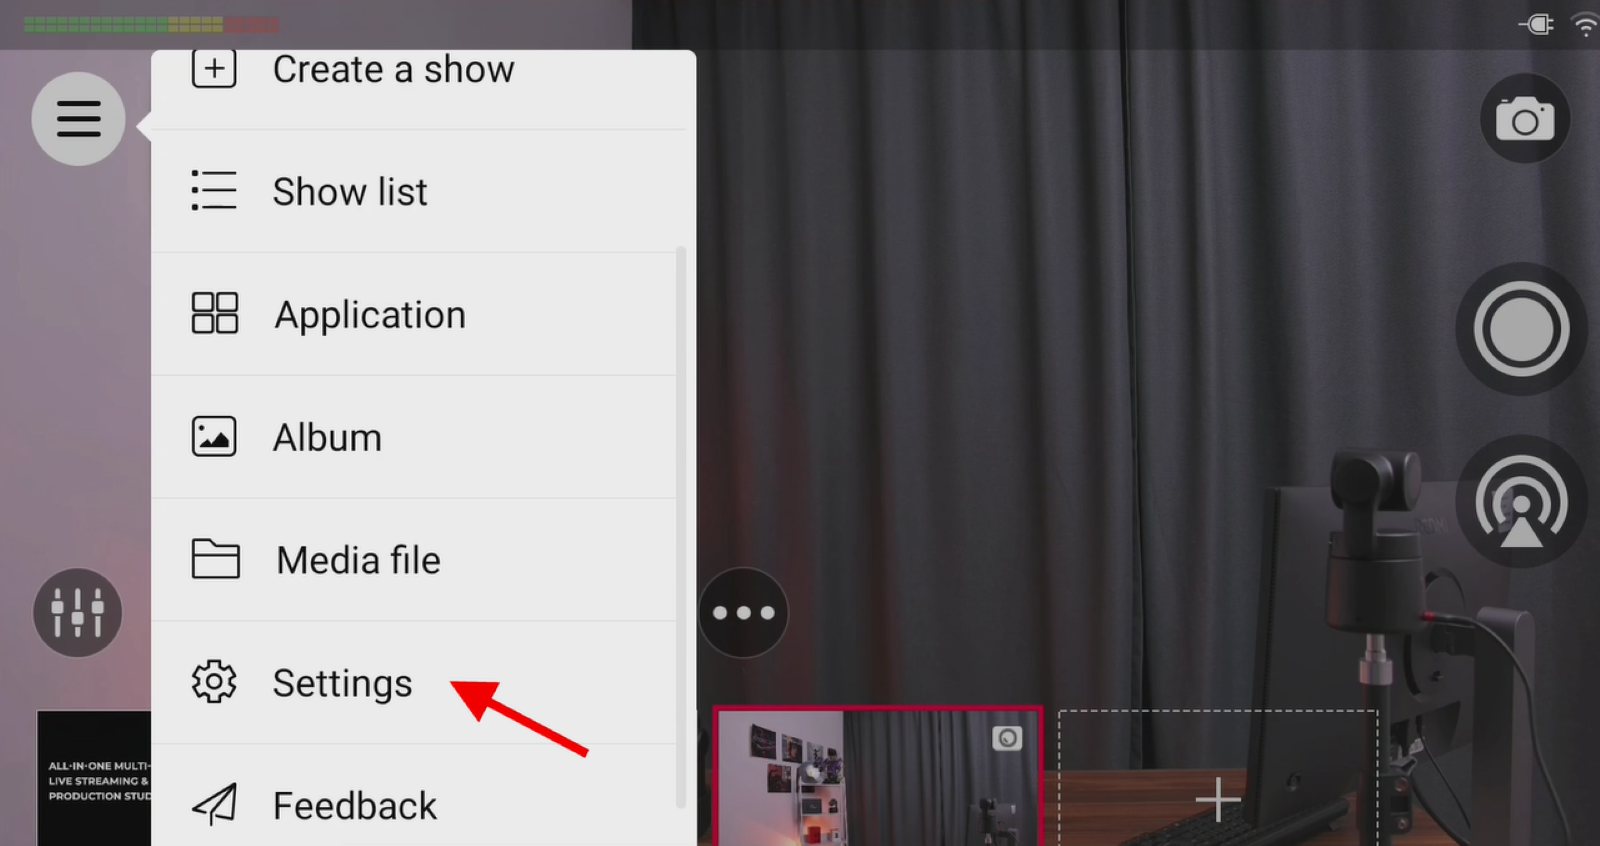
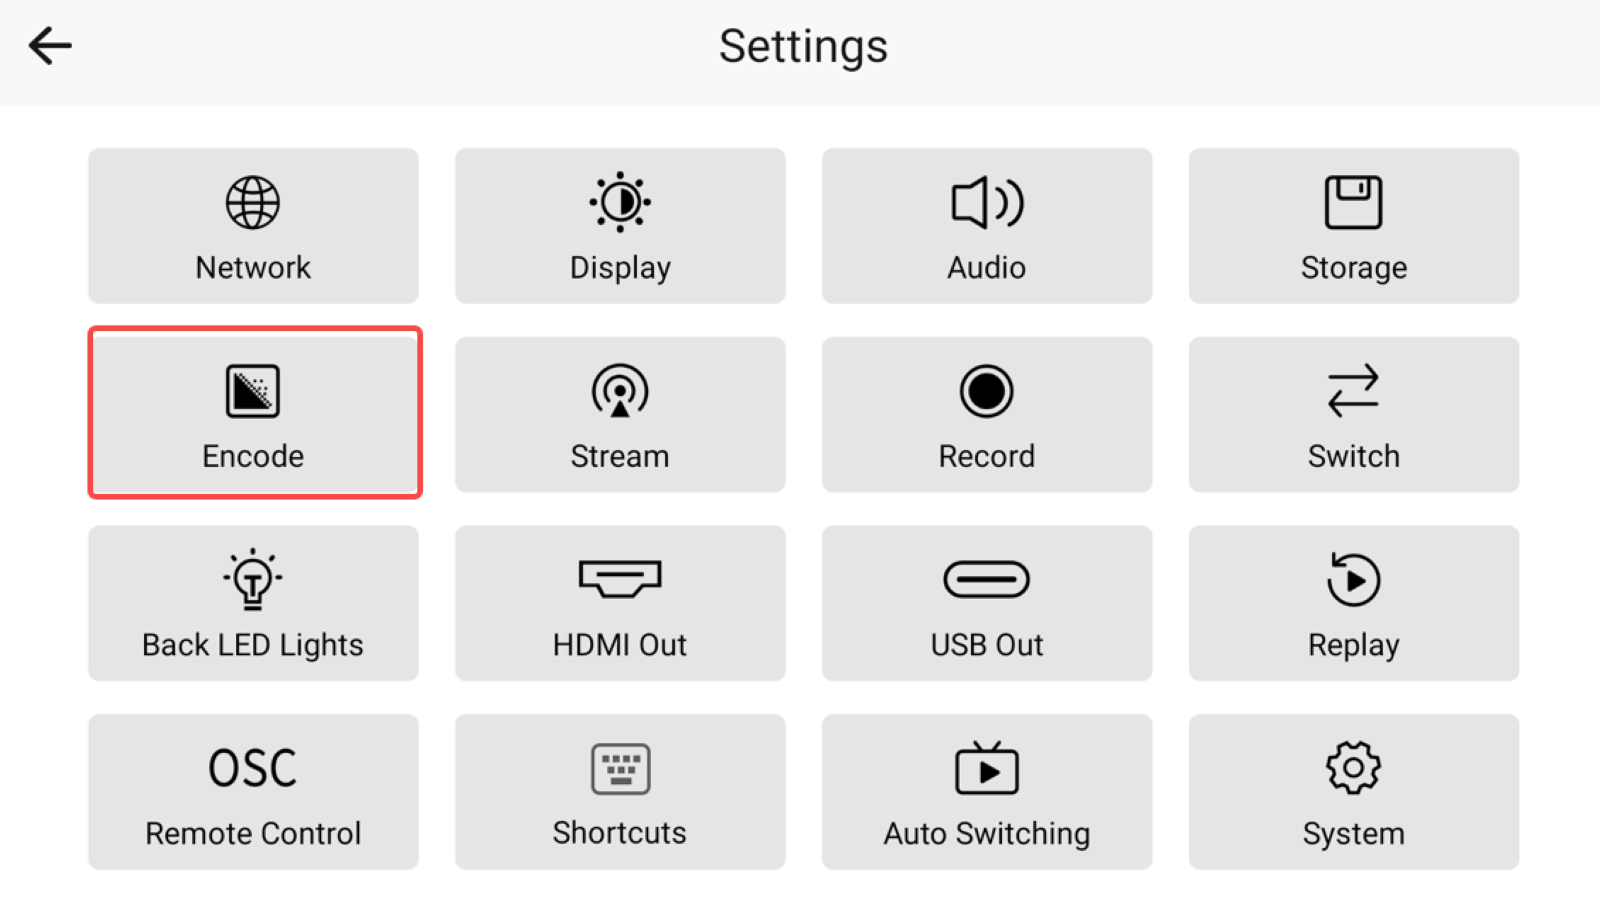
1. Tap the Menu icon in the upper-left corner. Go to Settings > Encoding.
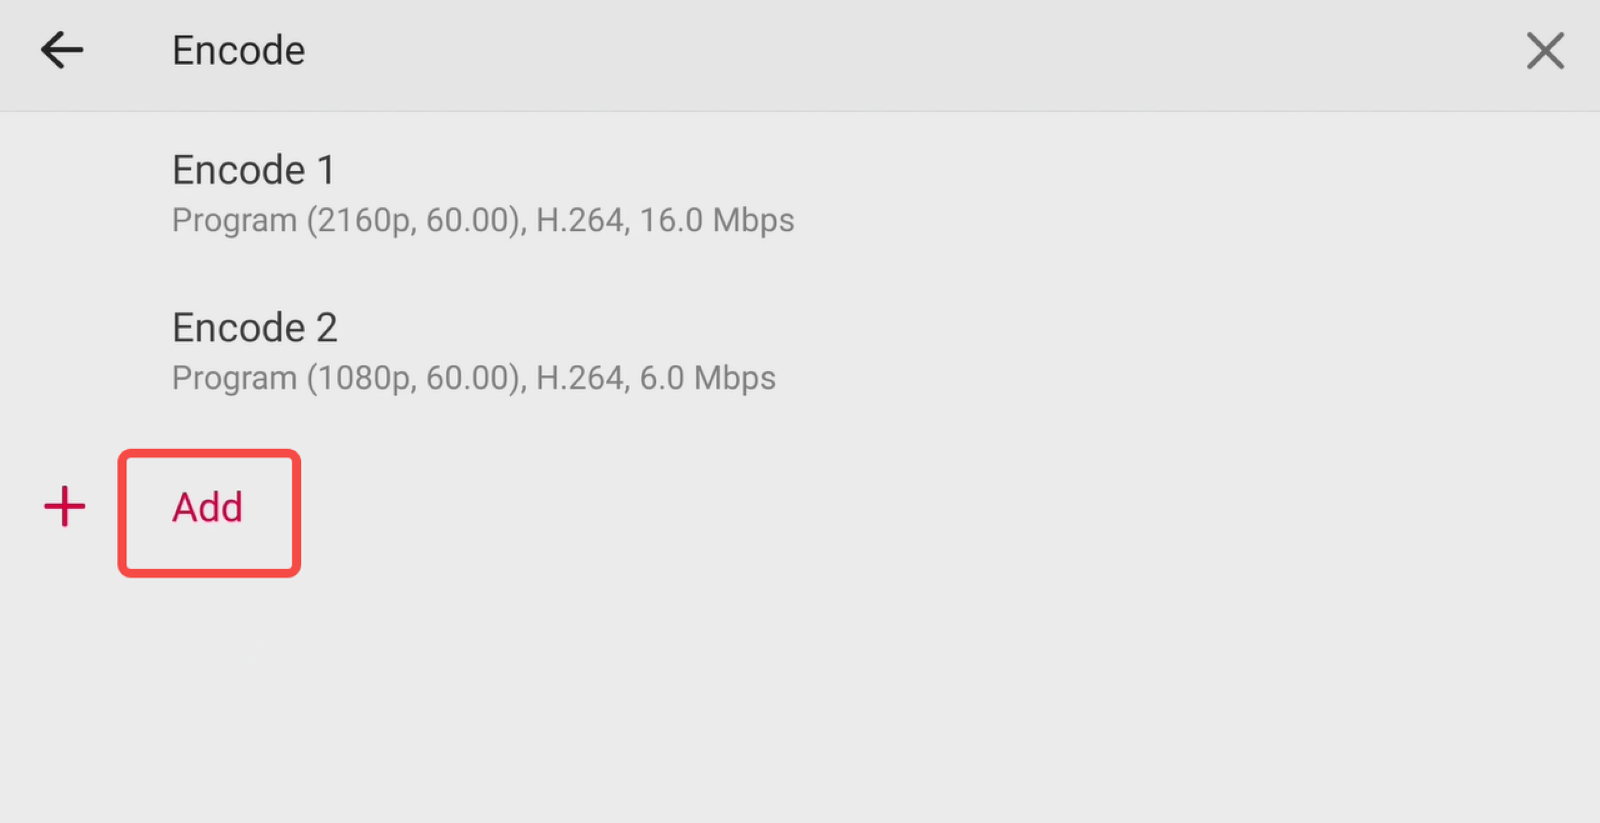
2. Tap Add to create a new encoding profile. Configure the parameters for your livestream or recording, including Resolution, Bitrate and Frame rate.
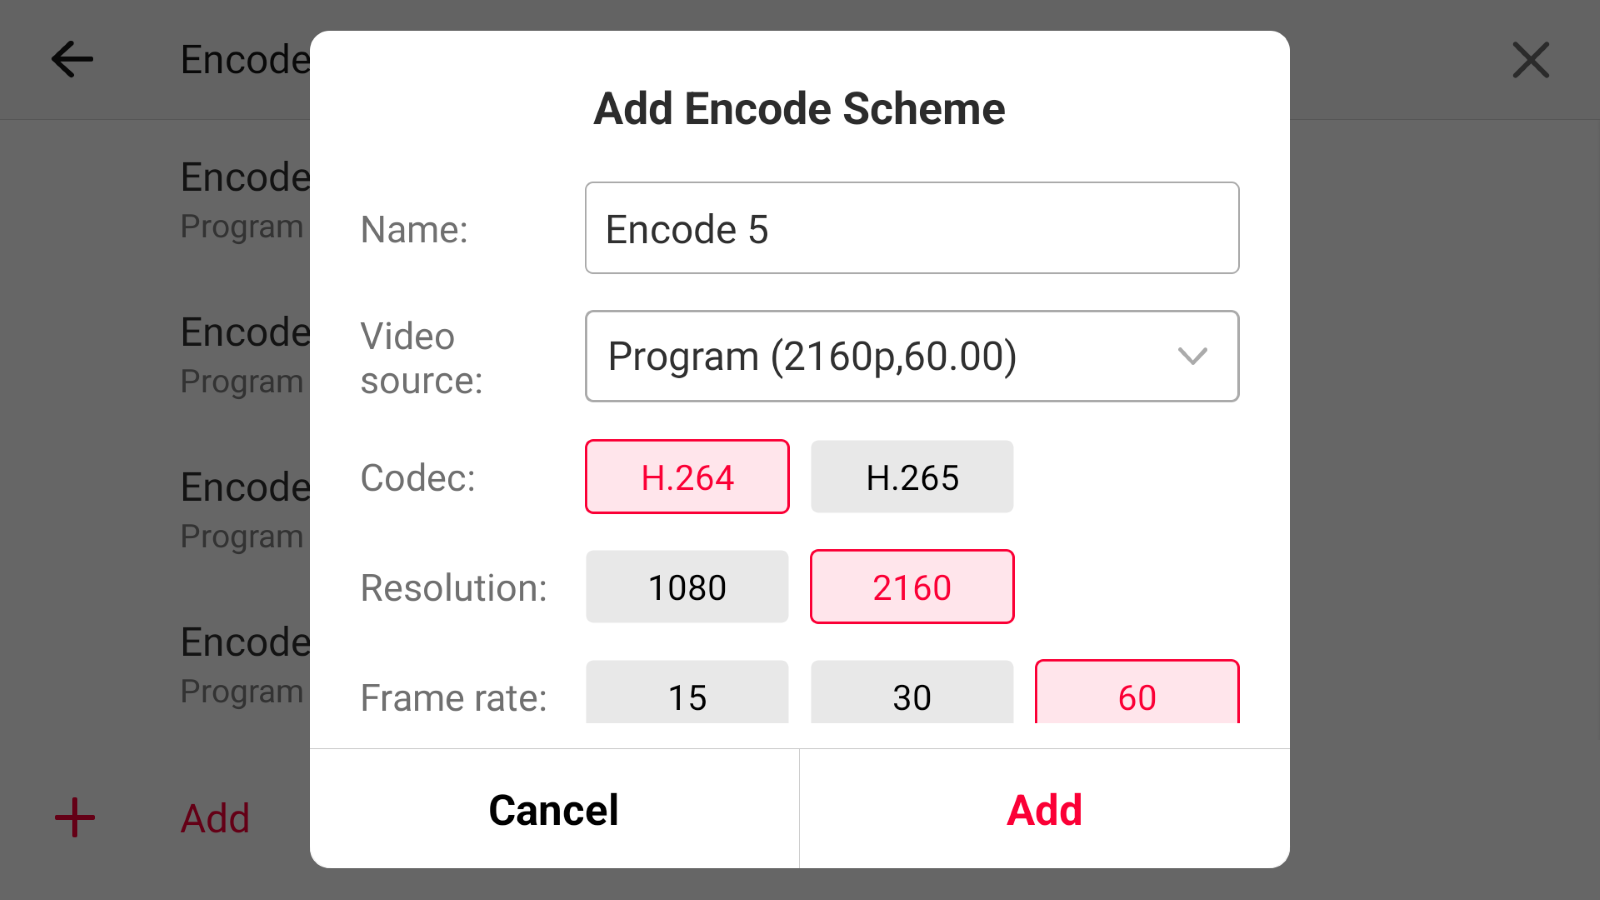
3. Select the video source you want to encode, such as Program, an HDMI source, a webcam, or Multiview, along with the corresponding audio source.
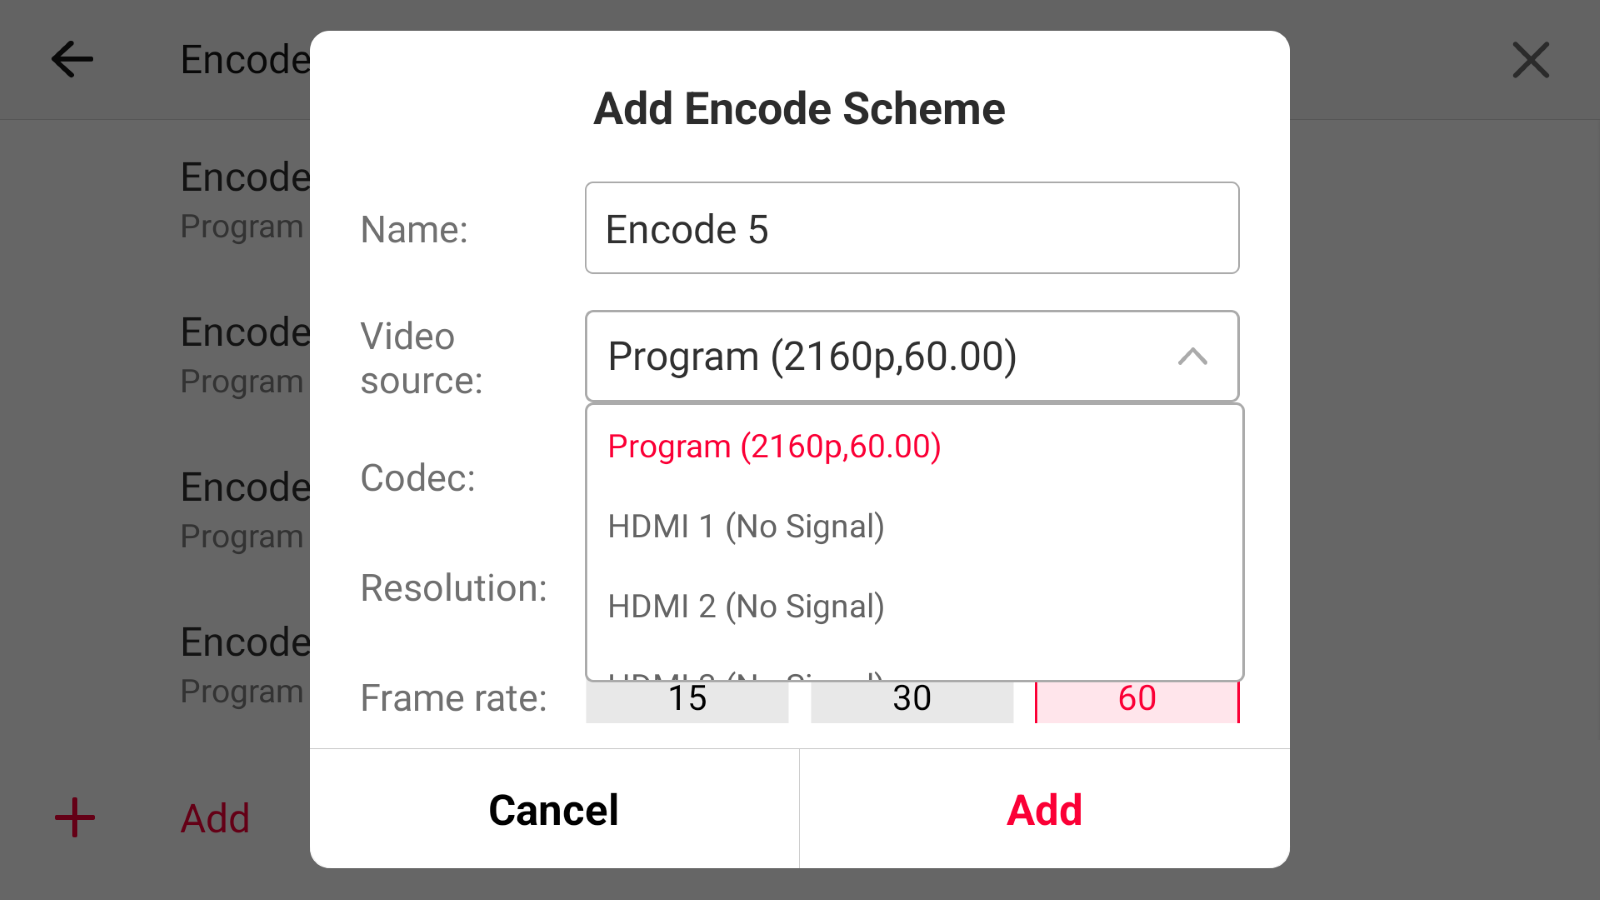
4. Save the encoding profile when configuration is complete.
Set Up Your Streaming Destination
Talent 2 supports both integrated streaming platforms and custom streaming through protocols such as RTMP, SRT, and RTSP.
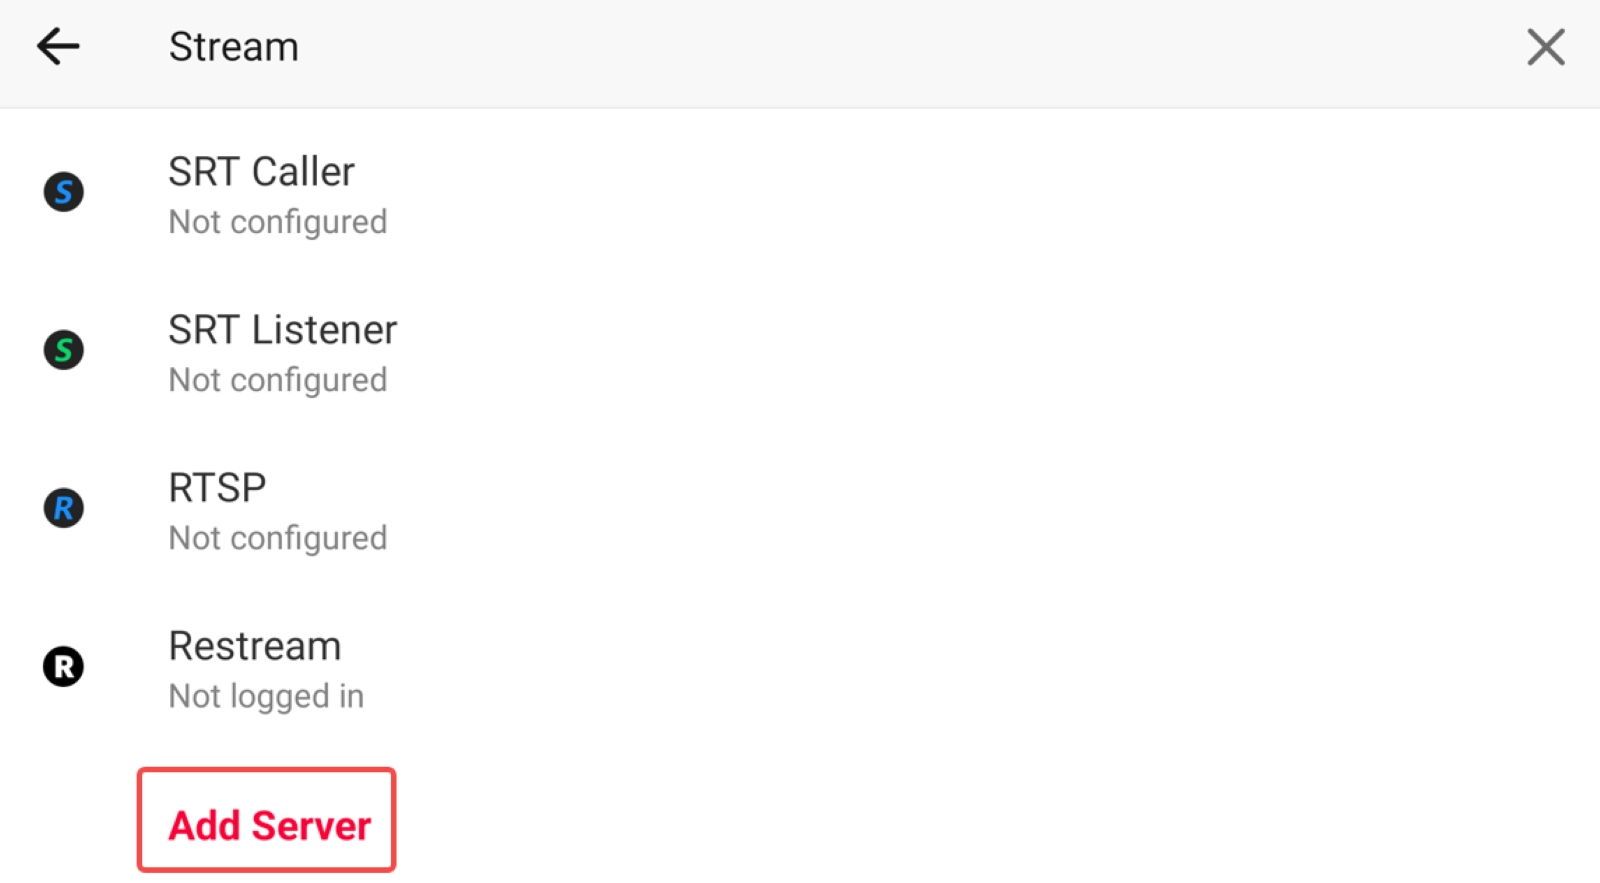
Tap Menu > Settings > Stream to access the streaming settings and configure your destination.
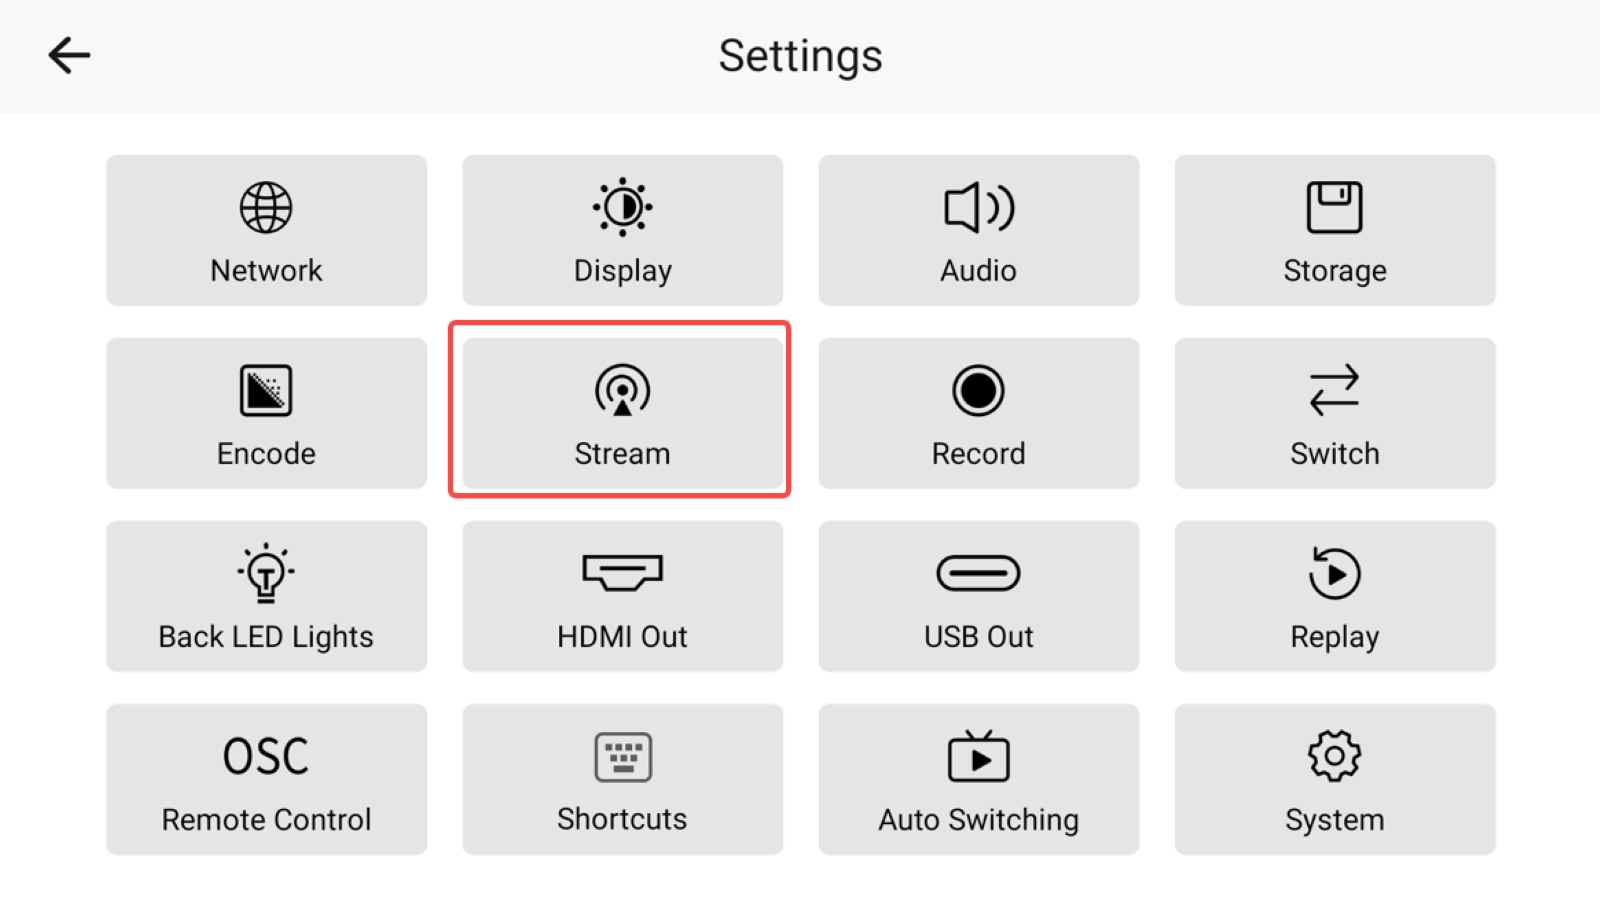
Using YouTube as an example:
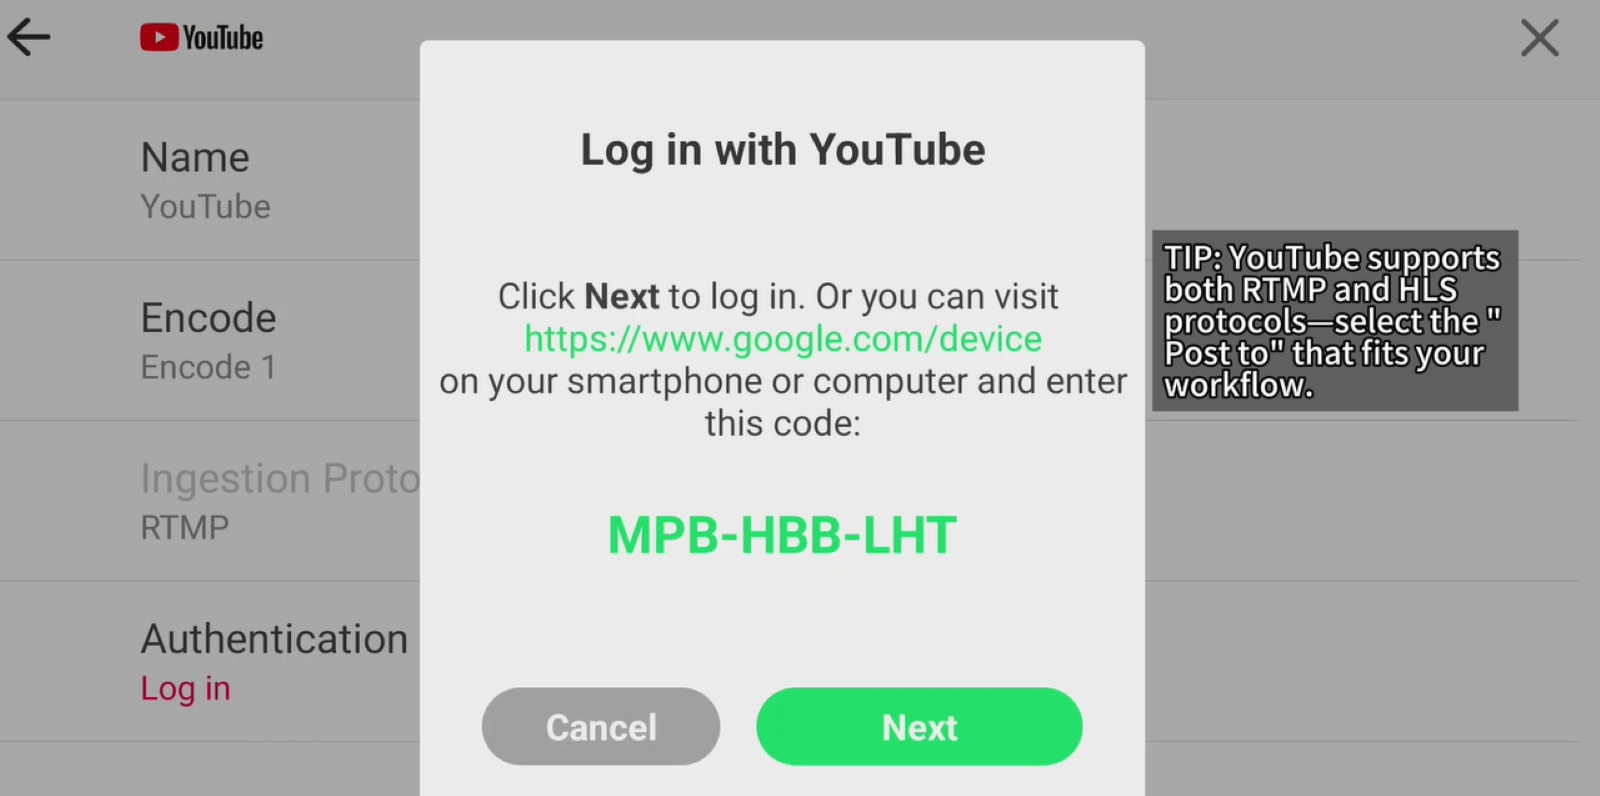
1. Select YouTube from the streaming destinations. Log in to your YouTube account and authorize the connection.
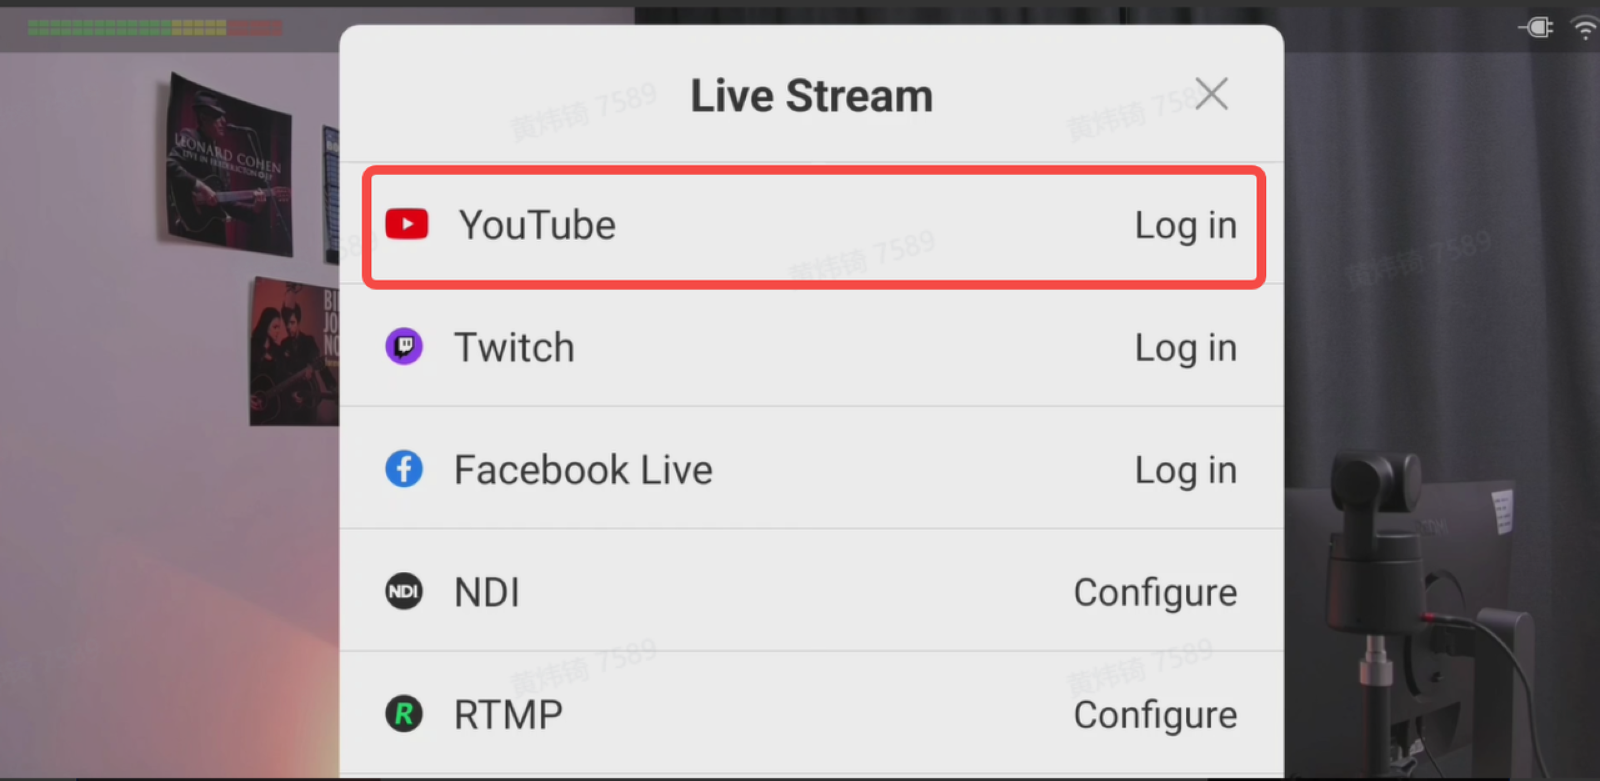
2. Configure your streaming information and settings, such as the encoding profile, title, description, audience, and network priority.
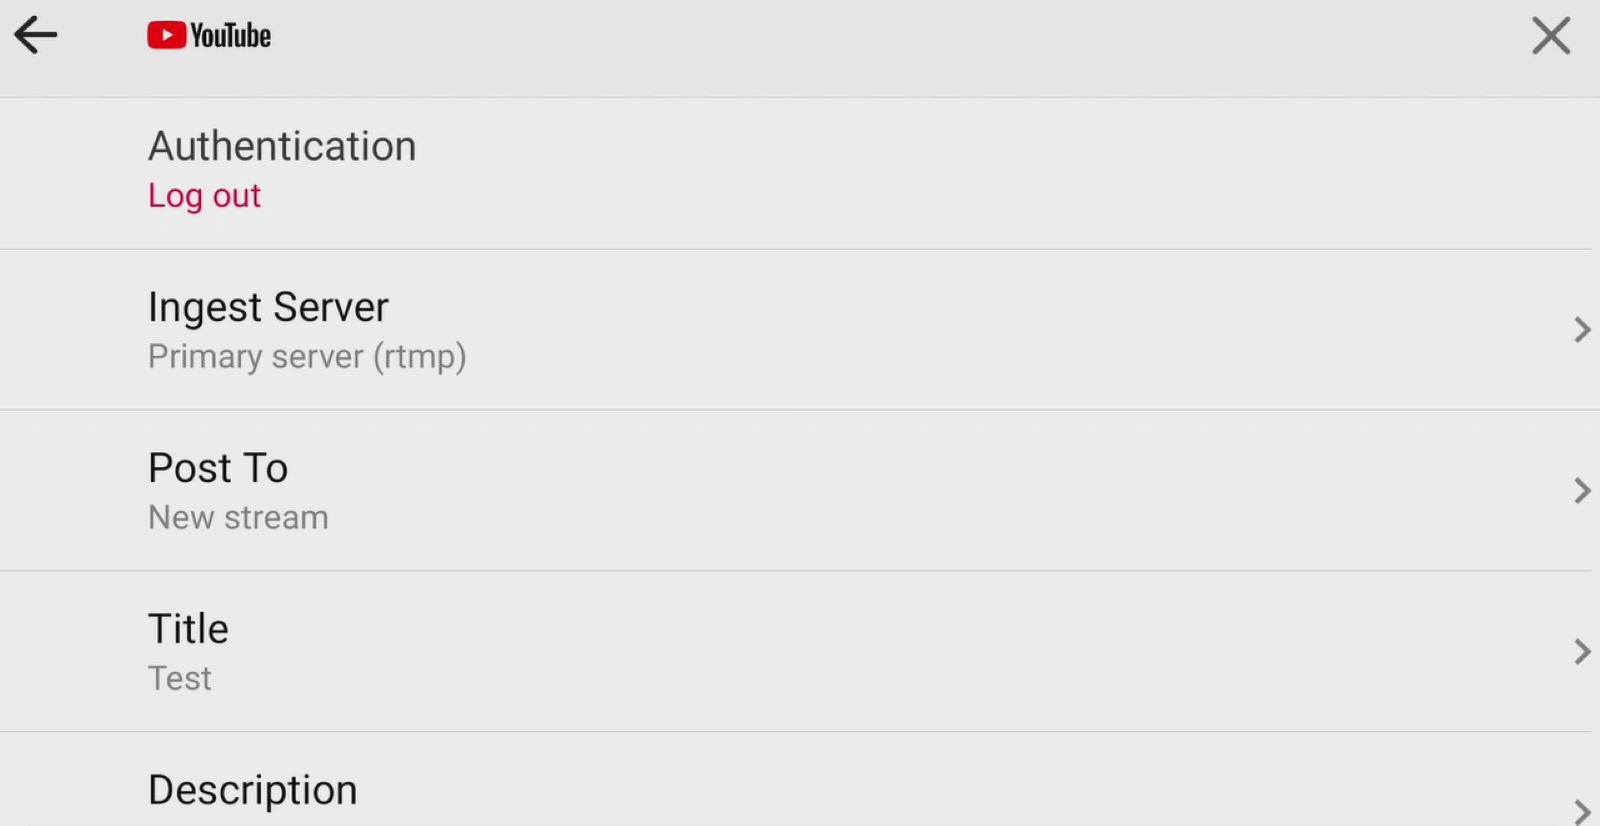
3. Save your configuration.
Set Up a Custom RTMP Stream
For platforms that use custom RTMP streaming:
1. Select RTMP to enter the configuration page.
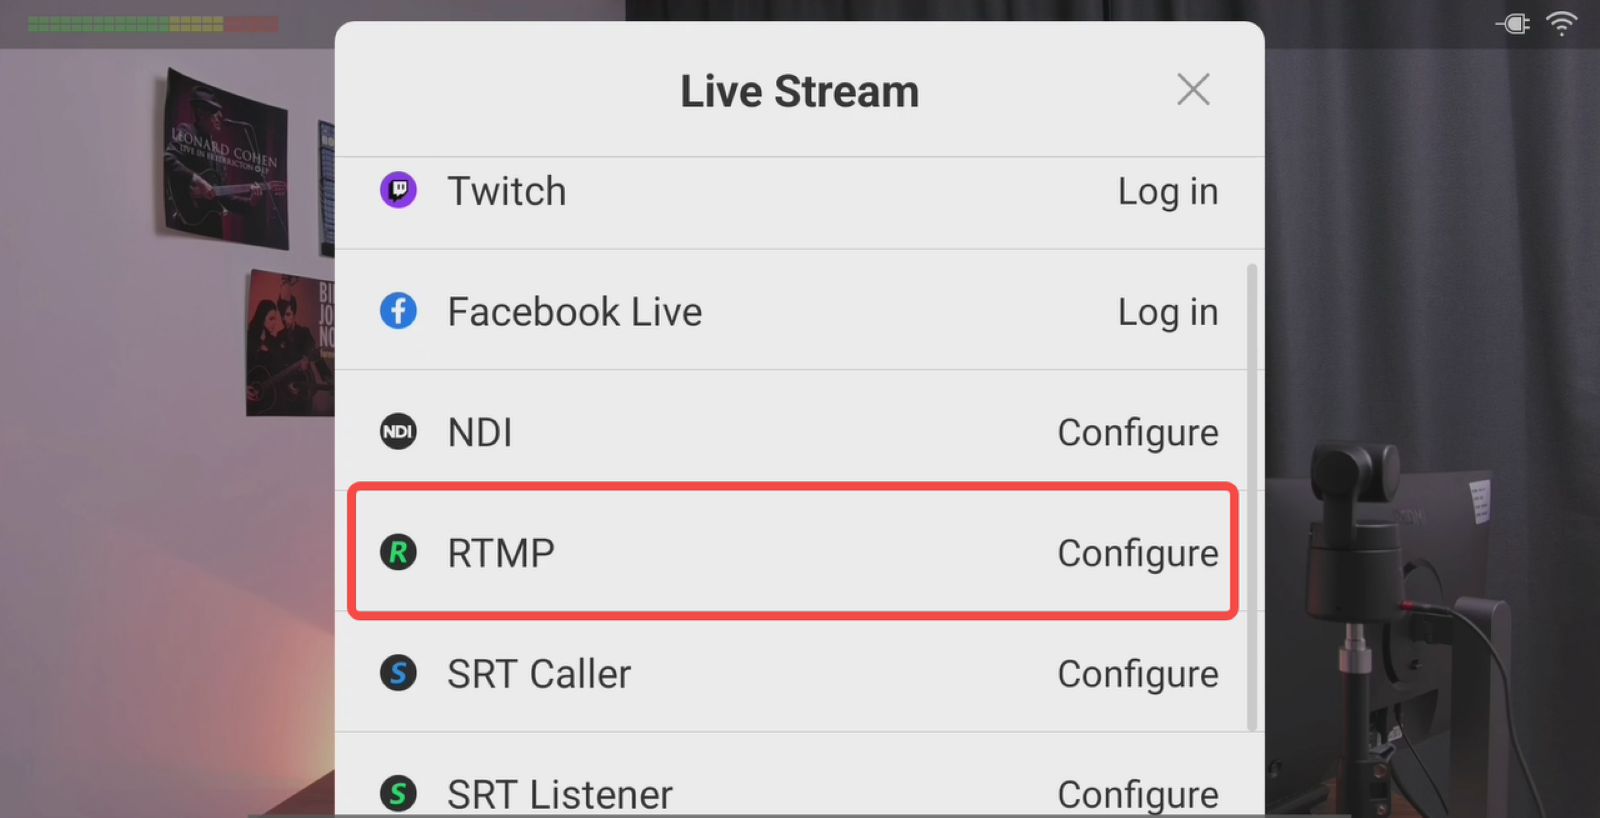
2. Select the encoding profile for your stream, then enter the server address/URL and stream key provided by the streaming platform.
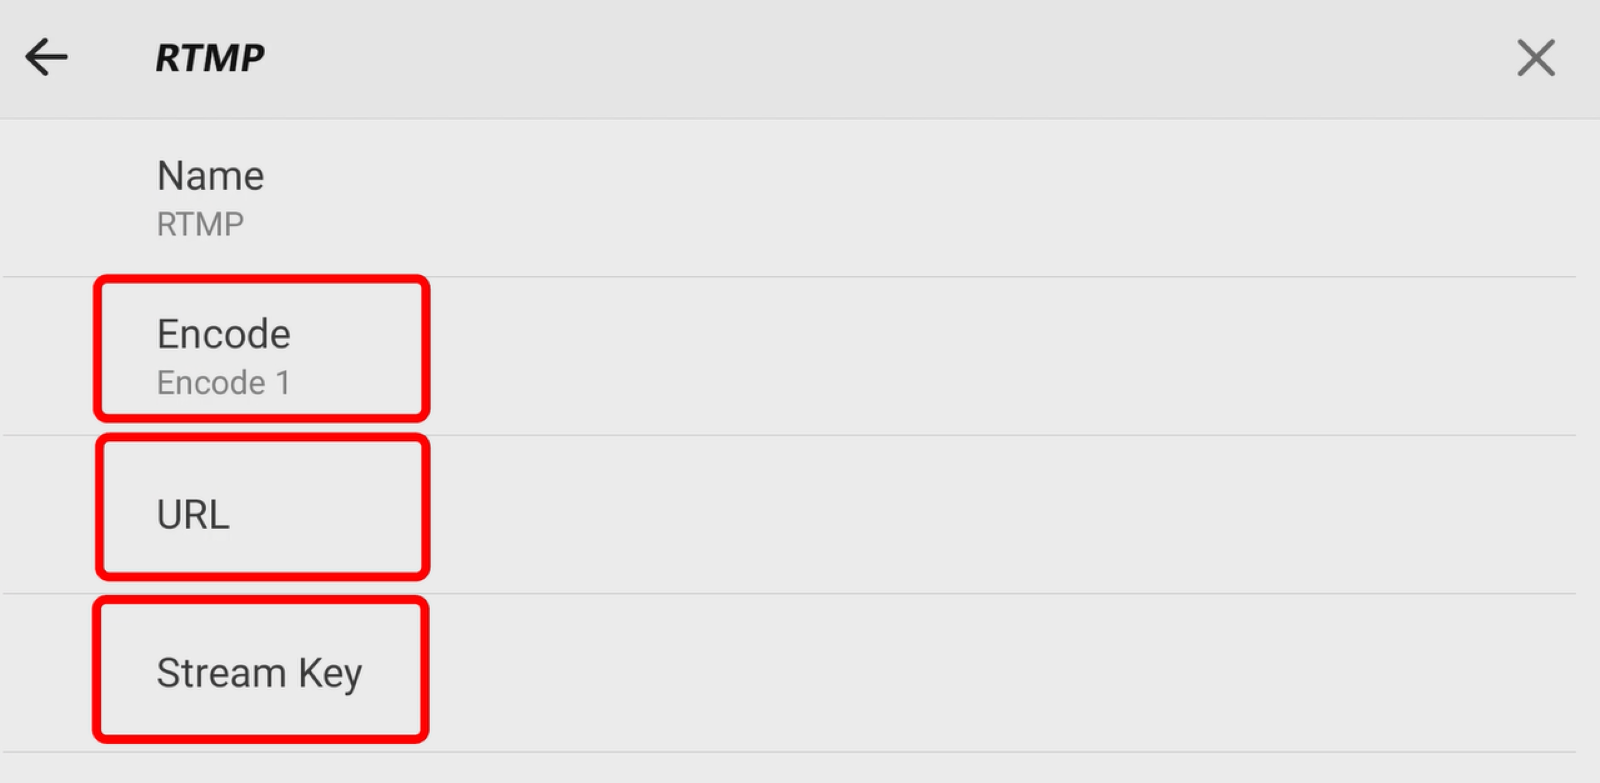
3. Save the configuration.
Talent 2 also supports SRT and RTSP for custom streaming workflows.
For additional streaming destinations, Talent 2 supports integration with Restream, giving you access to a wider range of platforms. You can also select Add Server on the Stream page to configure additional servers.
Start Your Livestream
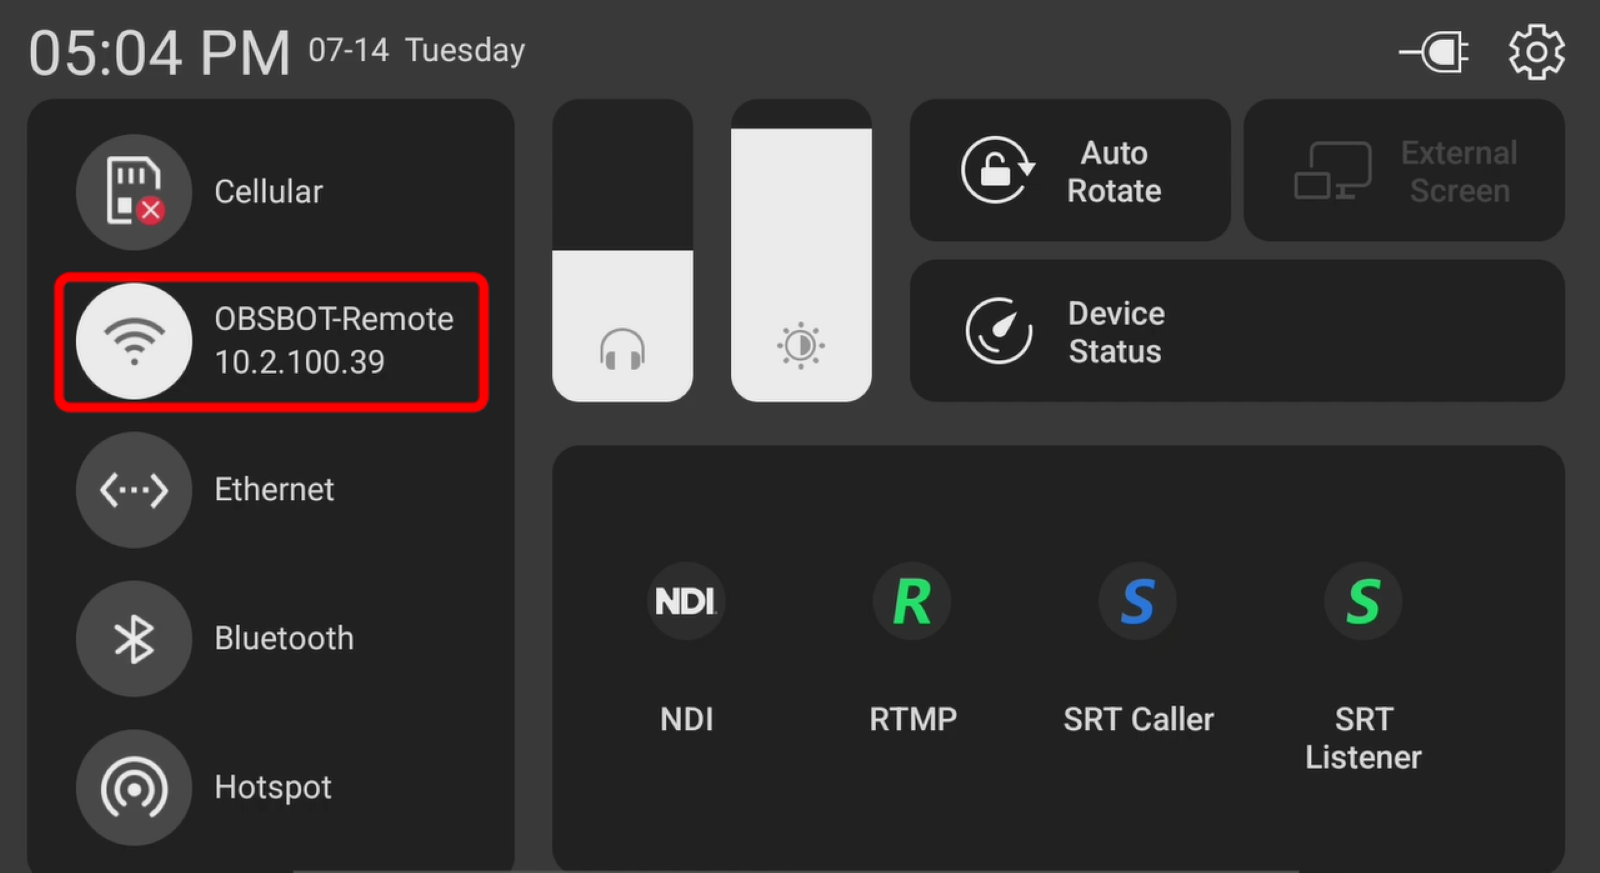
1. Make sure Talent 2 is connected to the network before going live.
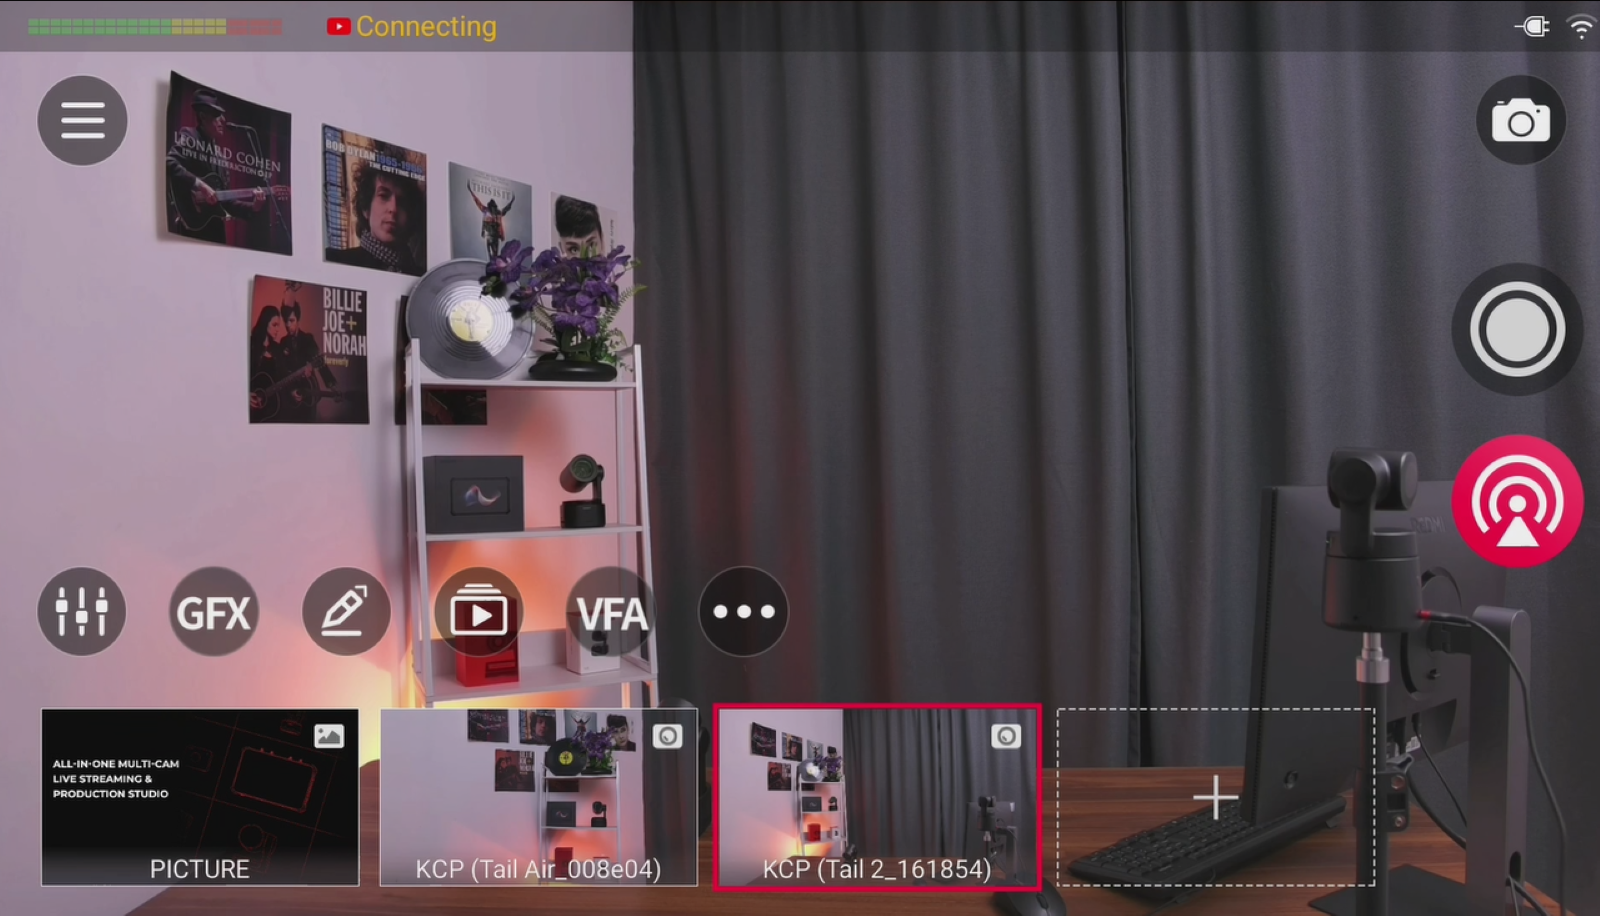
2. From the Home screen, tap the Stream button and select the configured streaming destination to begin your livestream.
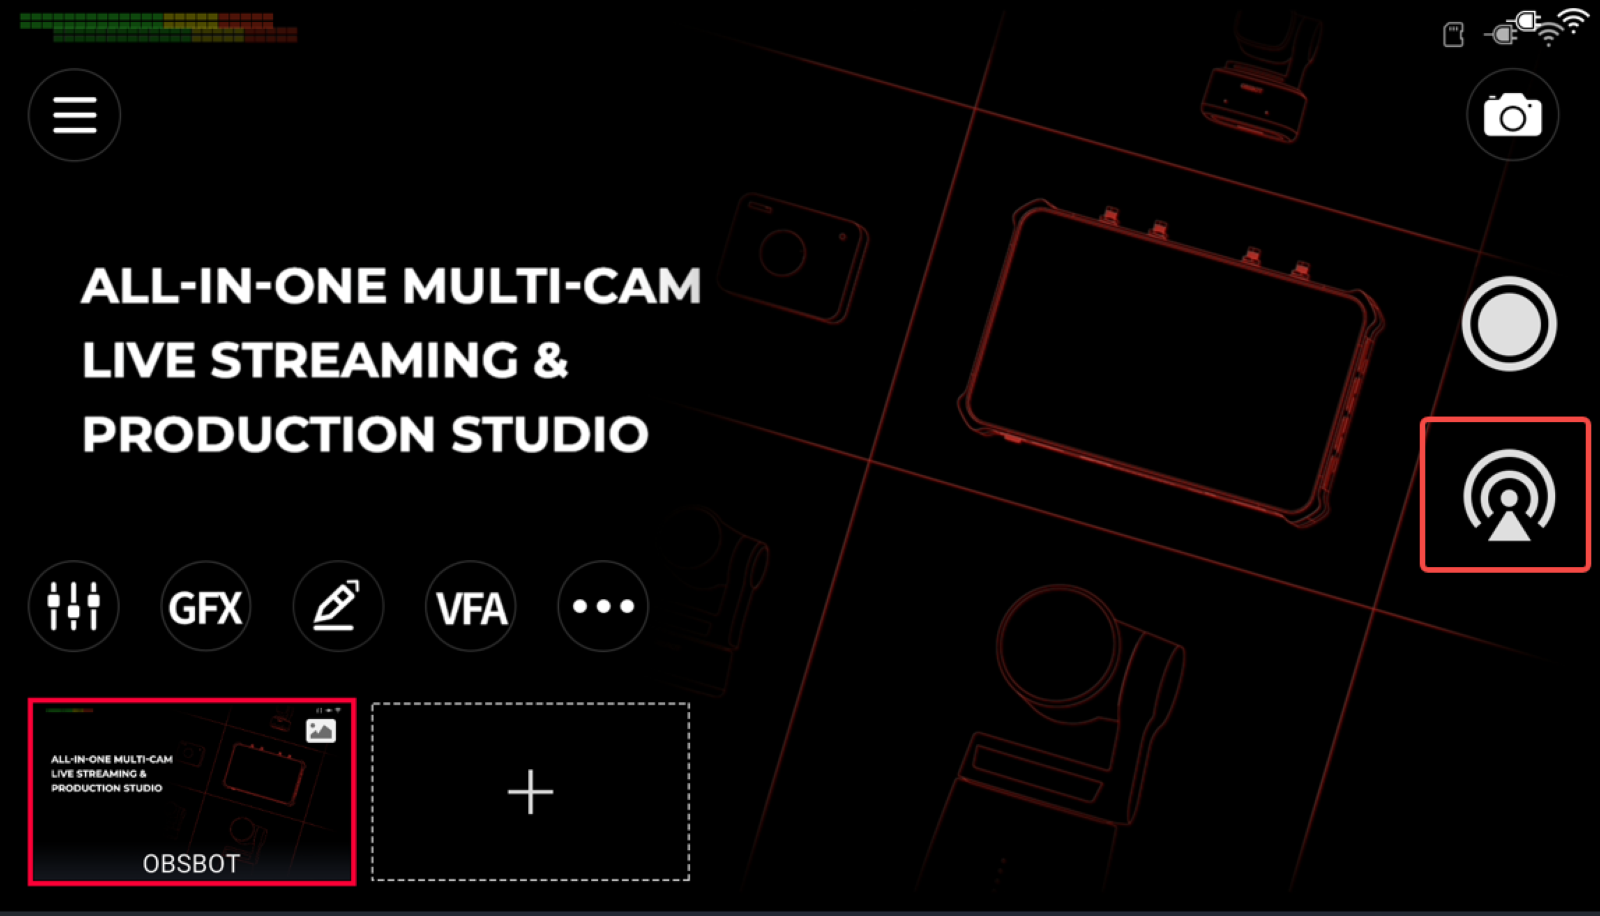
3. Talent 2 supports simultaneous streaming to up to four destinations, allowing you to reach multiple platforms in a single session.
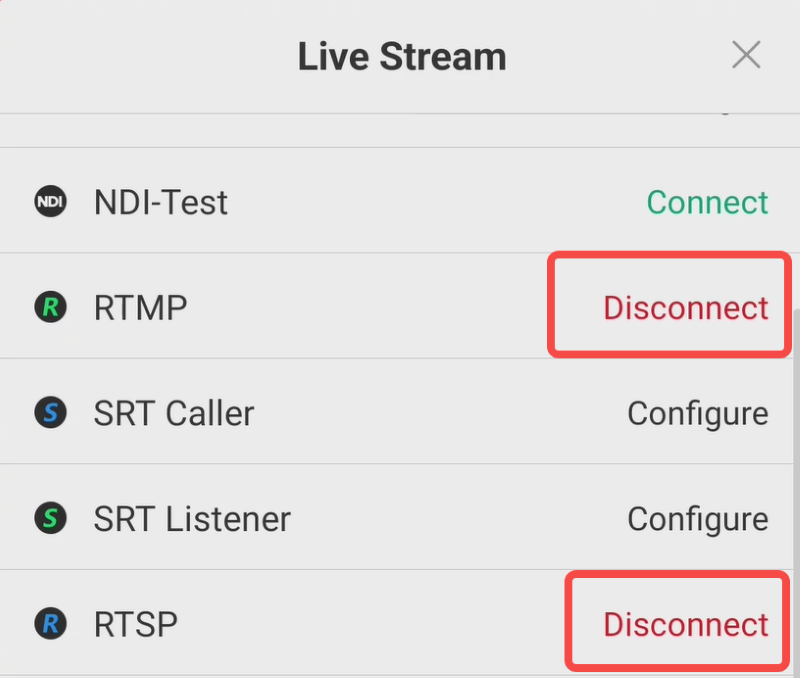
4. To stop streaming to an individual destination, open the livestreaming window and tap Disconnect next to the active server.
Set Up Recording
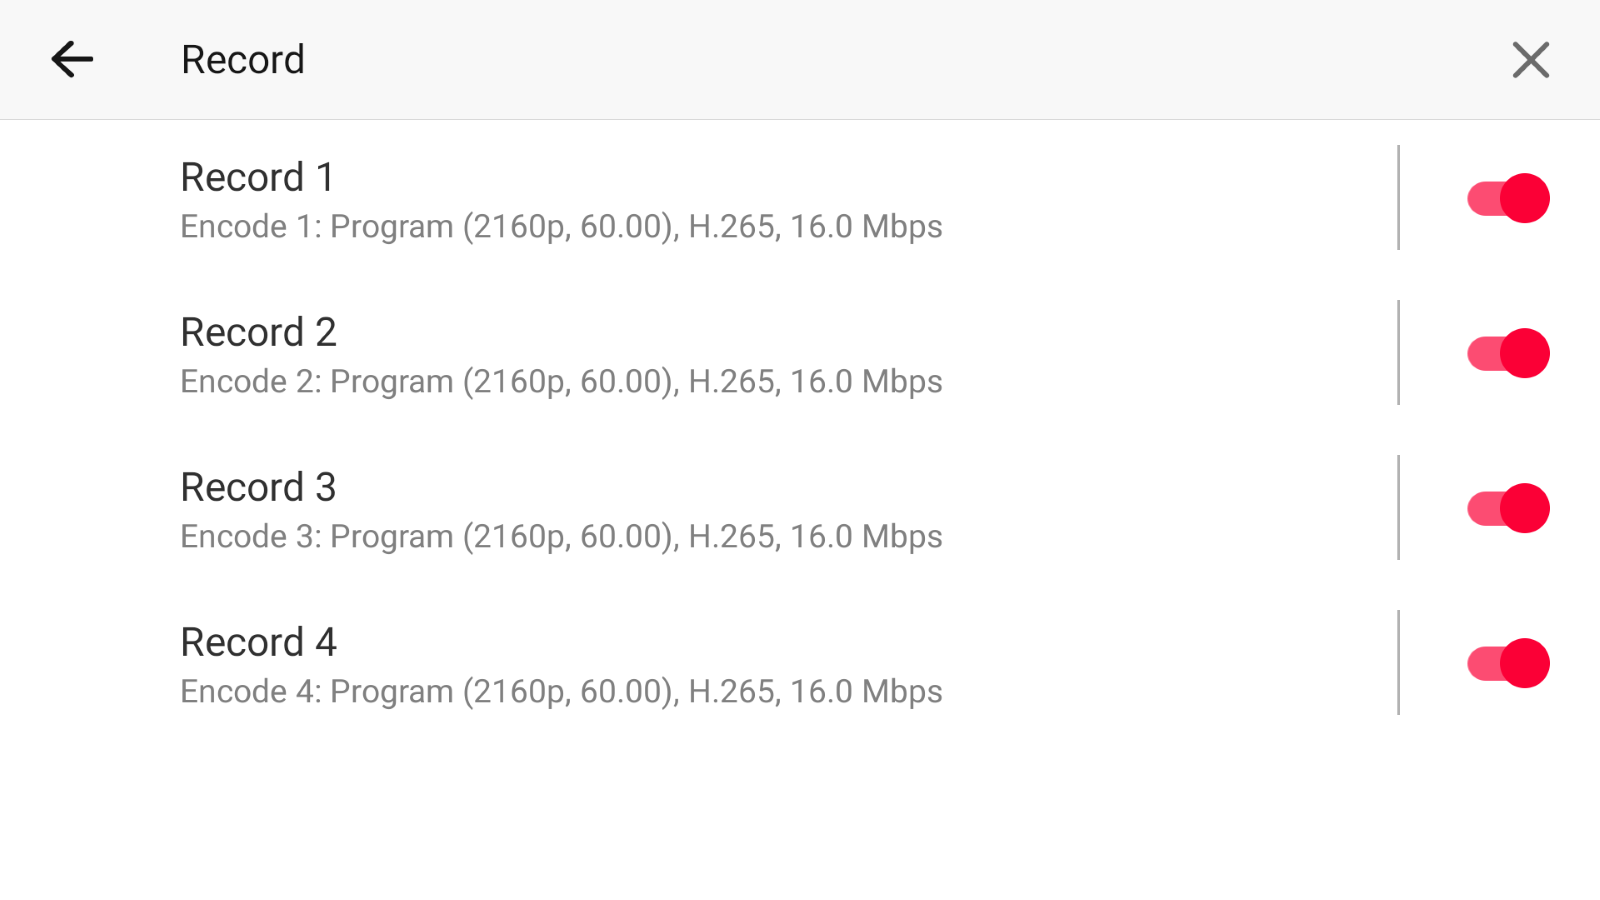
1. Before recording, configure your recording settings. Long-press the Record icon, or go to: Menu > Settings > Record.
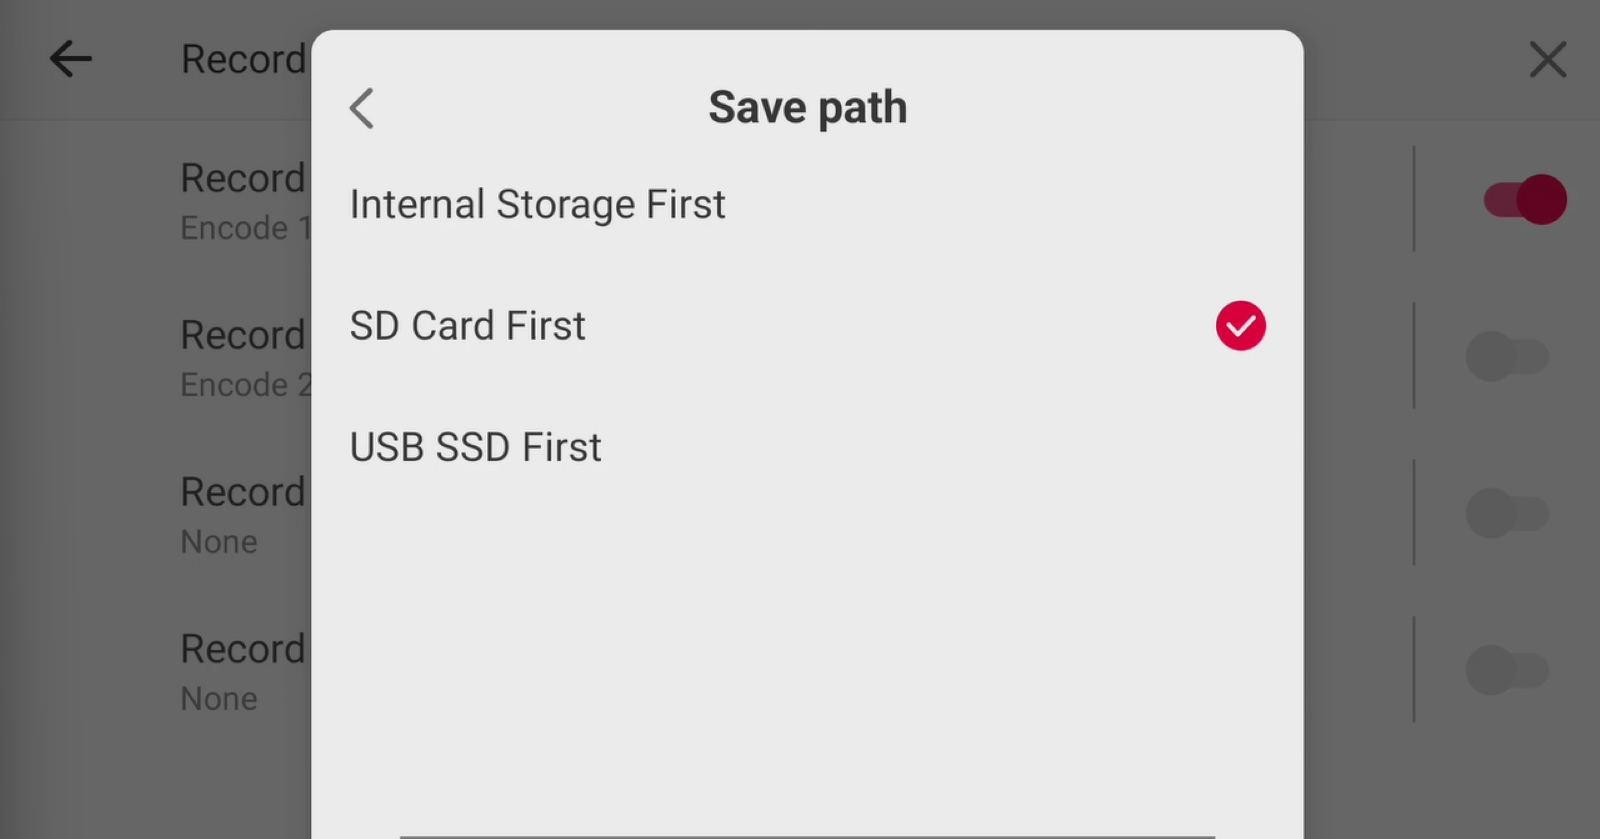
2. Select the desired encoding settings and choose where your recordings will be stored: Internal storage / SD card / Connected USB SSD.
3. Talent 2 supports ISO recording, allowing you to record up to four video sources independently and simultaneously for multi-camera editing, backup, and post-production.
Start and Stop Recording
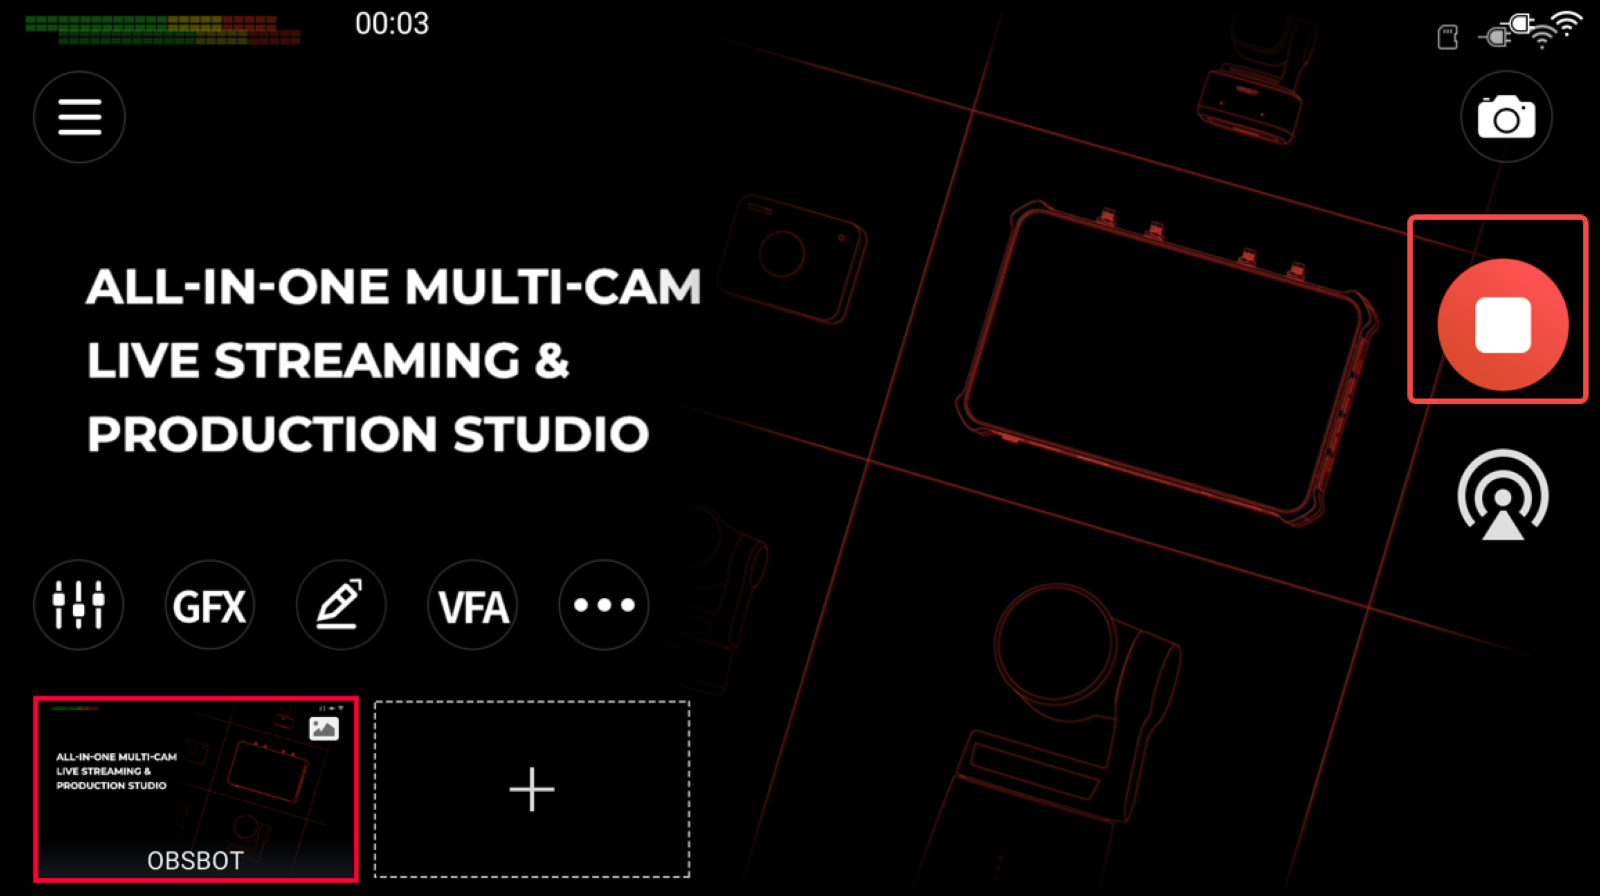
1. Once your recording settings are ready, tap the Record button to begin recording. Tap it again when you want to stop.
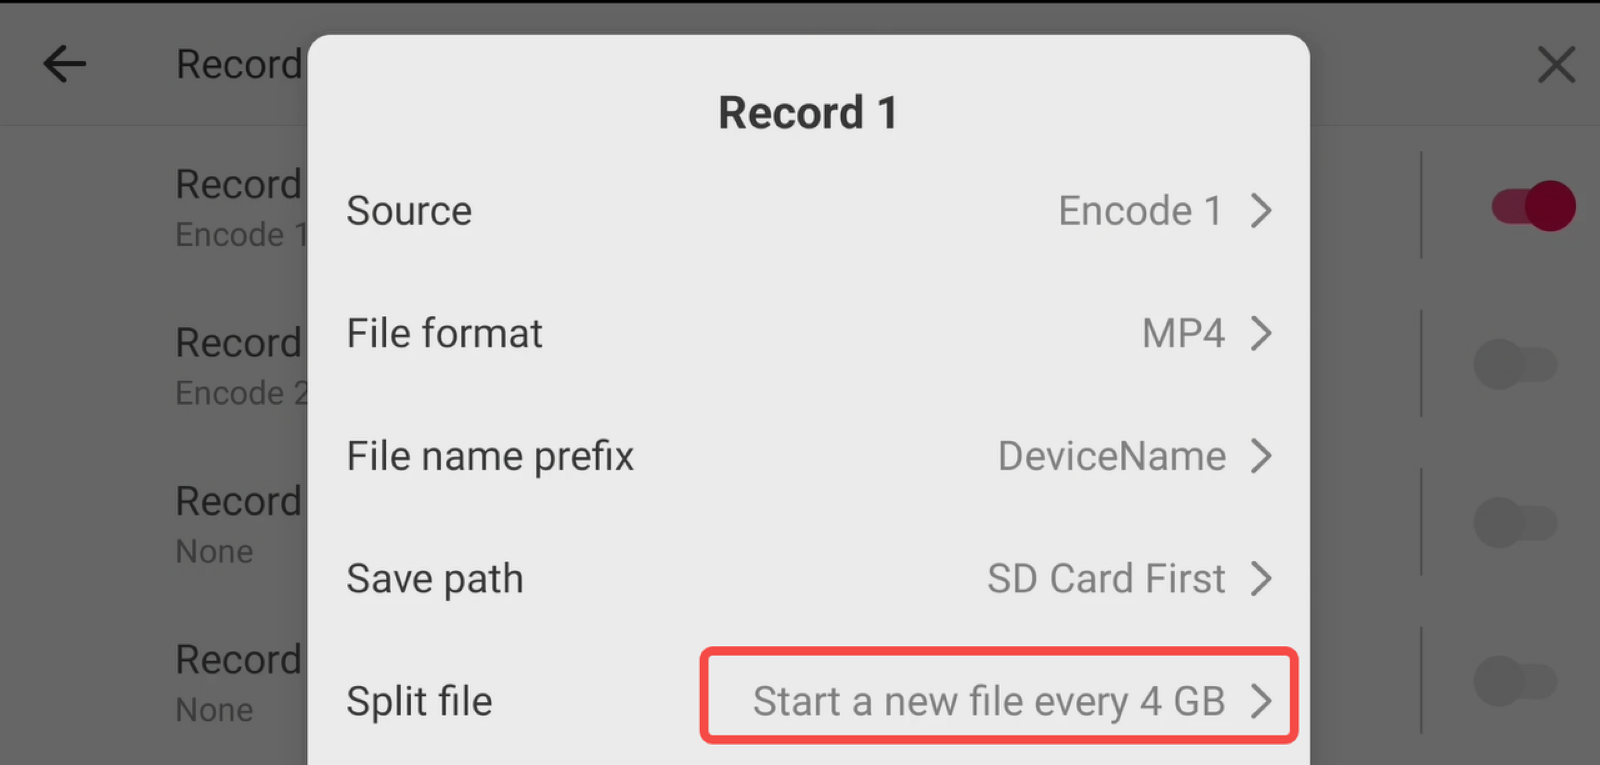
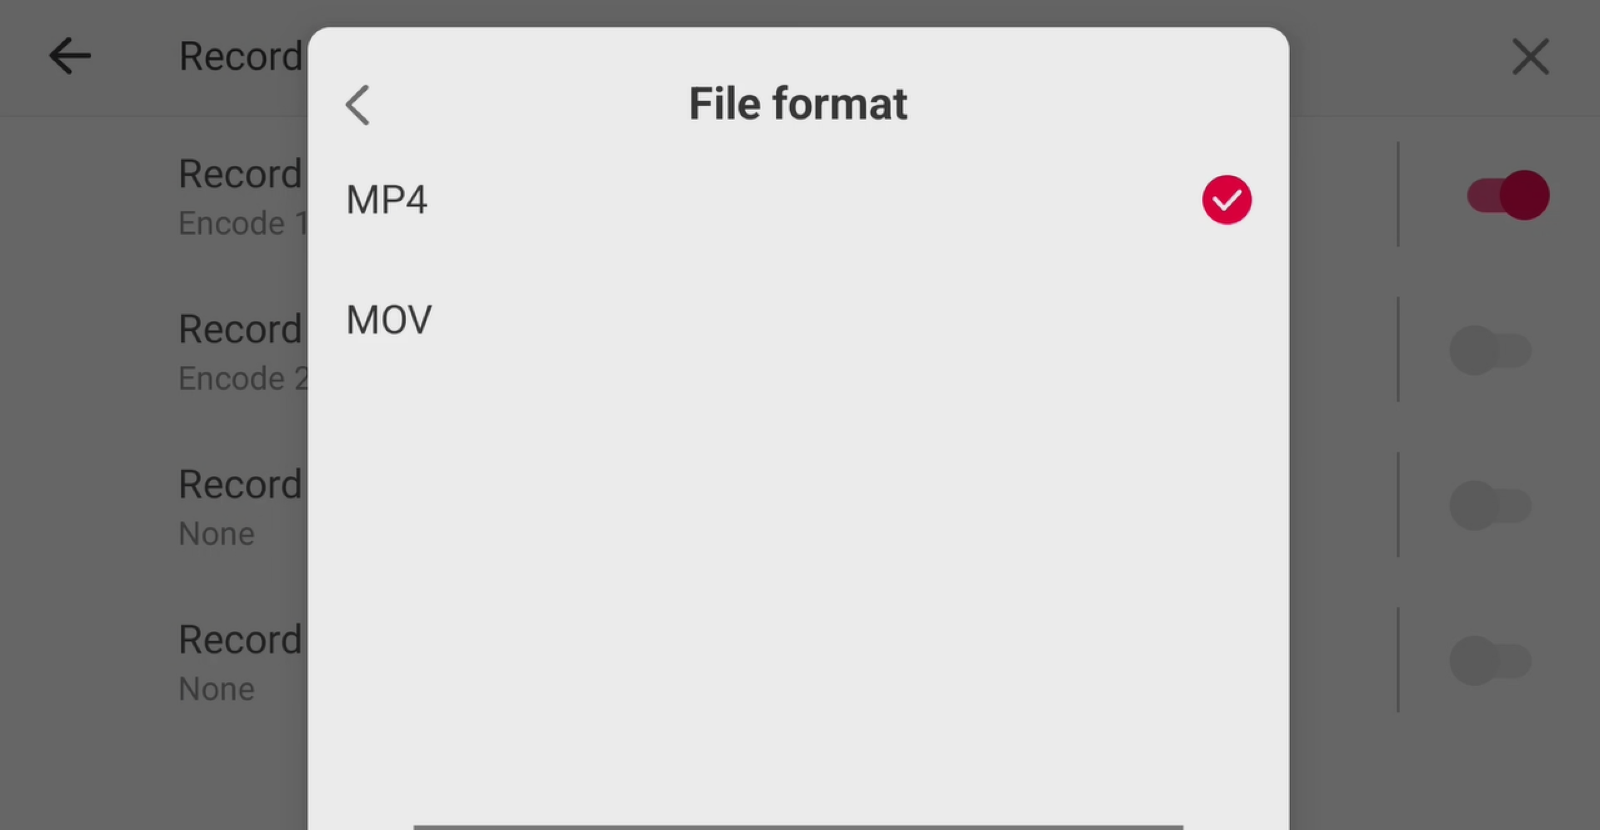
2. Video recordings can be saved in MP4 or MOV format, while screenshots are saved in PNG format to the selected storage destination.
3. For longer recording sessions, Talent 2 can automatically split recordings by duration or file size, with each clip supporting up to 4 hours or 16 GB.