A Complete Guide for Class Recording
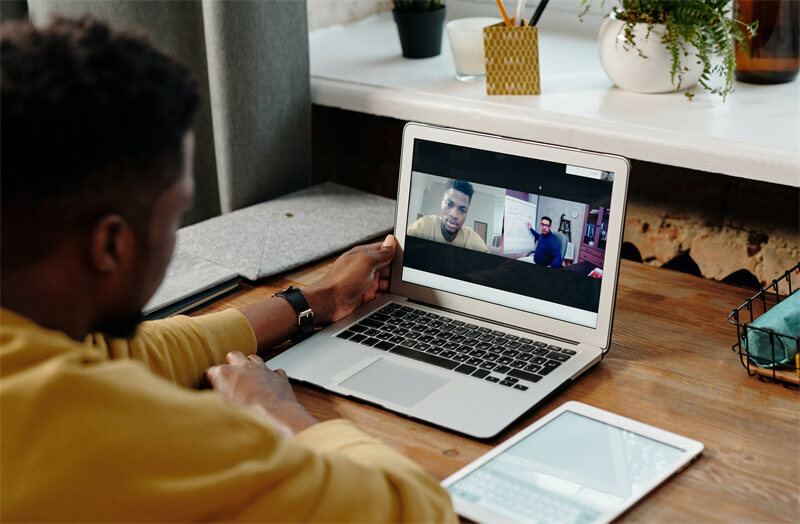
Recording classes allows students to revisit complex concepts and review the material at their own pace, leading to better understanding and retention of information. It also facilitates flexible learning, enabling students to access lectures anytime, anywhere, which is particularly beneficial for those with schedule constraints or learning disabilities.
For educators, class recordings serve as a repository of teaching resources for future reference or shared with absent students. It also offers self-assessment and improvement opportunities by reviewing their teaching methods. Additionally, class recordings can promote student engagement as learners can focus on active participation during live sessions, knowing they can revisit the content later.
However, you must respect privacy and copyright issues while recording and obtain consent from all parties involved.
Thus, in this post, we will discuss how to record lectures in class correctly, a few best practices, and more.
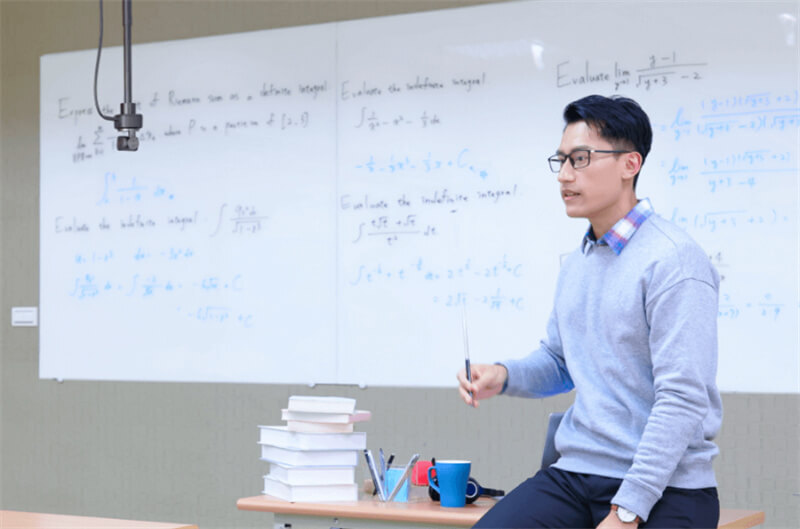
Part 1: Preparing for Class Recording
Our first major learning would be several tips on preparing for the course recording. Preparing for class recording involves careful planning and having the right equipment to ensure a successful and engaging session.
1. Practice
Rehearse what you will say on camera, as practice will make your delivery sound more natural and effortless. This will help you appear confident and ensure a smooth presentation during the recording.
2. Class Length
Keep the recording at a reasonable length to maintain students' attention. If the lecture exceeds 20 minutes, consider breaking it into smaller segments. Shorter videos are easier to update with new information and avoid re-recording lengthy sessions. Keeping videos under 10 minutes is an ideal goal.
3. Choose the Right Environment
Choose a quiet and well-lit room for recording. Minimize background noise and distractions, ensuring a professional and focused atmosphere.
4. Backdrop
Pay attention to what appears behind you or the subject in the video to ensure a clean and distraction-free background.
5. Organize Your Materials
Prepare your script, props, and other materials before recording. Utilize anecdotes, visual aids, lecture notes, and props to enhance engagement.
6. Recording requirement
1. Webcam
A reliable webcam is essential for clear and professional class recordings. It ensures that the instructor remains visible and well-framed, enhancing communication and engagement — especially in remote or hybrid learning environments.
Recommended: OBSBOT Tiny 3 4K PTZ Webcam
The OBSBOT Tiny 3 is an excellent choice for class recording. Known as "Tiny in size, Titan in power," this smallest 4k PTZ Webcam delivers unmatched performance with AI-tracking 2.0, superior imaging, and an immersive stereo mic system.
- 1/1.28" CMOS & 4K Resolution: This advanced sensor delivers stunning 4K 30fps and 1080p 120fps video quality, ensuring every pixel brings life-like clarity to your educational streams.
- AI Tracking 2.0 & Voice Tracking: Perfect Framing is guaranteed as the camera intelligently follows the educator using Human Tracking and Voice Locator technology.
- Immersive Stereo Mic System: Capture professional-grade audio that makes students feel like they are in the room with you.
- Dual Native ISO Low-light Capability: With a range of ISO 100~12800, this 4k PTZ webcam ensures exceptional detail and minimal noise even in dimly lit classrooms.
- Dual All-Pixel PDAF: Experience lightning-fast and precise focusing, so your teaching materials are always sharp and clear.
- Multiple AI Modes: Seamlessly switch between Desktop Mode, Whiteboard Mode, and Hand Tracking to suit different teaching scenarios and RTC remote interaction.
2. Lighting
Use soft, diffused lighting to eliminate harsh shadows and provide a clean, well-lit recording environment.
3. Internet Connection
A stable and fast Internet connection is essential for seamless live streaming or uploading of the recorded classes.
4. External Microphone
Although the Tiny 3 immersive stereo mic system provides excellent sound quality, use an external microphone to ensure crisp and clear audio, eliminating background noise and echo.
The steps above and our recommended OBSBOT Tiny 3 4k PTZ Webcam will surely help create recording studio classes that are engaging and professional for your students.
Part 2: How to Record Classes?
Recording classroom lectures can effectively deliver educational content to students who cannot attend live sessions or for review purposes.
Here is a step-by-step guide on how to record online lectures on a laptop:
Step 1: Pre-Recording Setup
Refer to Part 1 and prepare with necessary recording equipment, including a high-quality 4k PTZ Webcam (such as OBSBOT Tiny 3), a tripod, a microphone, the right lighting, and reading materials, and then practice.
Step 2: Time Your Delivery
Pay attention to the pace of your speech and ensure that your content fits within the desired recording duration. Break longer lectures into smaller segments for better engagement.
Step 3: Recording the Class
- Start the Recording: Once ready, start the recording on your software or webcam. Check both the video and audio quality before proceeding.
- Deliver the Content: Start your class presentation as you would in a live setting. Speak clearly and engage with the camera while addressing your students directly.
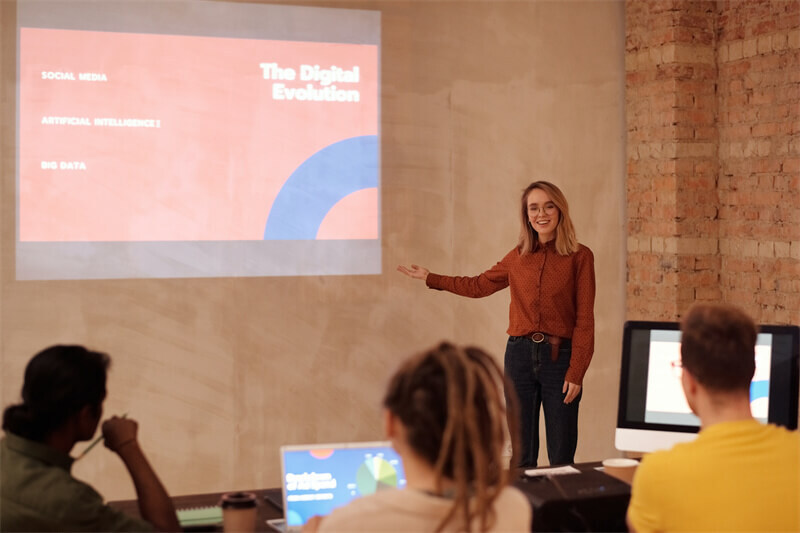
Step 4: Utilize Visual Aids and Props
Incorporate Visuals: You can use slides, graphs, or other visual aids for a more attractive look during your presentation.
Use Props: Using props or physical examples will make the content more relatable and engaging for your students.
Step 5: Review, Edit, and Share
- Review the Recording: Once the recording is over, review the video for any mistakes or issues with its quality. Jot down notes on sections that may need editing or improvement.
- Edit the Video: Use good video editing software to trim or remove parts with unnecessary pauses or those that don't add value to the content.
- Save and Distribute: After you are ok with the final video, save it in the desired format and share it with your students through online platforms, emails, or educational portals.
Follow these detailed steps correctly for a class recording that is professional, engaging, and effective in delivering what you want to your students.
Part 3: Storing and Sharing Recorded Classes
Storing and sharing video recording courses online is flexible and convenient for students. They can access your lectures on specific topics while referring to their books at home.
Here are different ways to store and share recorded classes:
1. Learning Management Systems (LMS)
Several tools like Moodle, Canvas, or Blackboard help store and share recorded classes. LMS platforms provide secure and organized spaces to upload videos and manage access to course content.
2. Video Hosting Platforms
You must have heard of dedicated video hosting platforms like YouTube, Vimeo, or Wistia to upload and store videos securely. Set privacy settings to control who can access the content, suitable for public and private sharing.
3. Cloud Storage Services
Use cloud storage services such as Google Drive, Dropbox, or Microsoft OneDrive to upload class recordings and share links with students. These platforms offer ample storage space and are accessible from various devices.
4. Institution's Website or Intranet
If you own an educational institution with a website or intranet system, you can upload and share class recordings exclusively with students or within the institution's network.
5. Web Conferencing Tools
Who doesn't use web conferencing tools like Zoom, Microsoft Teams, or WebEx? You can share the recorded classes directly within the same platform or export and distribute them using other methods post live recording.
6. Podcast Hosting Platforms
If audio-only versions of class recordings are sufficient, use podcast hosting platforms like Apple Podcasts, Spotify, or SoundCloud to share educational content in podcast form.
Additional Methods:
- Share shorter excerpts or teasers of recorded classes on Facebook, Instagram, or LinkedIn, etc., to reach a larger audience and attract potential students.
- You can create private online forums or groups on platforms like Facebook Groups, Slack, or Discord to share recorded classes with specific audiences and encourage interactive discussions.
- Share recorded classes directly with students via email or messaging services, especially for small group settings or one-on-one tutoring.
Note for Lecturers:
Read the privacy and copyright clauses for storing and sharing video recording classes. You must seek permission for copyrighted material and protect the content from unauthorized distribution by setting appropriate access controls. Additionally, regularly back up your recordings to avoid data loss.
Part 5: FAQs About Class Recording
1. What is the meaning of class recording?
Class recording is all about shooting the video and/or audio of the classroom sessions. It includes presentations, lectures, and other discussions to help with revision. This is common in online and hybrid education. However, the recording is not allowed in every school, as every school has different policies.
2. How do I record my class?
You can record the class with built-in tools on your smartphone or laptop. If there are no built-in tools, recording software can be used. You have to place your mic and camera where the teacher’s voice and image are clear. It is better to use OBSBOT Tiny 3 or Tiny 3 Lite as these webcams have good image quality.
3. Can you sue someone for recording you in school?
Usually, no, but legal issues can arise depending on how and where the recording is used. Recording without permission may violate privacy laws, school policies, or student data protections, which can lead to disciplinary or legal consequences. The outcome depends on local laws and institutional rules.
4. What is the best device for recording lectures?
There is no single best device, but a good lecture recording setup should capture clear audio and stable video. Smartphones and laptops work for basic needs, while external microphones or webcams improve quality. For classrooms or online lectures, a 4k PTZ Webcam like the OBSBOT Tiny 3 or Tiny 3 Lite offer sharper visuals than built-in cameras.
5. How do I add a voice recording to my classroom?
You can add a voice recording by using audio recording apps or built-in tools in presentation software and learning platforms. Record your voice first, then upload or embed the audio into slides, assignments, or online classrooms. This is useful for explanations, instructions, or feedback.
6. Can you record a class without permission?
No, recording a class without permission is generally not allowed. Most schools require consent from instructors and sometimes students due to privacy and data protection rules. Recording without approval can result in disciplinary action or legal issues. If recording is necessary for learning or accessibility reasons, ask for permission.
Part 5: Best Practices for Effective Class Recording
Based on our learning from the above sections on how to record classroom lectures, let us look at some of the best practices you can note:
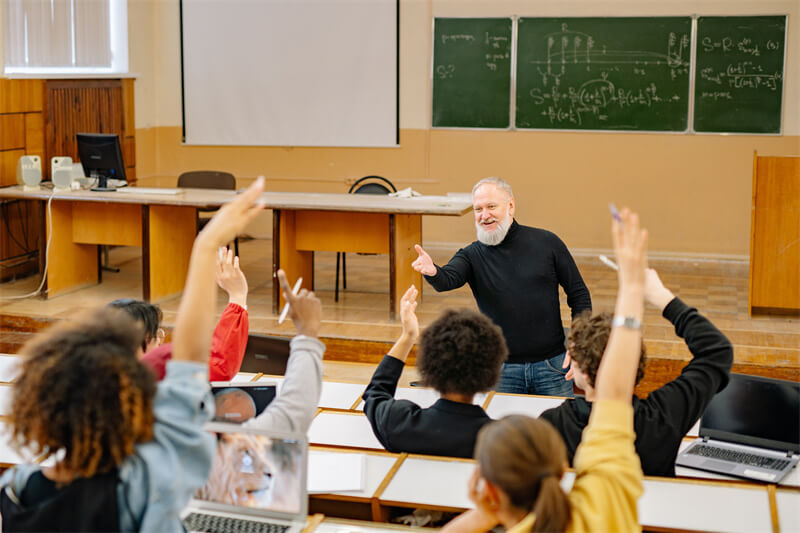
1. Clear and Concise Delivery
Speak clearly at a steady pace during the class recording. Avoid unnecessary jargon or complex language, ensuring the content is easily understandable for all students.
2. Engaging Presentation
Use visual aids, like slides, diagrams, or props, for better student engagement and reinforce key concepts. Real-life examples and storytelling techniques make the content relatable and interesting.
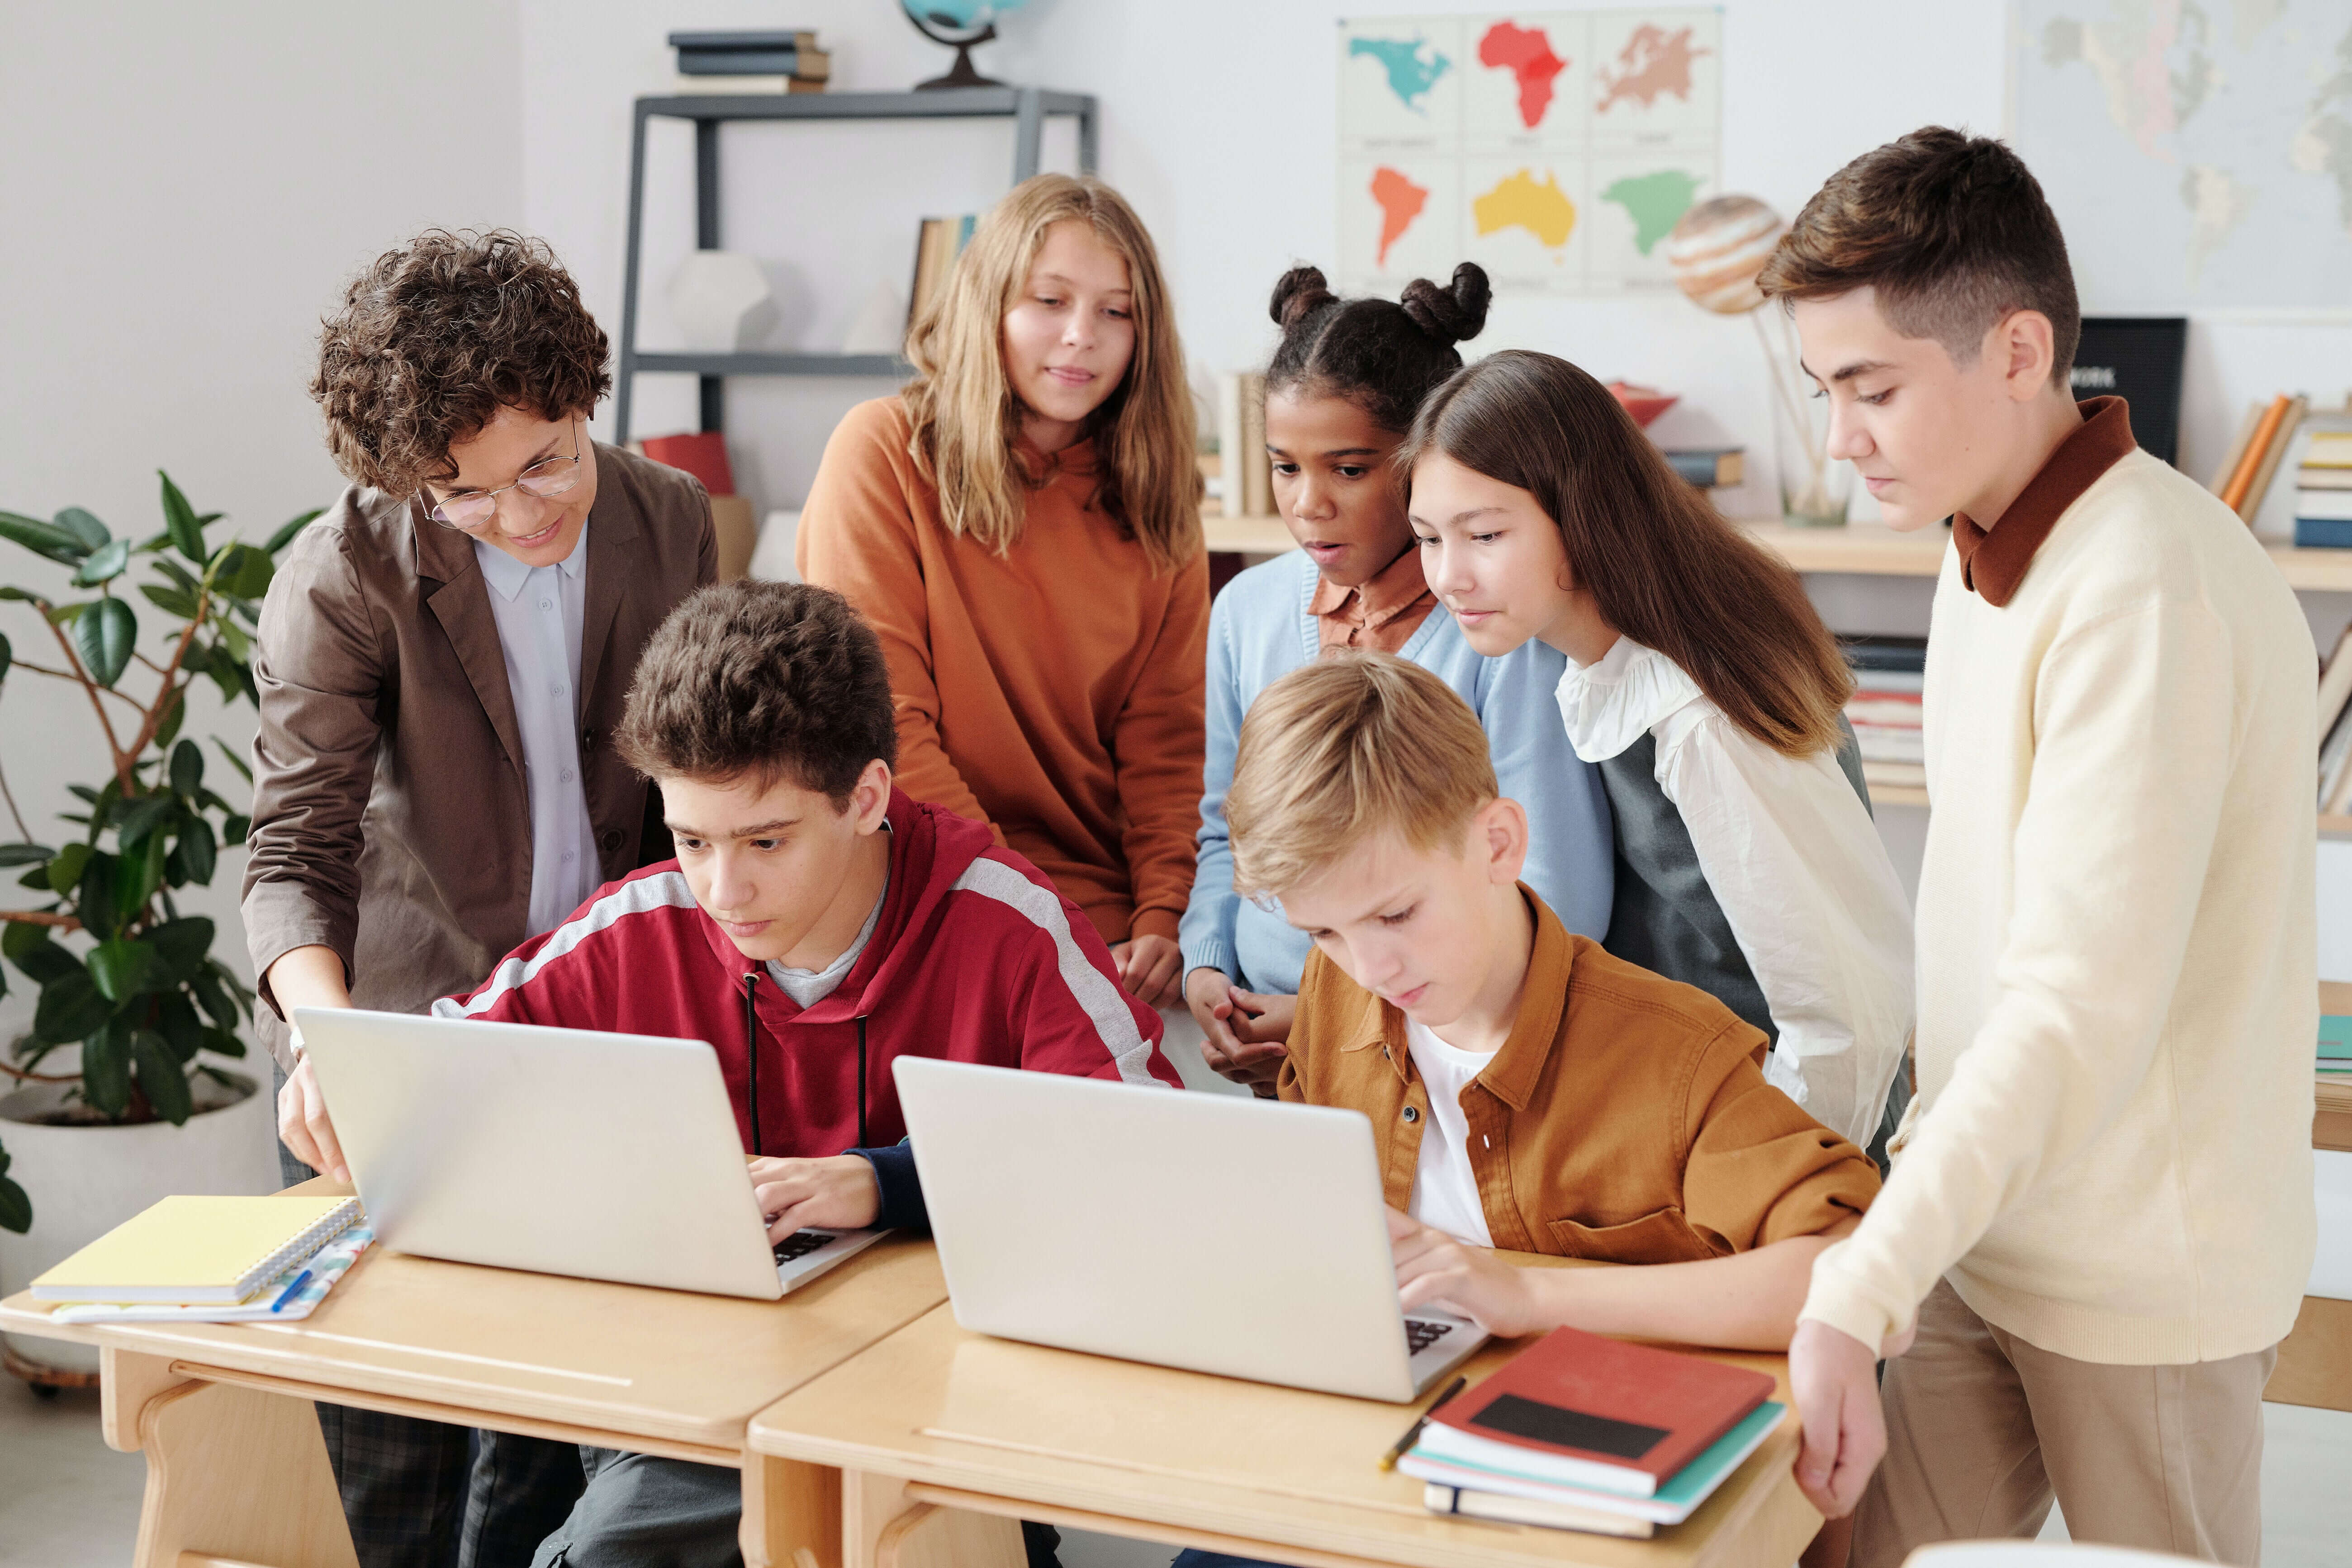
3. Interactive Elements
Encourage student interaction even in recorded sessions. Include prompts for students to pause the video, reflect on the content, or answer questions between lectures to promote active learning.
4. Quality Audio and Video
A high-quality audio and video recording enhances the viewing experience. So, invest in a good 4k PTZ Webcam, like the OBSBOT Tiny 3, for clarity and professionalism.
5. Provide Resources
Supplement classroom recordings with additional resources, like reference books, reading material, practice exercises, or discussion forums for in-depth learning and support.
With these best practices, you, as a teacher, can create an effective course recording that promotes learning, engages students, and provides a valuable educational experience.
Part 5: The Future of Class Recording
So, what do you think is the future of class recording?
Well, with the rapid increase in usage of augmented reality, AI, metaverse, and other technical resources, recording studio classes will rise to another level in the future.
Virtual reality (VR) and augmented reality (AR) today are revolutionizing how students engage with educational content. VR can transport learners to deeper virtual environments to experience firsthand simulations, historical events, or complex concepts. AR overlays digital elements in the actual world, enhancing visual learning experiences. These technologies can greatly impact distance learning and remote education, bridging the gap between physical classrooms and virtual spaces. Students can access recorded classes in VR or AR, creating interactive and dynamic learning environments from the comfort of their homes. This mesmerizing approach can increase student engagement, improve comprehension, and foster collaborative learning experiences.
The future of home recording courses is evolving to embrace these transformative technologies that will make education more accessible, engaging, and interactive than ever before.
Conclusion
Thus, finally, we are at the end of our article on class recording. We shared exclusive tips for preparing and recording classroom lectures, and the best 4k PTZ Webcam equipment you should opt for for a better experience. You also know how to record lectures in class and store and save them for future reference for you and your students.
Towards the end, we penned down our thoughts about the future of recording online lectures. What are your thoughts about the near future? Please share with us in the comments below.