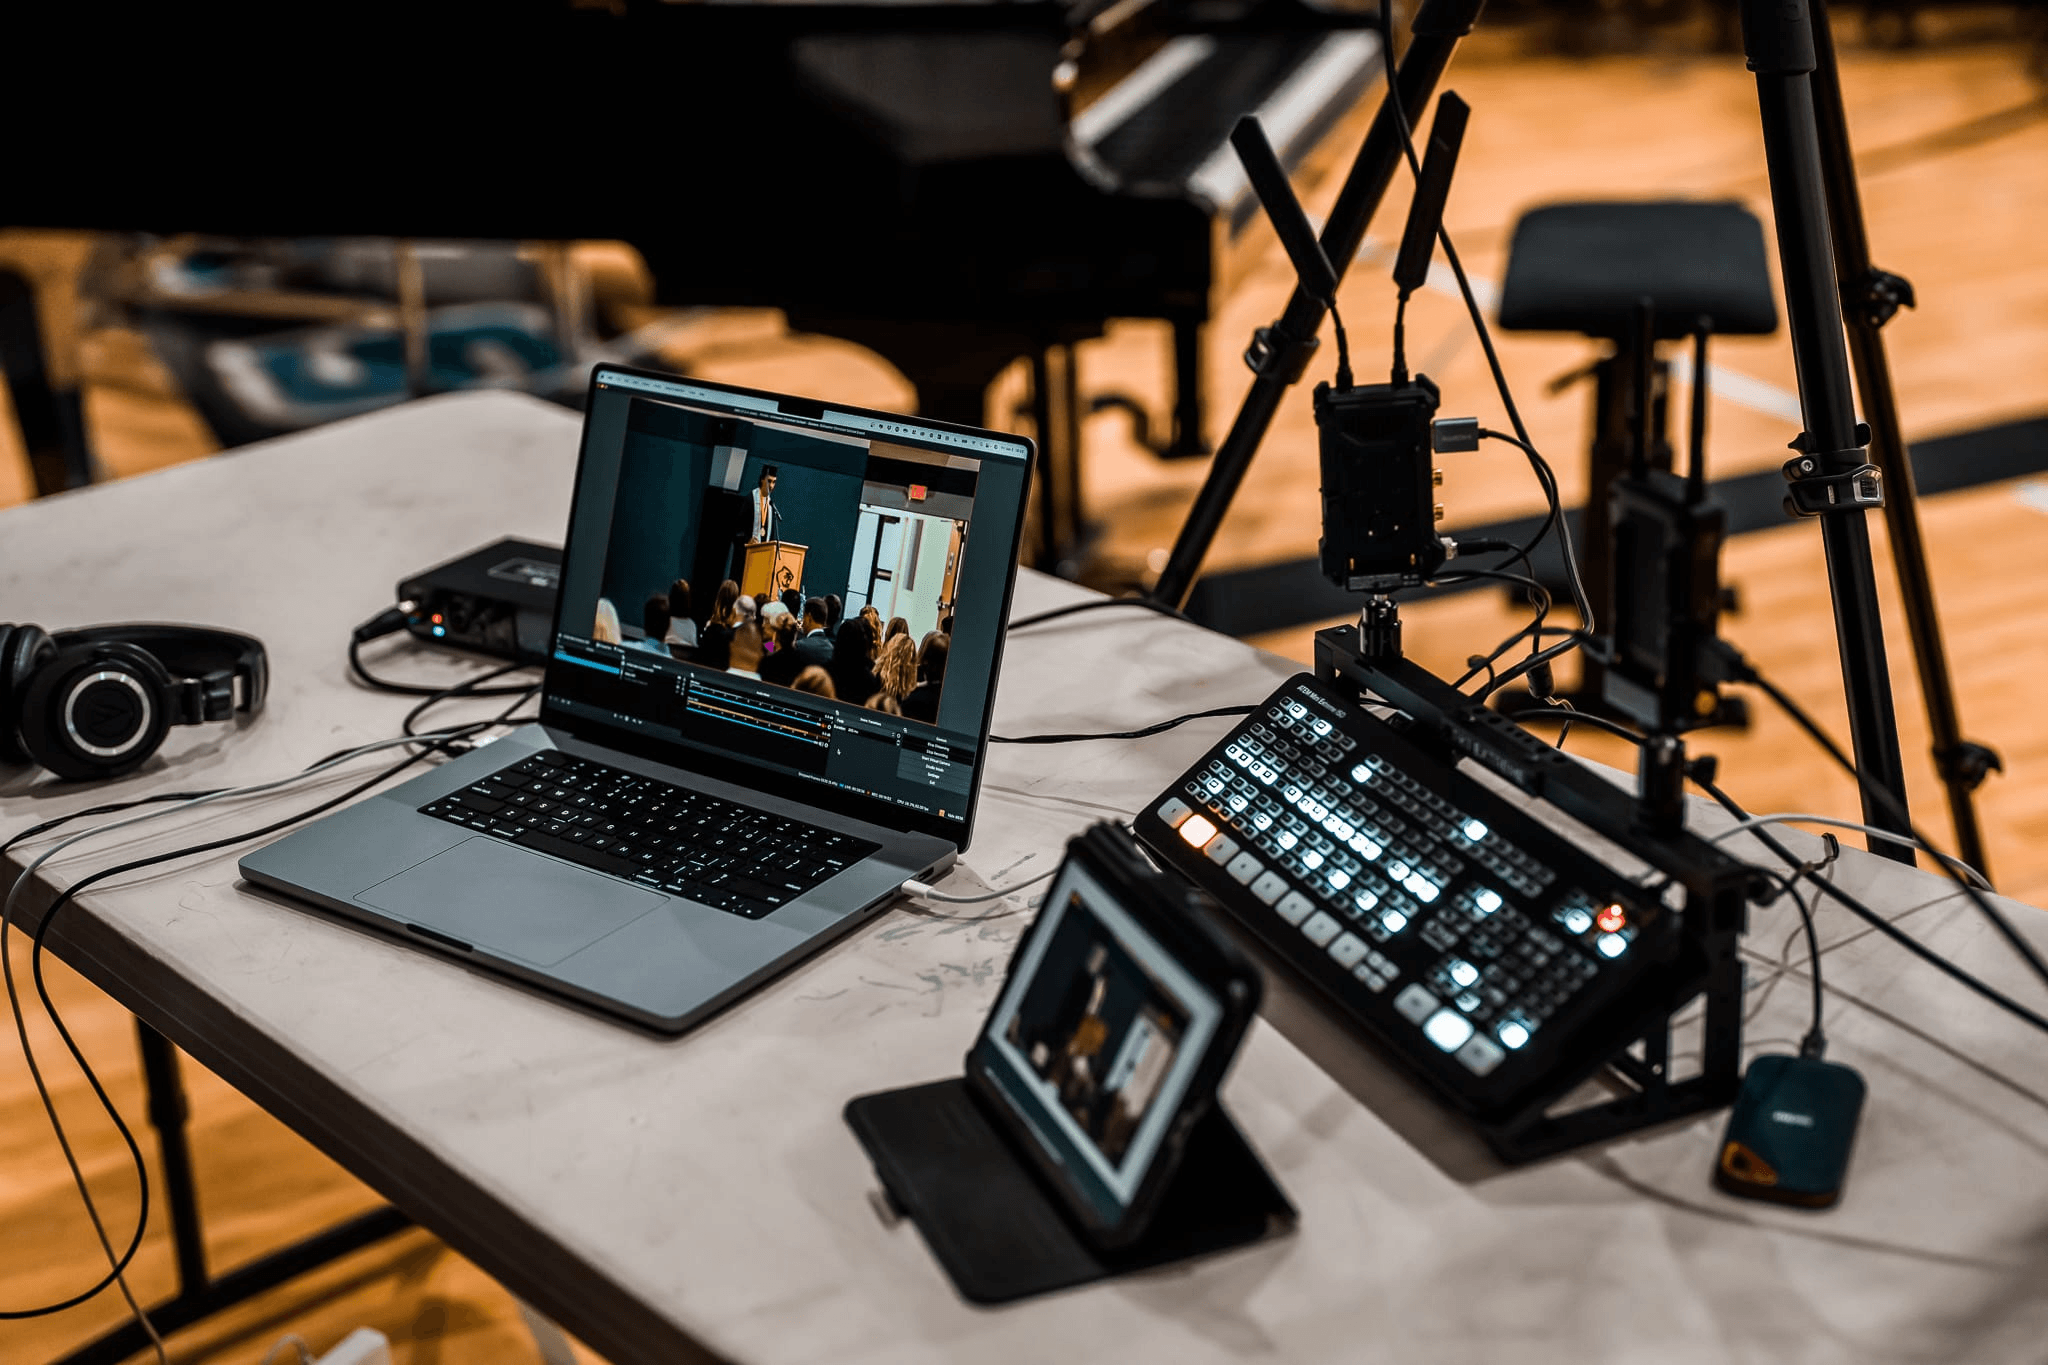
What Is NDI Streaming? A Beginner’s Guide to Setup and OBS
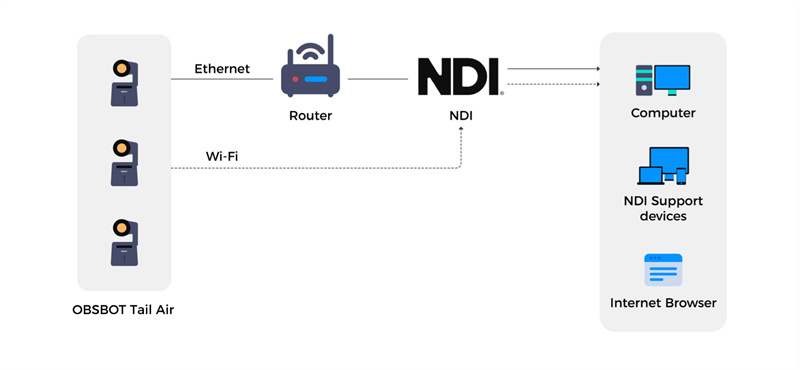
NDI streaming sends video, audio, metadata, and camera-control information over an IP network instead of requiring a separate video cable for every source. In a simple setup, an NDI camera sends its feed through your local network, and software such as OBS or vMix receives it on a computer.
NDI normally moves video inside your production setup. OBS or another encoder still sends the finished program to YouTube, Twitch, or another platform.
This guide explains how NDI works, what equipment you need, and how to set it up without getting buried in technical details.
How Does NDI Streaming Work?
The easiest way to understand NDI is to think of your local network as a shared video connection.
With HDMI, a camera normally connects directly to one capture device. With NDI, the camera places its video and audio on the network. Compatible computers, switchers, and monitoring applications can then find and receive that source.
A basic NDI workflow looks like this:
- An NDI camera or computer creates the video source.
- The source travels through Ethernet or Wi-Fi.
- OBS, vMix, or another compatible application receives it.
- The software switches scenes, mixes audio, and creates the final program.
- An encoder sends that program to a streaming platform.
For example, a church could place three NDI cameras around a room and receive all three feeds on one production computer. A gamer could send gameplay from a gaming PC to a second PC that handles recording and streaming.
Does NDI Work Over the Internet?
Standard NDI workflows are mainly designed for local networks. The sender and receiver do not need internet access when they are connected to the same LAN.
Connecting NDI sources in different locations requires a WAN solution such as NDI Bridge. It connects remote NDI networks and is different from sending an ordinary local NDI feed directly across the public internet.
What Equipment Do You Need for NDI Streaming?
A basic NDI setup needs four parts: a video source, a suitable network, receiving software, and a production computer.
1. An NDI Video Source
The source can be:
- An NDI-enabled camera
- A computer running NDI Screen Capture
- An HDMI or SDI camera connected to an NDI encoder
- Another computer running OBS with NDI output enabled
Before choosing equipment, check which NDI format it supports. A product labeled "NDI compatible" may support NDI HX3 but not NDI High Bandwidth.
Which NDI Format Should Your Equipment Support?
You do not need to memorize every technical difference. The main question is how much network capacity you have and how little delay you need.
| NDI Format | Simple Explanation | Best For |
|---|---|---|
| NDI High Bandwidth | Uses the most network capacity but has very low delay | Fixed studios with a strong wired network |
| NDI HX2 | Uses less network capacity but may add more delay | Basic setups and limited networks |
| NDI HX3 | Balances lower network use with low latency | PTZ cameras and multicamera streaming |
For most beginners using a modern PTZ camera, NDI HX3 offers a practical balance. NDI High Bandwidth makes more sense when maximum image quality and extremely low delay matter more than network use.
Always make sure the sender and receiver support the same format.
2. A Suitable Network
Use wired Gigabit Ethernet whenever reliability matters. Wi-Fi can work for a single compressed NDI feed, but performance depends on distance, interference, and other network traffic.
Before going live, check:
- Whether the switch and computer ports support Gigabit Ethernet
- How many video feeds will run at the same time
- Whether guests or office devices share the network
- Whether firewalls allow NDI applications
- Whether the sender and receiver can discover each other
Internet download speed is not the main measurement. A fast internet plan will not fix a congested or slow local network.
3. Receiving and Production Software
NDI Tools includes applications for finding, viewing, testing, and managing NDI sources. Studio Monitor is especially useful because it lets you check whether a feed works before adding OBS to the workflow.
OBS Studio does not include native NDI input by default. To send or receive NDI in OBS, install the third-party DistroAV plugin, formerly called OBS-NDI, together with its required NDI Runtime.
Keep OBS, DistroAV, and the Runtime compatible with one another. Using an old plugin with a newer OBS release is a common reason the NDI Source option does not appear.
4. A Production Computer
There is no useful minimum specification that works for every NDI setup. A computer receiving one 1080p source needs fewer resources than one decoding several high-resolution feeds while recording and streaming.
Choose and test the computer based on:
- Number of simultaneous sources
- Resolution and frame rate
- NDI format
- Recording requirements
- Streaming encoder
- Graphics and overlays
Start with one source, watch CPU and GPU usage, and add the remaining cameras one at a time.
An NDI Camera Option: OBSBOT Tail Air
The OBSBOT Tail Air is an NDI HX3-certified PTZ streaming camera for solo creators, classrooms, small events, and houses of worship. Its AI tracking can follow a moving speaker, reducing the need for someone to operate the camera throughout the production.
OBSBOT Tail Air can join an NDI workflow through Wi-Fi or Ethernet. A wired connection is preferable for an important event, although it requires a compatible USB-C-to-Ethernet adapter. The camera supports up to 4K at 30fps and 1080p at 60fps, while available NDI output settings may depend on the product edition and firmware.
Depending on when and where the unit was purchased, NDI may already be activated or may require activation. Check the current product page and device status before setup.
How to Set Up NDI Streaming in OBS
The following process covers a common NDI-camera-to-OBS workflow.
- Connect the devices. Place the camera and OBS computer on the same local network. Use Ethernet when possible.
- Enable NDI on the source. Open the camera's control application or web interface and turn on NDI output.
- Test the feed first. Install NDI Tools and open the source in Studio Monitor. If it does not appear, fix the network or discovery problem before changing OBS settings.
- Install DistroAV. Download the current DistroAV plugin and its required NDI Runtime. Restart the computer after installation.
- Add the source in OBS. In the Sources panel, select the plus button, choose NDI Source, and select the camera or computer from the source list.
- Check video and audio. Confirm that the picture is smooth and that the audio level and lip sync are correct.
- Build your program. Add scenes, graphics, microphones, and any additional cameras.
- Configure the public stream. Connect OBS to YouTube, Twitch, Facebook, or another destination and run a private test before the real event.
Example: In a dual-PC gaming setup, the gaming PC can send its OBS output through NDI. The streaming PC receives that source, adds alerts and microphones, and sends the finished program to Twitch. Both computers should ideally use wired connections.
When Should You Use NDI Instead of HDMI or SDI?
NDI, HDMI, and SDI can all carry video, but they solve different production problems.
| Connection | How It Works | Choose It When |
|---|---|---|
| NDI | Sends video through an IP network | You need flexible routing or multiple cameras |
| HDMI | Connects one source directly to one device | The camera is close to the monitor or capture card |
| SDI | Uses a dedicated cable for stable video transmission | Reliability and long cable runs matter most |
Choose NDI when several devices need to access the same sources or when installing separate video cables would make the production difficult.
Choose HDMI for a simple one-camera desk or home setup. It is often easier when the camera and capture card are close together.
Choose SDI for long, dependable cable runs in venues and professional studios. It does not depend on the condition of your computer network.
NDI usually transports video inside the production network. RTMP is commonly used to send the finished program to a platform such as YouTube, while SRT helps move video reliably between remote locations. They work at different parts of the streaming process.
Common NDI Problems and Fixes
Test the source in NDI Studio Monitor first. This helps you determine whether the problem comes from the network or the production software.
| Problem | What to Check First |
|---|---|
| The NDI source does not appear | Confirm both devices are on the same network, set Windows to a Private network, and test the source in Studio Monitor. |
| Video stutters or drops frames | Switch to Ethernet, reduce the number or quality of feeds, and check total network use. |
| Studio Monitor works but OBS does not | Check DistroAV and NDI Runtime compatibility, then restart OBS or the computer. |
| Audio echoes | Make sure the same microphone is not entering OBS through both NDI and a separate audio input. |
| Performance drops after adding cameras | Add sources one at a time and monitor network, CPU, and GPU use. |
| One source has several receivers | Avoid enabling multicast unless the network switch has been properly configured. |
FAQs About NDI Streaming
1. Is NDI free to use?
Many NDI tools are free to download and use. However, individual cameras, encoders, software editions, adapters, or activation features may cost extra. Check the requirements of each product in your workflow.
2. Does NDI require an internet connection?
No. Devices on the same local network can send and receive NDI without internet access. Internet access is needed when publishing the final stream online or connecting remote locations through a WAN workflow.
3. Can NDI work over Wi-Fi?
Yes, especially with a compressed format such as NDI HX. However, Wi-Fi can become unstable when the signal is weak or the network is busy. Use Ethernet for important events and larger multicamera productions.
4. Is NDI better than SDI?
Neither is always better. NDI offers flexible network routing and easier source sharing. SDI provides a dedicated, predictable connection that does not rely on a computer network. Many professional systems use both.
5. Can NDI stream directly to YouTube?
Usually not by itself. NDI sends video to production software or an encoder. OBS, vMix, or another system then converts and sends the finished program in a format accepted by YouTube.
Conclusion
NDI streaming makes it easier to move video, audio, and camera control across a network, especially in multicamera productions. Start with one source, a wired Gigabit connection, NDI Tools, and compatible production software. Once that basic workflow is stable, you can add more cameras, recording, or remote production features without making the setup unnecessarily complicated.