Church Live Stream Setup: Camera, Audio, OBS, and NDI

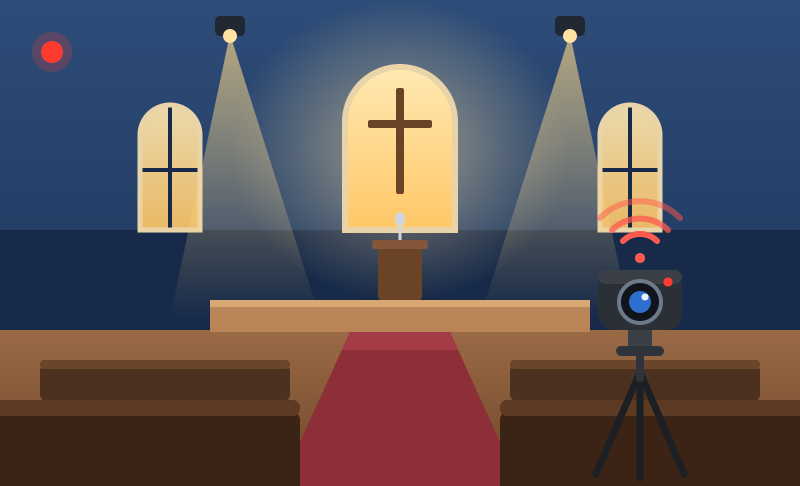
A church live stream setup works when the camera picture and soundboard audio reach the same production system, which then sends the finished service to a platform such as YouTube or Facebook. You can start with one camera, your existing mixer, a computer running OBS Studio, and wired internet. Add NDI or a video switcher when you need more camera positions or a more involved production.
This guide starts with the connections and steps for your first broadcast. It then explains what each piece of equipment does and how NDI can support a larger church production.
How to Set Up a Church Live Stream
This walkthrough uses one camera, an existing church soundboard, and a computer running OBS Studio. You can complete it without buying a hardware video switcher.
Step 1: Place the Camera and Prepare a Reliable Shot
Position the camera where the pastor's face is easy to see without blocking the congregation. Frame a little wider than a close-up so the pastor can move without leaving the shot.
If you use a PTZ camera, save separate views for the pulpit and worship team. Connect the camera to dependable power before testing the full service.
Step 2: Send the Soundboard Audio to the Computer
Ask the sound operator which output can feed the livestream. A separate AUX or matrix mix lets them balance the pastor, singers, and instruments for people listening online. Connect that output to a compatible USB audio interface, then connect the interface to the computer. If the mixer already provides a usable USB audio output, it may connect directly.
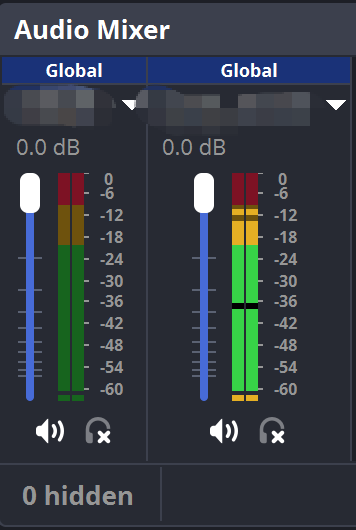
In OBS, select that interface or mixer as the audio input. Speak into the pastor's microphone and watch the audio meter move. Listen through headphones, then mute any unused camera microphone so viewers do not hear the same voice twice.
Step 3: Bring the Camera Picture into OBS
For an HDMI camera, connect the camera's HDMI output to an HDMI capture device, then connect the capture device to the computer by USB. In OBS, open Sources → + → Video Capture Device and select the capture device. A compatible USB camera can be selected in the same menu without an HDMI capture device.
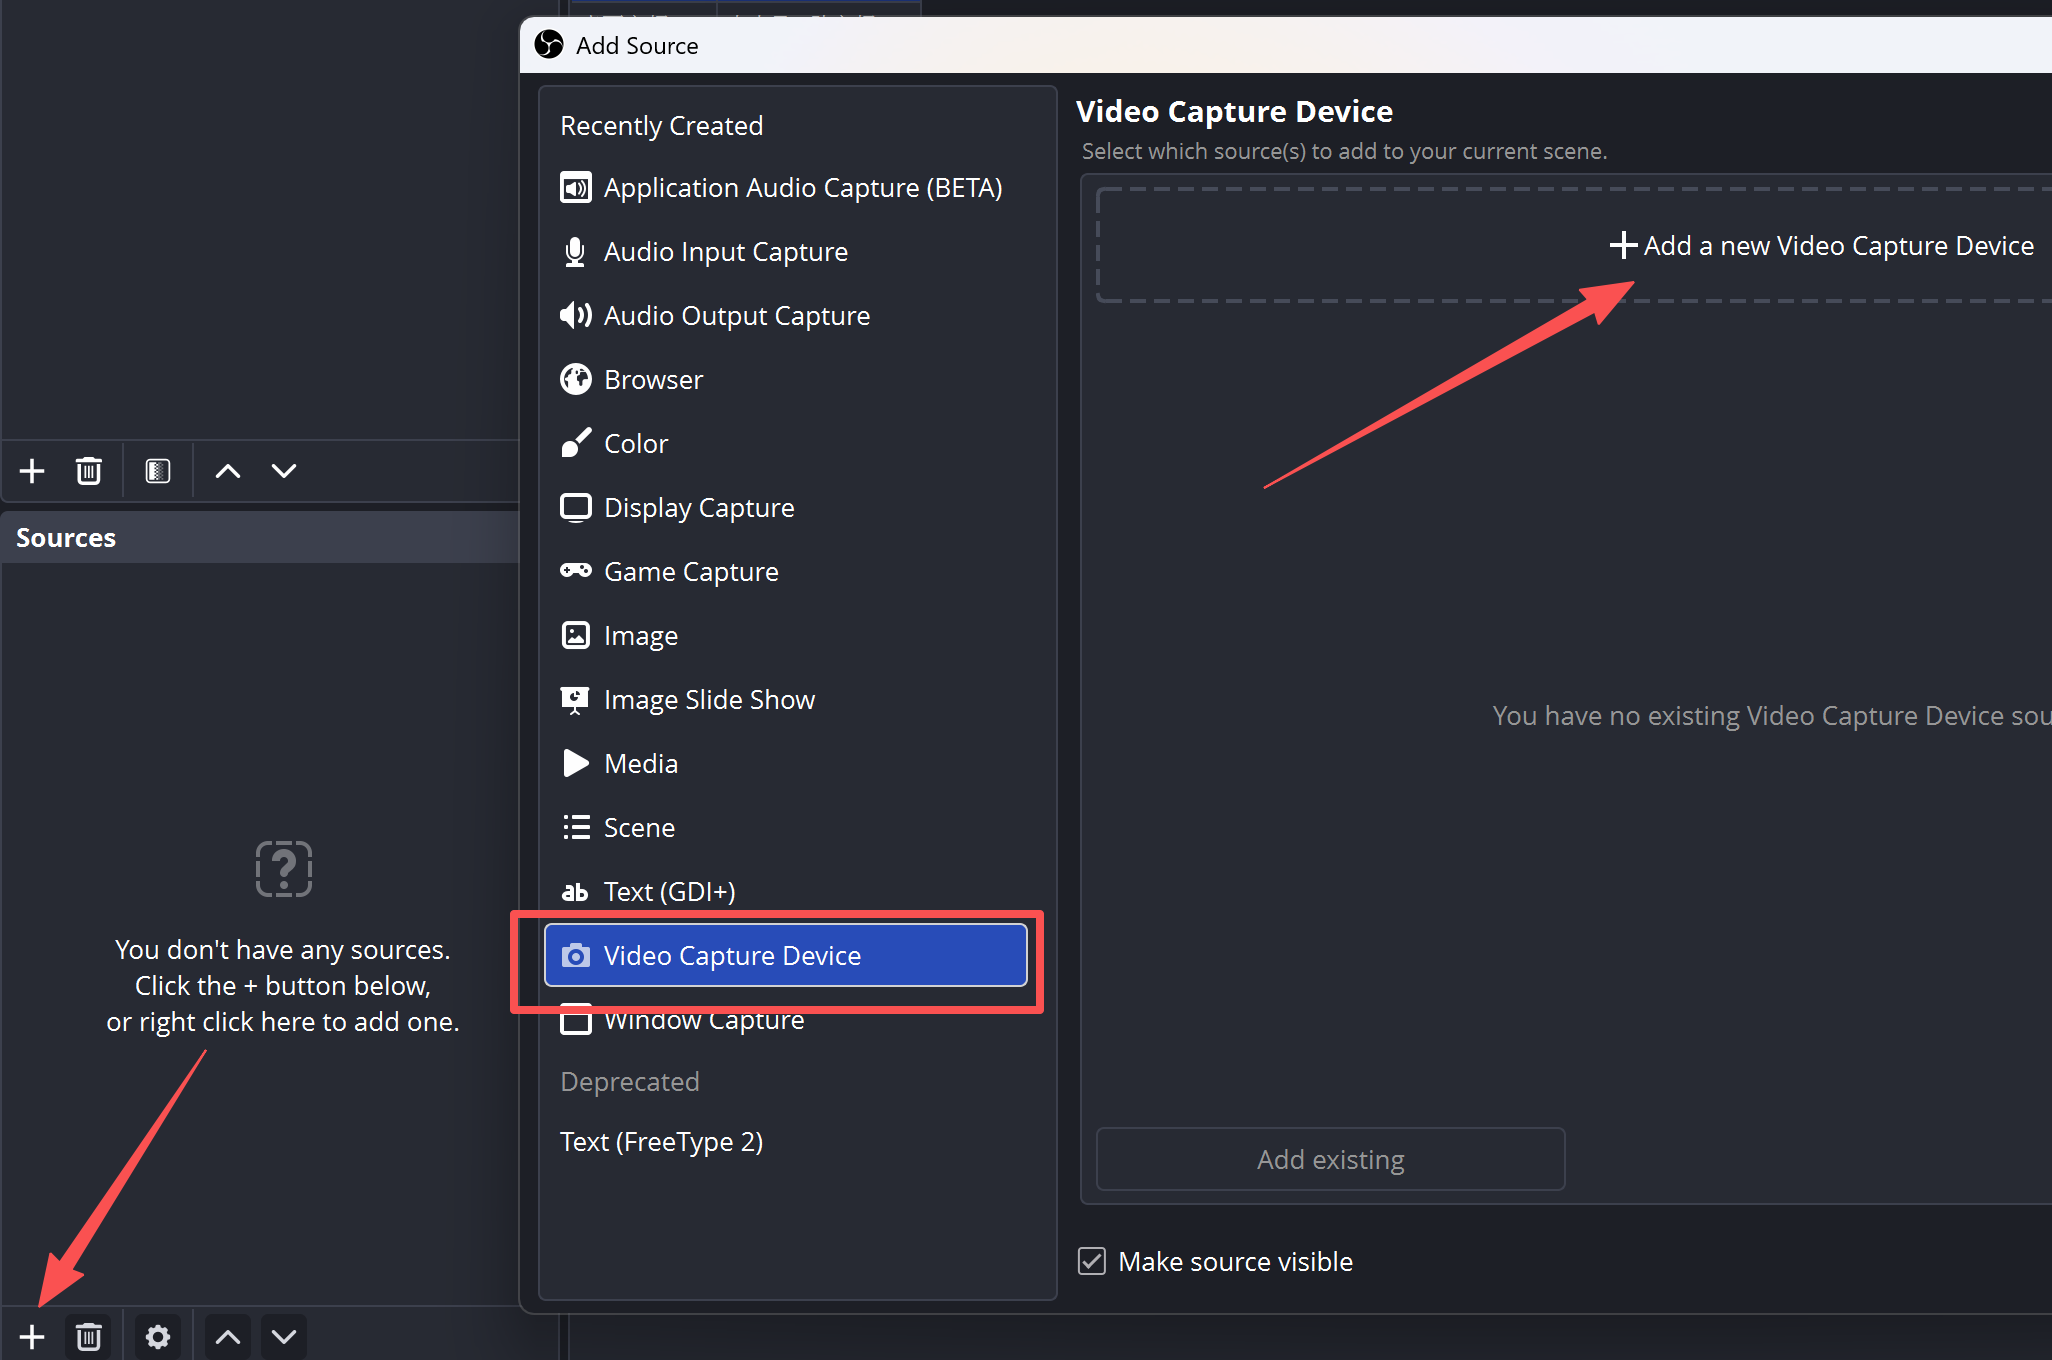
Make sure the picture appears in OBS before building the rest of the stream. A laptop's HDMI port is usually an output, so an HDMI camera generally needs a capture device rather than a direct cable into that port.
Step 4: Build the Service Scenes
Create a main scene for the sermon and add the camera picture. If you show lyrics or scripture, add the presentation feed or prepared graphics as another source. Check that the soundboard feed remains audible when you change scenes. One camera and a few prepared scenes are enough to begin; OBS can handle those changes without a separate hardware switcher.
For the exact OBS controls, see our step-by-step guide to streaming with OBS.
Step 5: Connect the Platform and Run a Private Test
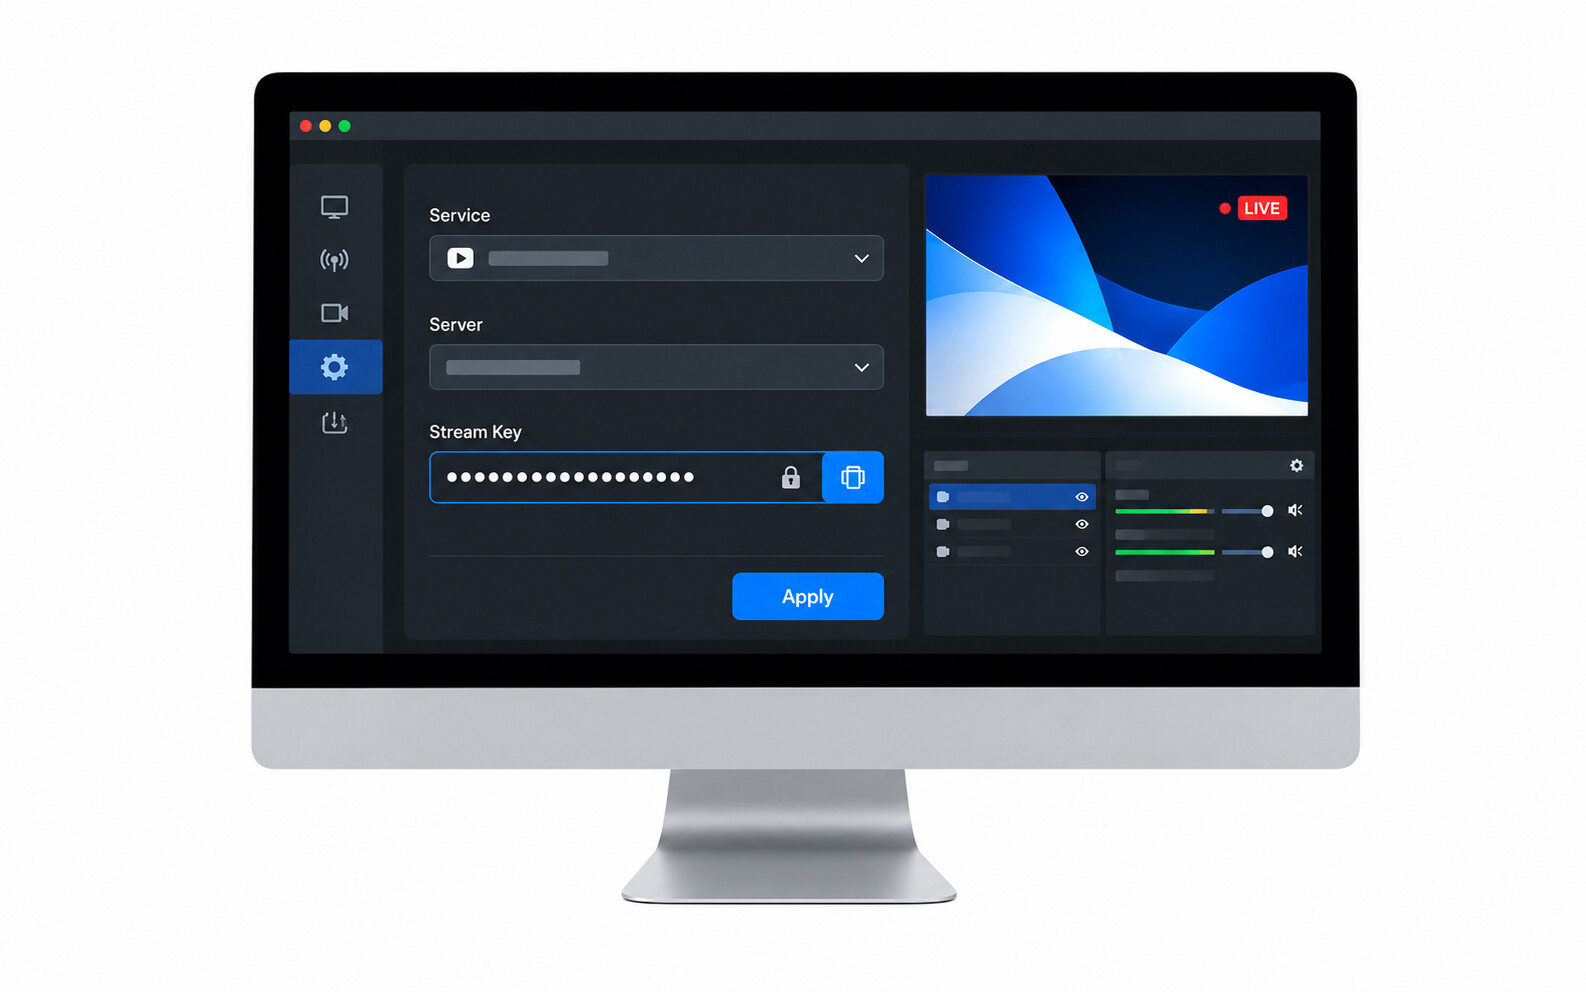
Connect the streaming computer to the router with Ethernet. Create a test broadcast in YouTube Studio or your chosen platform, then connect its account or stream key in OBS → Settings → Stream. Use OBS's Auto-Configuration Wizard as a starting point for settings that fit the computer and connection.
Stream a short sample containing speech, music, and a slide change. Watch it on a separate phone with headphones. Check that the pastor is clear, music is balanced, lyrics are readable, and sound matches the picture. Fix these problems before making the service public.
Step 6: Go Live and Make the Setup Repeatable
Before each service, confirm the camera picture, mixer audio, OBS scene, internet connection, and platform preview. Start the broadcast using the controls required by your platform. Have a volunteer watch the public stream on another device while the service runs.
Save the OBS scenes, label the connections, and write a short startup checklist. That lets another volunteer run the same church live stream setup next Sunday.
Essential Church Streaming Equipment
The basic signal path is camera → production computer → streaming platform, with soundboard audio → computer alongside it. Check what your church already owns before using the recommendations below. For broader purchase options and approximate costs, see our church live streaming equipment guide.

1. Computer for OBS
Test your current computer with the number of cameras and graphics you plan to use. The following specifications are useful references for a more demanding production, rather than a requirement for the one-camera setup above.
Recommendations:
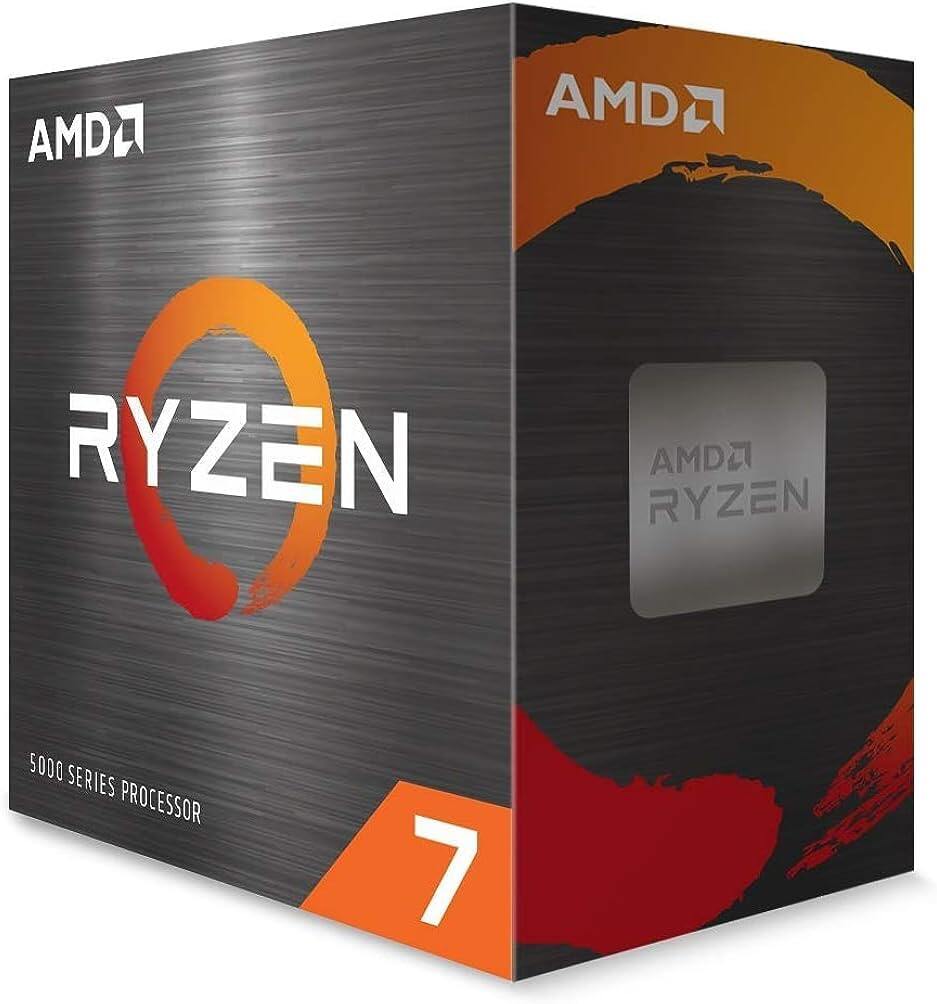
- Processor: AMD Ryzen 7 or Intel Core i7 class processor for a more demanding setup.
- Memory: 16 GB RAM or more.
- Storage: SSD.
- Graphics: NVIDIA GeForce RTX 3060 or an AMD equivalent if the planned production needs a dedicated GPU.
- Connections: Ethernet and enough USB 3.0 ports for capture and audio devices. A laptop HDMI port is generally an output, not a camera input.
2. Router and Internet Connection
Use a wired connection for the production computer. Test the available upload speed while the building is in use, then match the stream settings to the platform's current requirements.
Recommendations:
- Connection: Ethernet for the production computer.
- Upload speed: Check the destination platform's bitrate guidance for your resolution, frame rate, and encoder; leave capacity above the selected stream bitrate.
- Router: Dual-band Wi-Fi and gigabit Ethernet ports.
- NDI network: Keep camera traffic from competing unnecessarily with guest or office traffic.
3. Network Switch for NDI Cameras
A network switch carries camera feeds between devices on the local network. A video switcher chooses which picture goes on air; these are different jobs.
Recommendation: The TRENDnet 8-Port Gigabit Long Range PoE+ Switch is one option for connecting several wired devices. Use gigabit operation for video feeds, and check camera power requirements separately: a PoE port only powers a compatible device or appropriate adapter.
4. Camera, Switching, and Monitoring
Camera: OBSBOT Tail 2 Live Production Camera
Tail 2 fits a church that wants the camera to follow a moving pastor or worship leader without continuous manual control. Place it close enough for its optical zoom to frame the speaker as intended; a camera at the rear of a deep sanctuary may need greater reach.
Key features for a church setup:
- NDI|HX3: Sends a camera feed over a compatible local network. Use an NDI Edition or a Tail 2 with NDI already activated.
- AI Tracking 2.0: Follows the speaker as they move across the platform.
- Up to 4K60 capture: Provides detailed source footage; set the actual broadcast output to what your platform and connection can support.
- Wired and wireless options: USB, HDMI, SDI, and supported network connections give the team several ways to bring the camera into production.
- 5x optical and 12x hybrid zoom: Helps move between a platform view and a tighter speaker shot when the camera position is suitable.
Video Switcher: OBSBOT Talent 2
A single-camera OBS stream does not require a hardware switcher. Talent 2 becomes useful when volunteers need one place to preview cameras, change shots, add graphics, record, and send the finished service online.
Key features for a larger setup:
- Multiple inputs: Supports up to 16 video sources across its supported HDMI, USB, and IP inputs.
- Multi-platform streaming: Can send one production to up to four platforms.
- Live switching: Lets an operator move from the worship-team shot to the sermon shot.
- Graphics: Adds titles, countdowns, and picture-in-picture to the program.
- Local recording: Keeps a copy of the service for later review or editing.
Monitor
The volunteer needs to see the outgoing program, not just an individual camera. An existing suitable screen may be enough; a larger display helps when several sources need previewing.
Recommendations: LG UltraFine 4K or ASUS ProArt PA32UCX are dedicated monitor examples from the original setup. Choose based on the available video output, desk space, and whether the operator needs multiview.
5. Audio Setup
Audio Mixer
First check whether the existing mixer can provide a separate feed for online listeners. That matters more than replacing a working soundboard: music that fills the room may be too quiet in the house mix sent online.
Recommendations:
Microphones
Keep microphones that already capture the pastor and singers clearly. Confirm that each one reaches the livestream mix and listen to that mix before buying another mic.
Recommendations:
- Handheld: Shure SM58 for a singer or speaker.
- Lavalier: Sennheiser EW 112P for hands-free speaking.
- Wireless: RØDE Wireless GO II for a mobile speaking position.
Room Speakers
Room speakers serve the congregation in the building. They do not replace the audio feed from the mixer to the stream.
Recommendations for in-room sound: JBL EON615, Bose S1 Pro, and Electro-Voice ZLX-12P. Choose a PA speaker for the room's coverage needs, not as a fix for poor livestream audio.
6. Streaming Software
The production software combines picture, sound, and graphics before sending the stream. OBS is a practical free starting point; paid software may suit teams that need a different production workflow.
Recommendations:
- OBS Studio: Free software for scenes, source switching, recording, and streaming.
- Wirecast: A paid production option for teams that prefer its interface and tools.
- vMix: A paid production option for more involved live switching and video workflows.
Check to know the different streaming software: vMix vs OBS.
7. Other Accessories
Buy accessories for the connection path you actually chose. An HDMI camera going into OBS needs a capture device; a camera already entering through a supported USB or NDI workflow may not.
Recommendations:
- Tripod or mount: Manfrotto or Neewer examples for a stable camera position.
- Lighting: LED panels or a softbox where the pastor's face is too dark.
- Capture card: A compatible HDMI capture device when an HDMI camera must enter the computer.
- Headphones: Keep a pair at the production desk to check what online viewers hear.
How to Add NDI to Your Church Setup
The one-camera setup above can go live without NDI. NDI is useful when camera feeds need to travel over the church's local network, particularly from several positions away from the production desk. It can reduce separate video cable runs, while still requiring reliable networking and power.
How to Connect an NDI Camera
- Connect the devices. Put the NDI-enabled camera and the production computer or switcher on the same local network. Use Ethernet for a fixed Sunday setup where possible.
- Enable and check the feed. Turn on NDI output and confirm that your Tail 2 is an NDI Edition or has NDI activated. Check that the camera appears in NDI Tools' Studio Monitor.
- Add it to production software. OBS needs a compatible NDI receiving plugin and its required runtime before an NDI source appears. Add the feed to an OBS scene, or select it as a supported network source on your production device.
- Bring in the church's audio mix. Check the soundboard feed alongside the picture, mute unwanted camera audio, and confirm that sound and image match.
- Rehearse camera changes. Keep a wide shot available, preview the speaker and worship-team shots, then test the finished program on the streaming platform.
For detailed plugin and network steps, see our NDI streaming setup guide. For additional camera positions and switching, see our multi-camera live streaming guide.
A Church Streaming Setup in Practice
South City Homes Christian Bible Church wanted to make its service production easier to manage. Its earlier workflow required more manual camera control. In the OBSBOT house-of-worship example, Tail 2 tracking and an NDI-based connection help the team manage camera coverage.

The example shows where automation helps: a tracking camera reduces the time a volunteer spends following a speaker, and the network feed brings that picture to the production position. The team still needs to plan the soundboard feed, live switching, network, and platform test as one complete setup.
FAQs About Church Live Streaming Setup
How do you set up a church live stream for the first time?
Start with one camera and an audio feed from the church's mixer. Bring both into OBS or a compatible production device, connect to a streaming platform over a stable network, and run a private test. Check the result on a separate phone before the first public service.
What equipment is needed for church live streaming?
You need a camera, a way to capture the church's audio, a computer or production device that can send the stream, and a stable internet connection. Whether you also need a capture device or audio interface depends on the outputs your current camera and mixer provide.
Does a church need a video switcher?
A one-camera stream can use OBS to show the camera and prepared slides. A hardware switcher becomes more useful when volunteers need to preview and change between several cameras or other live inputs.
What type of camera works well for church live streaming?
Choose according to the camera's distance from the platform and the people available to operate it. A PTZ camera with presets or tracking can reduce manual work; a deep sanctuary may also require greater optical zoom. Check our review guide on the cameras for church live streaming.
how the camera connects to the existing production system.
Does a church need a license to stream music?
Streaming copyrighted music can require permissions beyond those used for worship in the room. Check the songs, recordings, platform rules, and terms of any licenses your church already holds before broadcasting.
Conclusion
A dependable church live stream starts with a clear camera shot, a soundboard feed made for online listeners, and a production system volunteers can test and run every week. Connect and verify those pieces before adding cameras or software. When the church needs more angles or longer camera runs, Tail 2, NDI, and a production device such as Talent 2 can extend the same basic workflow.