How to Shoot in Manual Mode: A Step-by-Step Guide for Beginners
Learning how to shoot in manual mode means taking control of three key settings: aperture, shutter speed, and ISO. Instead of letting the camera choose exposure for you, you decide how bright the image should be, how much of the scene stays in focus, and whether motion is frozen or blurred. This guide explains how to shoot in manual with a simple workflow beginners can practice right away.
Part 1: What Is Manual Mode?
Manual mode lets you control aperture, shutter speed, and ISO independently. Together, these settings determine exposure while also affecting depth of field, motion, and image quality.
Unlike Auto or semi-automatic modes, Manual (M) mode doesn't make any exposure decisions for you. This is what makes how to shoot manual photography different from point-and-shoot habits — every setting is a deliberate choice.
| Setting | What It Controls | Common Starting Point |
|---|---|---|
| Aperture | Light + depth of field | f/2.8 for portraits, f/8 for landscapes |
| Shutter Speed | Motion + light | 1/125s for still subjects, 1/500s+ for action |
| ISO | Brightness + image noise | ISO 100–400 in bright light |
Part 2: How to Set Your Camera to Manual Mode
The basic setup takes only a few steps.
Step 1: Set the Mode Dial to M
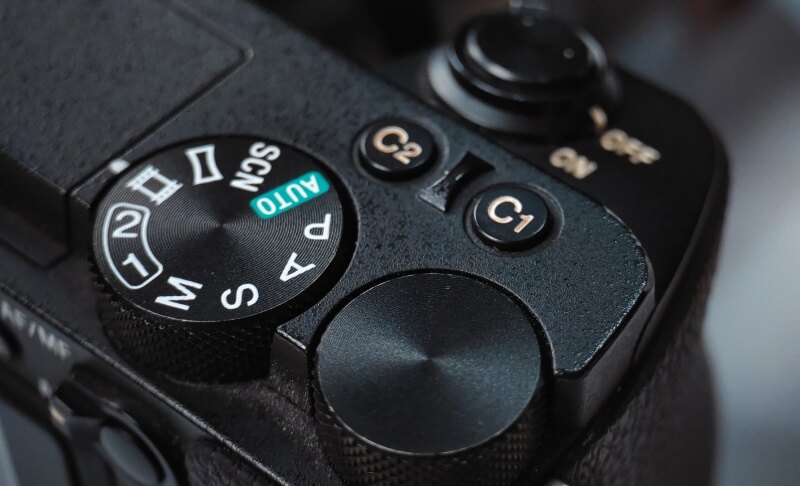
Find your camera's PASM mode dial or shooting-mode menu and select M for Manual.
Your camera will now let you manually control the exposure settings instead of automatically selecting them.
Step 2: Choose JPEG or RAW
Choose the image format before shooting.
- JPEG: Smaller files and ready to share with minimal editing.
- RAW: Stores more image data and gives you greater flexibility when adjusting exposure, highlights, shadows, and color in post-processing.
If you plan to edit your photos, RAW is generally the better choice.
Step 3: Set White Balance
Set white balance according to the lighting, such as daylight, cloudy, or tungsten.
If you're just learning how to shoot manual photography, Auto White Balance (AWB) is a convenient starting point. You can also adjust white balance later when shooting RAW.
Part 3: How to Shoot in Manual Mode
Set your exposure based on the subject, check the camera's exposure meter, take a test shot, and adjust one setting at a time.
Step 1: Set Your Aperture Based on the Look You Want
- Decide how much of the scene you want in focus.
- Use a wider aperture for a blurred background.
- Use a narrower aperture when you want more of the scene in focus.
- This is the creative decision you make first rather than simply choosing a number.
Step 2: Set a Shutter Speed Based on Movement
- Look at your subject and decide whether it is moving.
- For a stationary subject, use a moderate shutter speed that avoids camera shake.
- For moving subjects, increase the shutter speed to freeze motion.
- If you're using a tripod and intentionally want motion blur, a slower shutter speed can be used.
Step 3: Adjust ISO to Get the Right Exposure
- Look at the camera's exposure meter after setting aperture and shutter speed.
- If the image is too dark, increase ISO.
- If there is plenty of light, keep ISO lower to reduce noise.
- Think of ISO as the setting you use to balance the exposure after choosing your desired aperture and shutter speed.
Step 4: Check the Exposure
- Take a test shot and review the image.
- Check the histogram to see whether highlights or shadows are being clipped.
- Check the subject at 100% if sharpness is important.
- Don't rely on the exposure meter alone, especially with very bright or very dark scenes.
Step 5: Make Small Adjustments
- If the subject is blurry, increase shutter speed.
- If the background is not blurred enough, open the aperture.
- If the image is noisy, lower ISO if the other settings allow it.
- Change one setting at a time so you can understand what caused the difference.
Simple Manual Mode Workflow: Choose the look → control motion → balance exposure → check the result → adjust.
Bonus: Manual Exposure Control for Video - OBSBOT Tail Air Streaming Camera
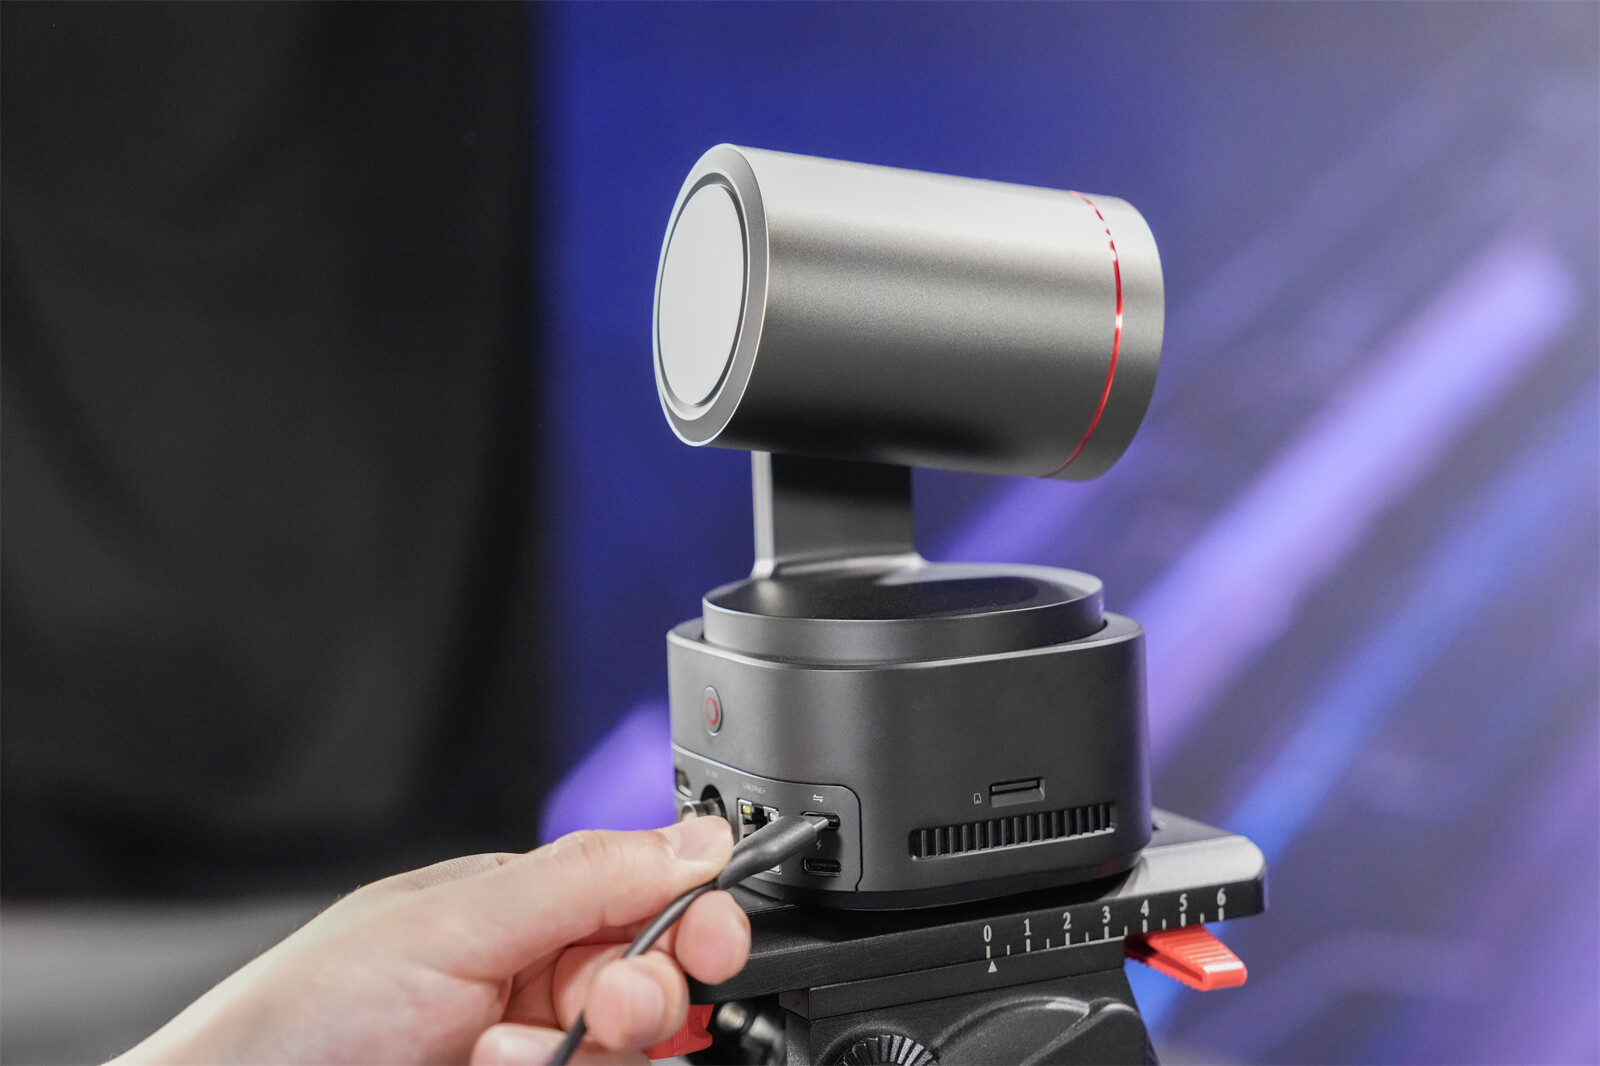
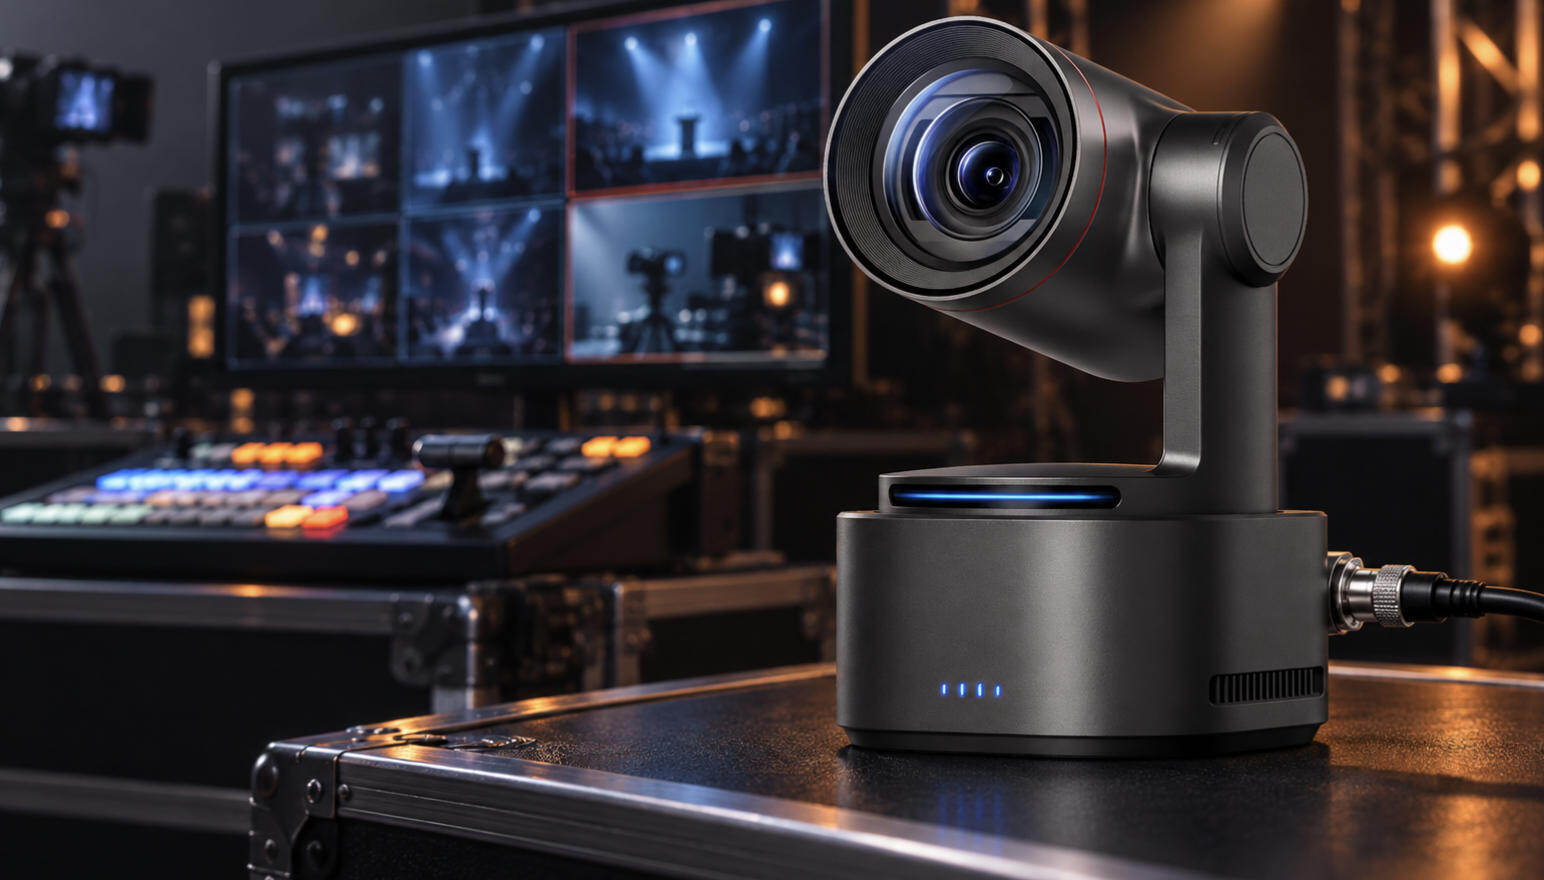
If you want to apply manual exposure control to livestreaming or video production, the OBSBOT Tail Air gives you more control over your footage. Its Manual exposure mode lets you adjust ISO, shutter speed, EV, and focus to fine-tune your image for different lighting conditions. With AI tracking and PTZ control, it also makes it easier to maintain consistent framing while recording or streaming.
Key Features:
- 4K Video: Record sharp, detailed footage for livestreaming, video production, and content creation.
- Manual Exposure: Adjust ISO, shutter speed, and EV to fine-tune exposure in different lighting conditions.
- Manual Focus: Switch to MF when you need more control over focus.
- PTZ Control: Pan, tilt, and zoom the camera remotely to adjust framing without changing your position.
- AI Tracking: Automatically keeps your subject in frame during livestreams and video recording.
Part 4: Recommended Manual Mode Settings for Common Scenarios
The following settings are starting points, not fixed rules. Lighting, lens choice, subject movement, and camera performance can all change the ideal settings.
| Shooting Scenario | Aperture | Shutter Speed | ISO |
|---|---|---|---|
| Portrait | f/1.8–f/2.8 | 1/125–1/250s | 100–800 |
| Landscape | f/8–f/11 | 1/60s+ | 100–400 |
| Street photography | f/4–f/8 | 1/250s+ | 100–800 |
| Sports/action | f/2.8–f/5.6 | 1/500s+ | 400–3200+ |
| Night photography | f/1.8–f/4 | 1/30s or slower | 800–3200+ |
| Long exposure | f/8–f/11 | Several seconds+ | 100–400 |
For how to shoot manual DSLR cameras, the controls may vary between Canon, Nikon, Sony, Fujifilm, and other brands, but the exposure principles remain the same.
For example, when shooting sports, shutter speed is usually the priority. When shooting portraits, aperture often matters more. For landscapes, a narrow aperture and low ISO can be useful when sufficient light is available.
Part 5: Tips for Practicing and Mastering Manual Mode
The easiest way to learn manual mode is to practice one setting at a time before combining all three.
- Start with aperture and compare photos taken at different f-stops.
- Practice shutter speed with moving subjects to see how it affects motion.
- Experiment with ISO in different lighting conditions to understand noise.
- Use Aperture Priority or Shutter Priority as a bridge before switching to full Manual.
- Shoot the same scene with different settings and compare the results.
- Practice regularly in bright, indoor, low-light, and changing conditions to build familiarity.
With practice, you'll become faster at choosing settings without relying on fixed numbers.
FAQs About How to Shoot in Manual Mode
1. What should I set first in manual mode?
Start with the setting that matters most for your shot, usually aperture for depth of field or shutter speed for motion. Then set the other exposure controls and adjust ISO to achieve the desired brightness. There is no universal order that works for every scene.
2. What are the best manual settings for beginners?
A simple starting point is f/4–f/8, 1/125s or faster, and ISO 100–400 in good light. Adjust these settings according to your subject and lighting rather than treating them as fixed values.
3. Should beginners shoot in full manual mode?
Full Manual is useful for learning the exposure triangle, but beginners do not need to use it for every photo. Reddit photography discussions frequently recommend practicing Manual to understand the settings, while using Aperture Priority or Shutter Priority when speed matters.
4. Is manual mode better than Aperture Priority?
Manual mode gives you more direct control, but it is not automatically better. Manual is useful when you want consistent exposure or control over both aperture and shutter speed. Aperture Priority can be more convenient when lighting changes quickly or when depth of field is your main concern.
5. What ISO should I use in manual mode?
Use the lowest ISO that still lets you achieve the required aperture and shutter speed. Start around ISO 100–400 in bright conditions and raise it when there is not enough light. A higher ISO may introduce noise, but a sharp, properly exposed photo is often more useful than a blurry image caused by a shutter speed that is too slow.
Conclusion
Learning how to shoot in manual mode becomes much easier when you focus on the exposure triangle instead of memorizing settings. Choose aperture based on depth of field, shutter speed based on motion, and ISO based on available light. Start with one setting at a time, practice in different conditions, and use your camera's meter and histogram to guide adjustments. With regular practice, manual exposure will become more intuitive.