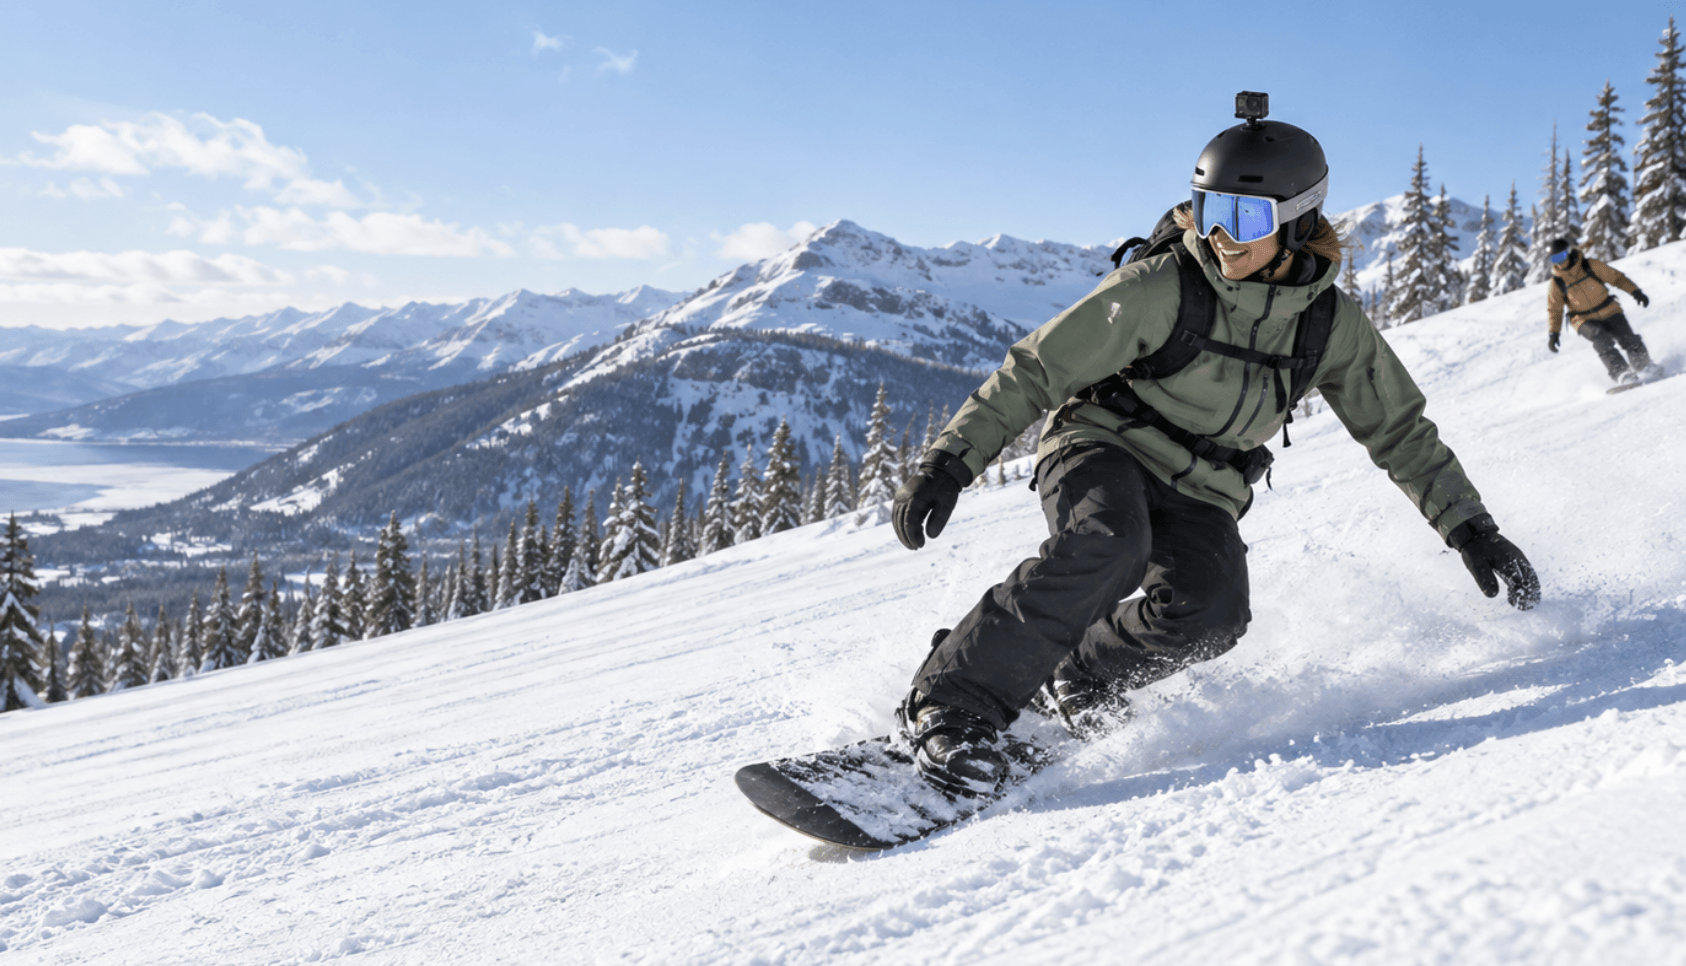
The best snowboard camera depends on the shot you want. A helmet-mounted action camera records what you see; a 360° camera lets you choose the angle after the run; a tiny wearable camera keeps your setup light. If you want to film someone else from the side of a slope, that calls for a different setup altogether.
For most beginners, the smartest purchase is a camera you can mount securely, operate with gloves, and keep powered through several short runs, not simply the one with the highest resolution.
Compare the Six Snowboard Cameras
| Camera | Best for | Weight | Waterproof without case | Video option | Reference price | Cold-weather battery evidence |
|---|---|---|---|---|---|---|
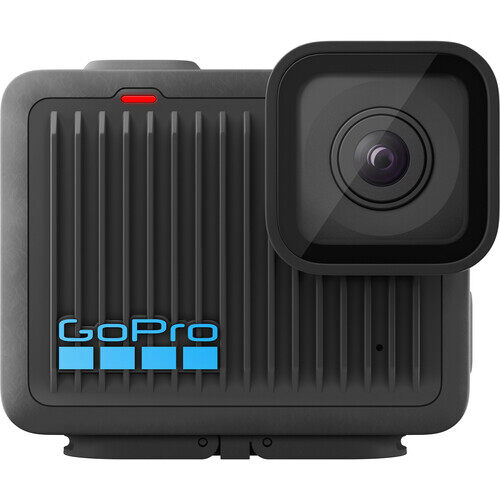
| GoPro HERO | Basic helmet POV on a tighter budget | 86 g | 5 m | 4K/30; 2.7K/60 | $219.99 | Allow roughly 45–75 min at 4K/30 as a conservative winter planning range |
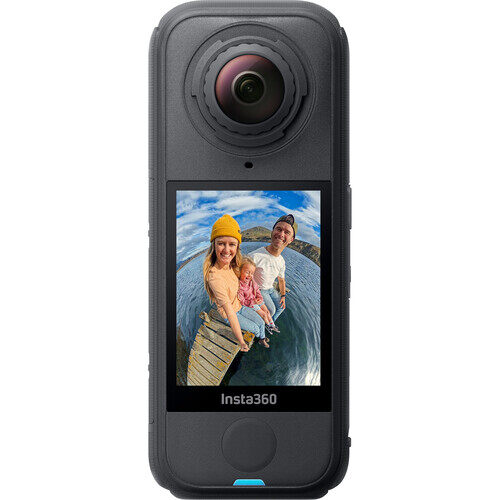
| Insta360 X4 Air | Lighter, lower-cost 360° filming | 165 g | 15 m | 8K/30 in 360° | $399 | About 80–90 min at −20°C, 8K/30, screen off, in a laboratory test |
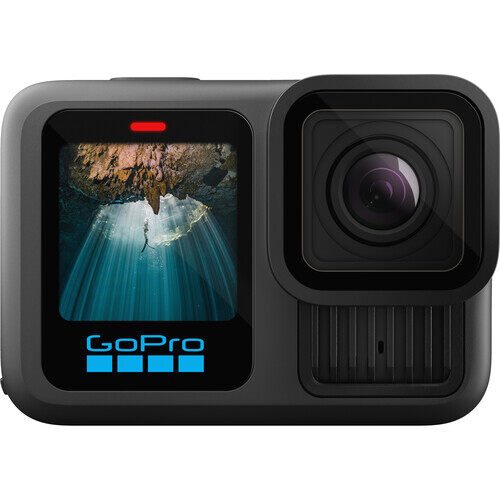
| GoPro HERO13 Black | Conventional helmet or chest POV | 159 g | 10 m | 5.3K/60; 4K/120 | $379.99 | Roughly 60–85 min around −10°C, depending on 4K settings and screen use |
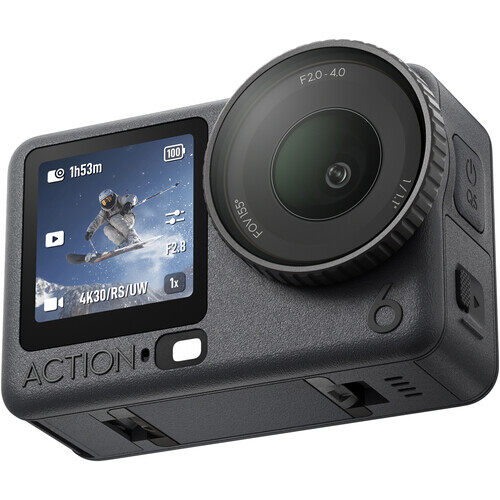
| DJI Osmo Action 6 | Wide POV and longer recording sessions | 149 g | 20 m | 4K/120; 155° field of view | $416 sale price | About 150–170 min at −20°C in a 1080p/24 laboratory test; less at 4K |
| Insta360 GO Ultra | Minimal-weight wearable shots | 52.9 g, camera only | 10 m, camera only | 4K/60 | $449.99 | 28–39 min at −20°C, standalone camera, in a laboratory test |
| Insta360 X6 | Higher-end 360° footage | About 196 g | 20 m | 8K/50 in 360° | $699.99 | About 130–140 min at −20°C, 8K/30, screen off, in a laboratory test |
1. GoPro HERO — a simple first helmet camera
The HERO makes sense if you mainly want to replay a run from your own point of view. At 86 g, it adds little weight to a compatible helmet mount, and 4K/30 is enough for ordinary ride footage. Switch to 2.7K/60 when you want to slow a turn to half speed in a 30 fps edit. Considering there is no front-facing preview screen, better record a short test clip while standing still, then check whether the horizon and board tip are where you want them before starting a full run.
Core advantage: Small, straightforward, and the least expensive option here.
Limitation: Its battery is built in, so you cannot swap a fresh one on the lift. Its video stabilization is applied through the GoPro Quik app, adding a step before sharing. For winter planning, allow roughly 45–75 minutes of 4K/30 recording per charge, but treat that as a conservative allowance rather than a verified low-temperature runtime. Recharge between filming sessions if you can.
2. Insta360 X4 Air — the lighter 360° choice
A normal camera records only where it points. The X4 Air records all around you, so you can decide later whether the edit should show your board, the rider beside you, or the mountain behind. Its 165 g body and 8K/30 360° mode make it a useful middle ground for riders who want reframing without paying for a flagship 360° camera.
Besides, its lenses can be replaced with a separately available replacement kit. That does not make a fall harmless, but it is useful to know when choosing a 360° camera whose lenses face outward on both sides.
Core advantage: One run can produce several different-looking angles.
Limitation: You must reframe the footage in an app or editor, and an "8K 360°" file does not become an 8K flat clip after cropping. Its two exposed lenses also need more care than a conventional action-camera lens.
3. GoPro HERO13 Black — the familiar all-round POV option
Choose the HERO13 Black if your priority is a dependable-looking helmet or chest view that is ready to edit without first choosing an angle from a 360° file. It records 5.3K/60 for detailed regular-speed footage and 4K/120 when you want to examine a fast turn or small feature in slow motion. Its removable Enduro battery is more practical than the basic HERO's sealed battery on a full mountain day.
Core advantage: Strong video options, in-camera stabilization, and a broad mounting system.
Limitation: It cannot record behind or beside you at the same time; optional lens accessories add cost. Around −10°C, roughly 60–85 minutes per Enduro battery is a useful expectation for 4K shooting, but higher frame rates and active screens can move you toward the lower end. Bring a warm spare rather than counting on one battery for every run.
4. DJI Osmo Action 6 — wide views and flexible recording
The Action 6 is a good fit when you want a broad view of the slope and a conventional video file rather than a 360° editing workflow. Its 155° field of view helps keep both the terrain and the board in frame; 4K/120 gives you room for slow motion. DJI rates the camera for operation down to −20°C and for waterproofing to 20 m without a case.
About 50 GB of usable built-in storage offers Action 6 a fallback if you arrive at the mountain without a microSD card or fill one during a run. It is still sensible to bring a card for a full day of 4K footage.
Core advantage: Wide, stabilized POV footage, and removable power.
Limitation: It still records only where it is aimed. A controlled test reached up to 167 minutes at −20°C, but that was at 1080p/24 with Wi-Fi and screens off. Think of roughly 150–170 minutes as a low-demand cold-weather benchmark, not a promise for 4K/60 or 4K/120 snowboarding footage. Pack a spare battery for higher-quality recording. See the test conditions.
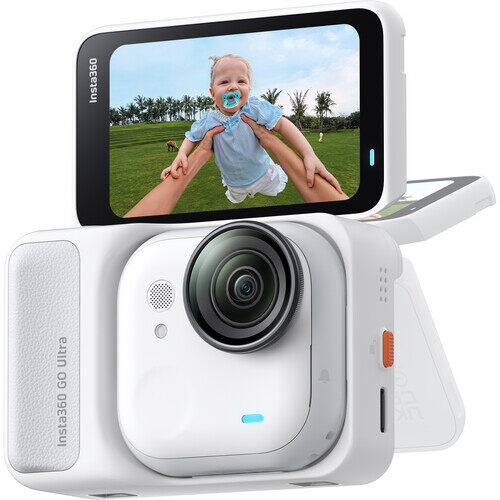
5. Insta360 GO Ultra — a small camera worth considering
The standalone GO Ultra weighs just 52.9 g. That makes it appealing for a compact chest, clothing, or alternative helmet-compatible mount when a larger camera feels intrusive. It shoots 4K/60, and its standalone camera is waterproof to 10 m.
FreeFrame Video lets you choose a horizontal or vertical aspect ratio after recording. That is useful if the same snowboarding moment needs a landscape version for a longer video and a portrait version for social media; check that the mode's frame-rate options suit your planned shot.
Core advantage: Very little camera weight on the rider. In a −20°C test, the standalone camera lasted approximately 28–39 minutes.
Limitation: Those short camera-only sessions need planning. Its Action Pod extends use but is only IPX4 splashproof, so do not treat the complete setup as a 10 m waterproof unit. Use a secure mount and safety tether rather than relying on a magnet alone during a fall.
6. Insta360 X6 — a higher-end 360° option
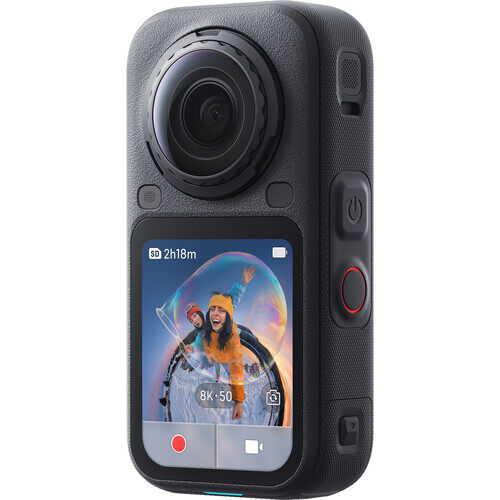
The X6 is for creators who know they will use 360° reframing regularly. Its 8K/50 mode offers more motion flexibility than the X4 Air's 8K/30 mode, and the camera is rated waterproof to 20 m. A 360° view is especially helpful when the rider turns away from the camera or when you want one pass to supply both forward-facing and follow-style edits.
It has 47 GB of usable built-in storage in addition to microSD support. That can save a short filming session if you forget a card.
Core advantage: Greater 360° frame-rate flexibility and room to experiment with composition after filming.
Limitation: At about 196 g and roughly $700, it is the heaviest and most expensive camera in this list. It also brings larger files, an extra reframing step, and two lenses that must be protected. Its approximately 140-minute result at −20°C was measured in a laboratory at 8K/30 with the screen off; use roughly 130–140 minutes as a planning reference for that mode.
Which Type Should You Buy?
Start with the footage, then the specifications.
- If you want to watch your own turns and share clips quickly, choose a conventional action camera such as the HERO13 Black or Action 6.
- If you often discover after a run that the best action happened beside or behind you, the X4 Air is the more accessible 360° choice.
- The X6 makes more sense if 360° editing is already part of your routine.
- The HERO covers basic POV at a lower price, while the GO Ultra prioritizes minimal camera weight.
Before buying, add the cost of a suitable mount, a safety tether, storage, and a spare. Check your helmet maker's mounting guidance and your resort's filming rules.
How to Film a Snowboard Run: A Beginner's Shot List
You do not need tricks or a second camera to make a run interesting. Pick a quiet, familiar groomed trail, agree on your route, and make two or three short passes.
- Set the camera before moving. For a normal action camera, begin at 4K/60 with stabilization on and a wide view. Check that the horizon is visible and that your board tip appears near the bottom of the frame. Use 4K/30 if you need simpler files or longer battery life. For a 360° camera, use its 360° mode and decide on the crop afterward.
- Record a five-second opening shot. From a safe stationary position, show the trail, lift, or mountain before the rider enters. This gives viewers a sense of place.
- Capture the start and three linked turns. Begin recording before you push off. Keep one continuous helmet or chest shot through three clear heel-side and toe-side turns. Do not stop the clip the instant the last turn ends.
- Add one side view if a friend can film. Have the friend stand well outside the riding line on an approved, visible side of the slope. Frame the rider approaching at an angle, making a turn, then leaving the frame. Never position the camera operator below a jump landing or ask them to ride backward while filming.
- Film one manageable detail. A gentle edge change, small roller, or clean stop is enough. Shoot it at 4K/60; try 4K/120 only if the camera supports it and the light is bright. On a 30 fps timeline, 60 fps footage can play at half speed.
- Finish with context. Record five seconds of the rider stopping, unstrapping, or looking back up the run. In the edit, use the opening shot, one continuous section of riding, the side view, and the finish. The viewer should understand the whole run—not see only disconnected turns.
Snow can fool automatic exposure into making the image too dark or blowing out bright highlights. Check one test clip before the real run. If the snow loses all texture, try a small negative exposure adjustment, such as −0.3 EV, and check again. Wipe snow from the lens between takes; keep spare batteries in an inner pocket, but follow the manufacturer's temperature guidance for charging.
Bonus: Filming a Rider From Far Away With OBSBOT Tail 2
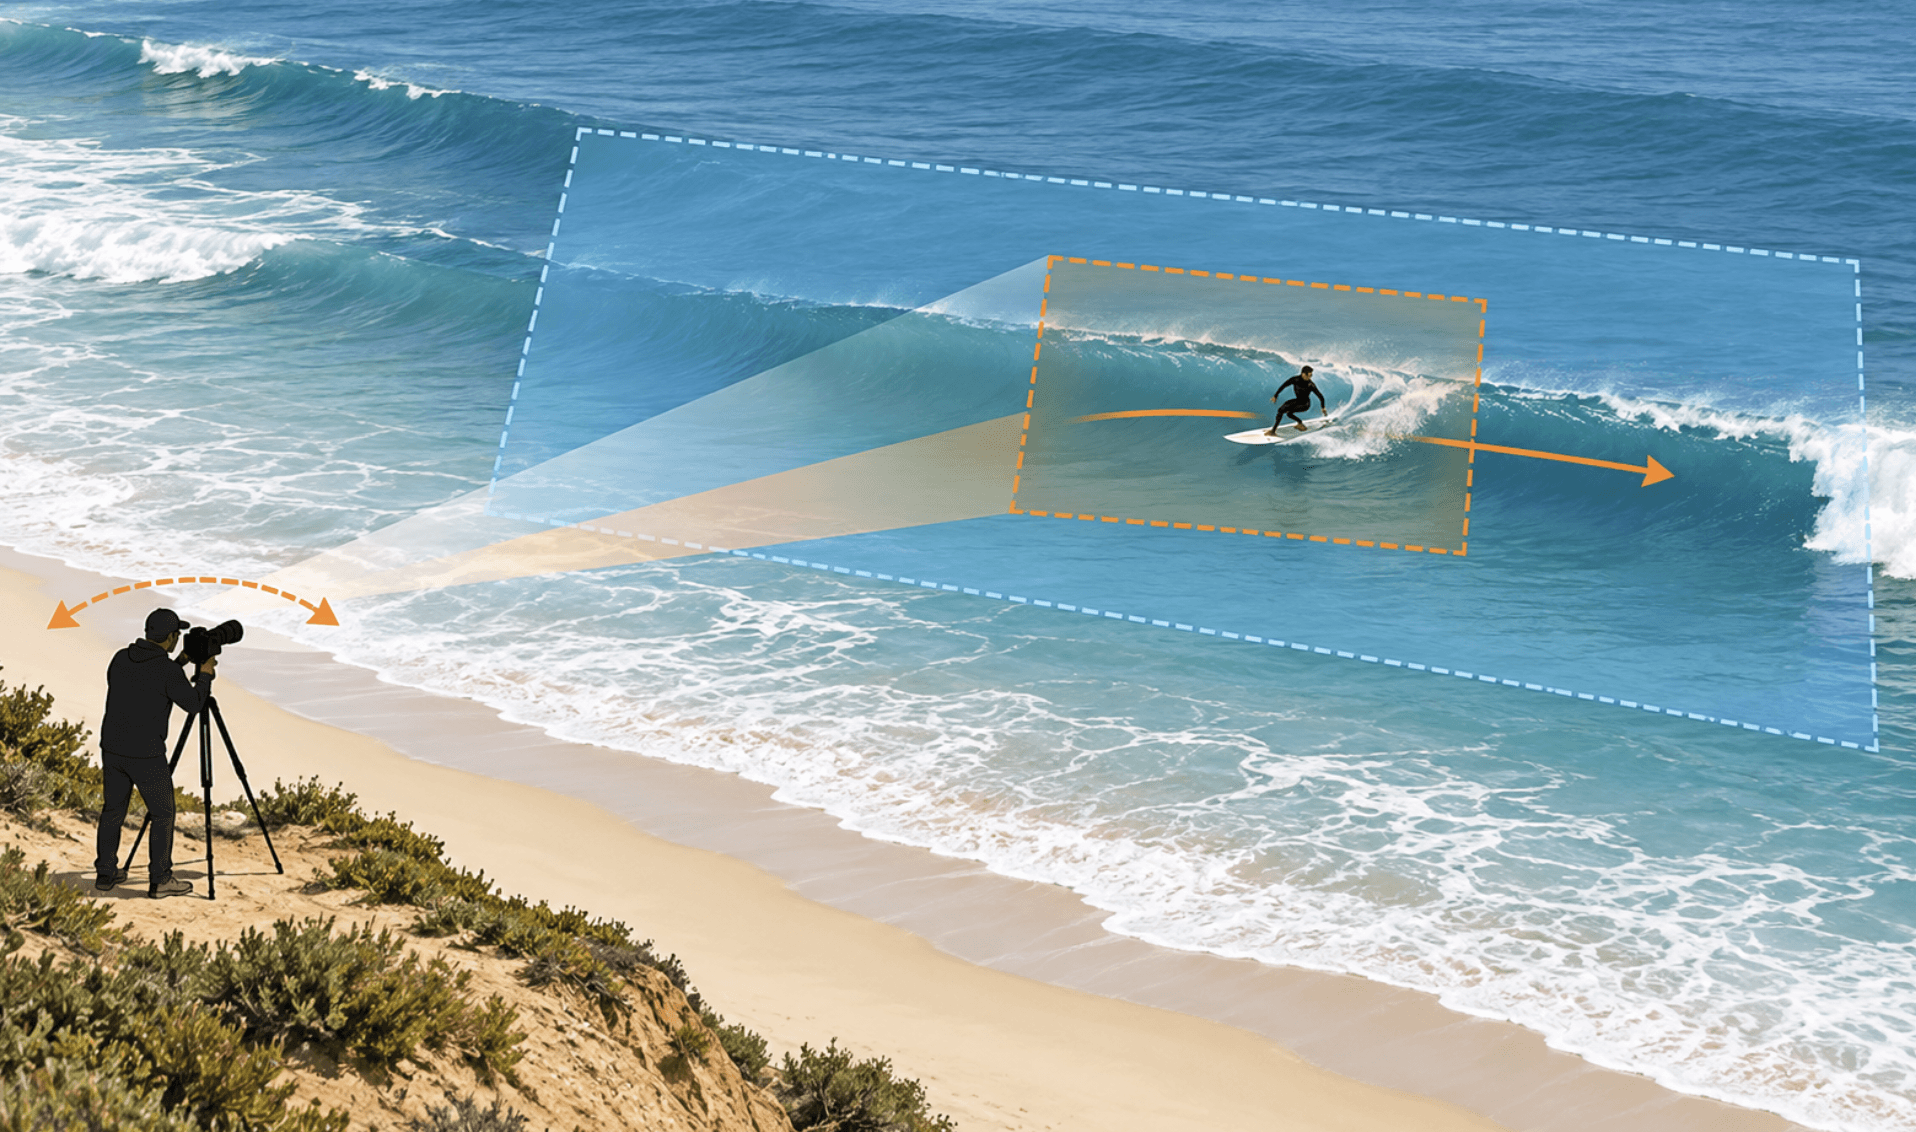
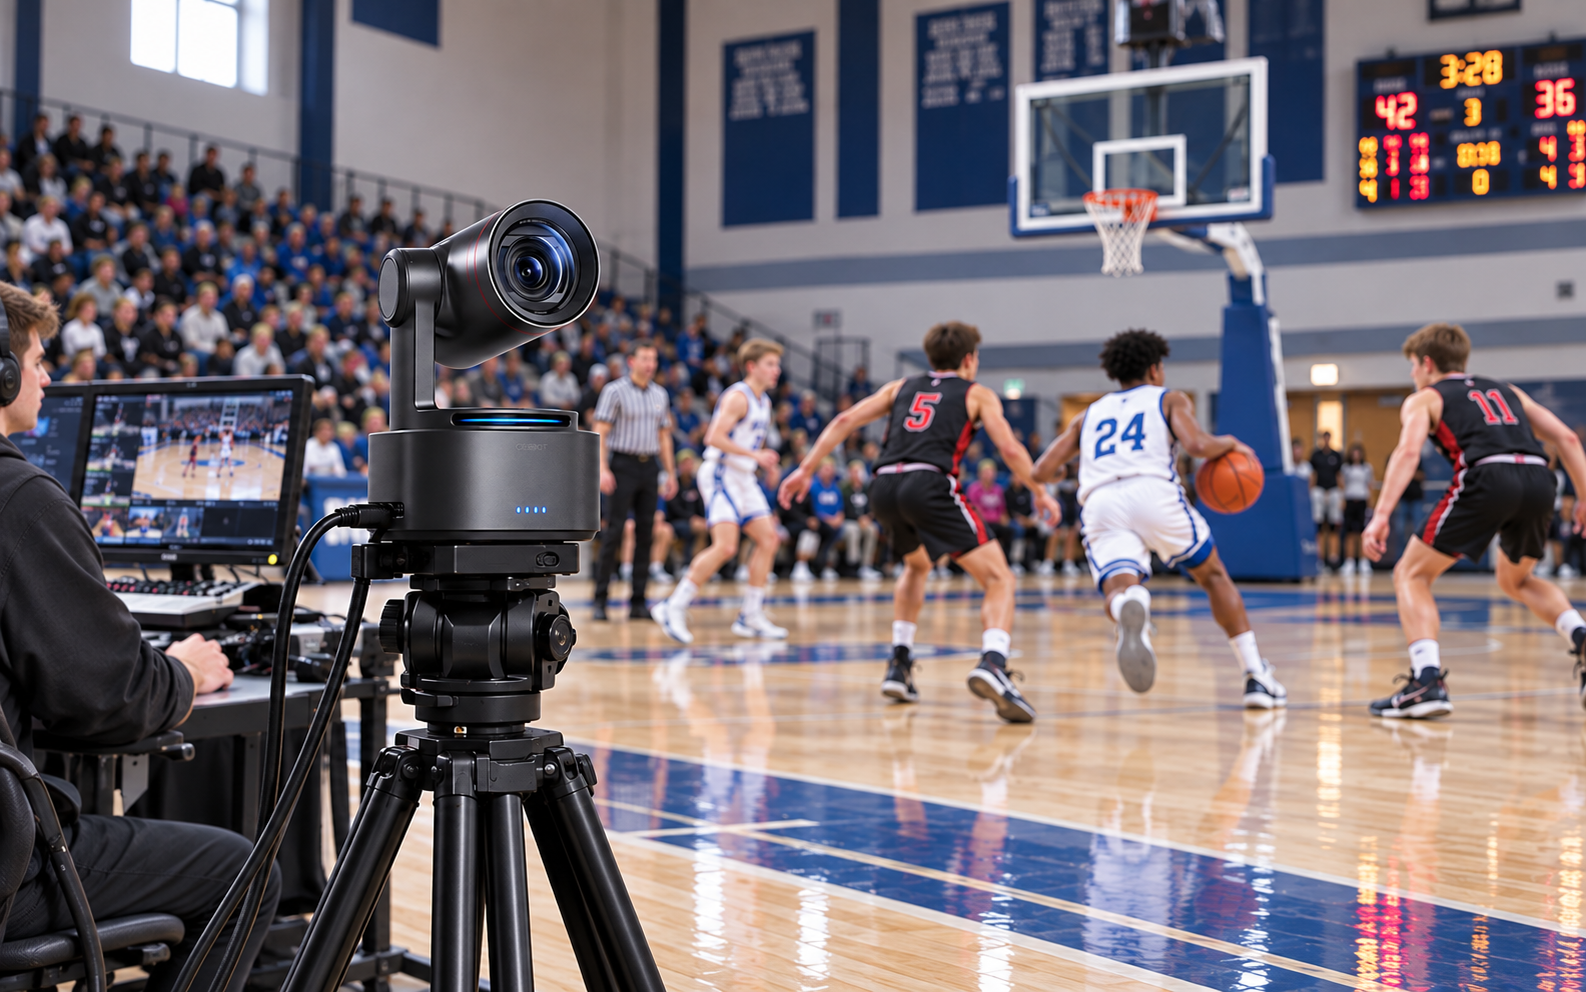
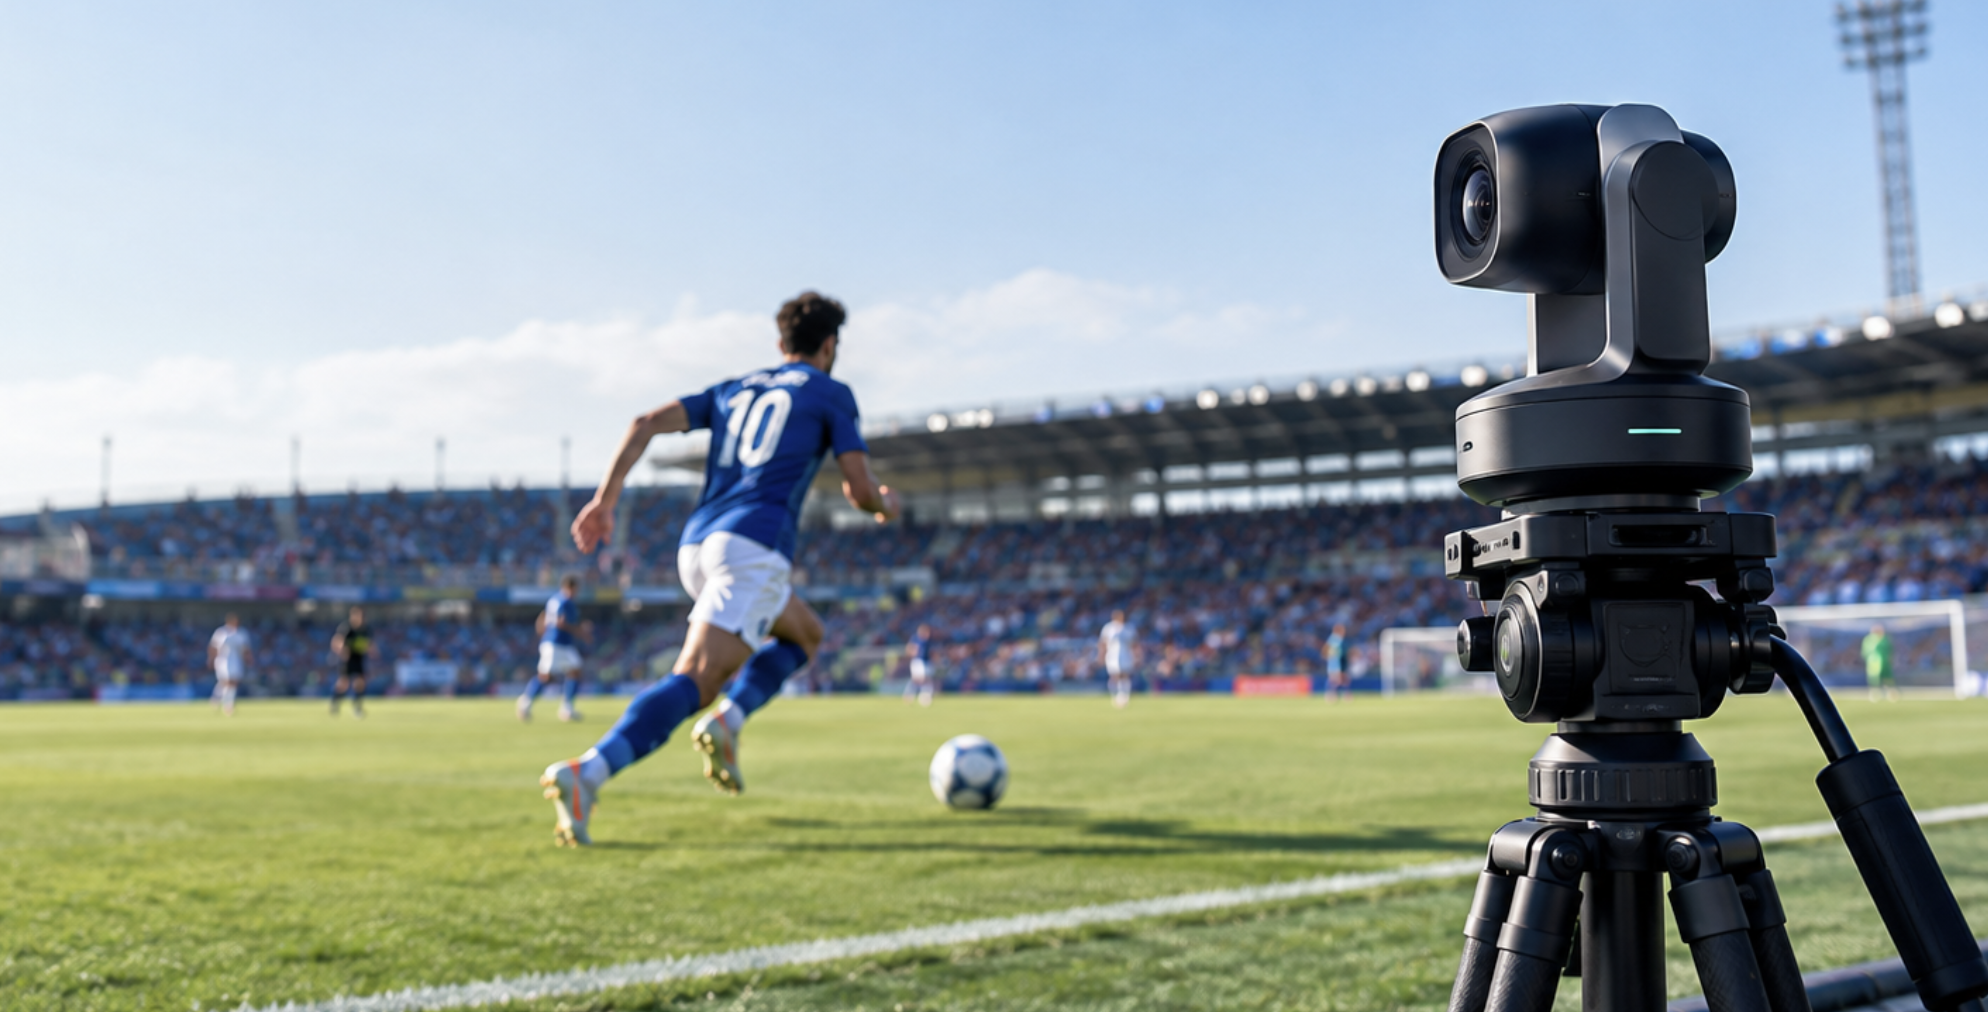
A helmet camera cannot show the full shape of someone else's run from the side. If you have permission to film from a fixed, sheltered position—such as a designated training area or controlled event—OBSBOT Tail 2 offers a different angle. Its motorized pan-and-tilt movement, AI tracking, and 5× optical zoom can help one operator follow a rider across a defined section while an action camera captures POV.
Treat it as a stationary supplementary camera, not as a wearable snowboard camera, and it is not presented as a waterproof snow camera, so use appropriate shelter and power protection, and confirm the venue permits a fixed setup.
FAQs
Is a helmet mount or chest mount better for a first run?
A helmet mount shows where you look and usually keeps the horizon clear. A chest mount can show more board and hand movement but may point into your knees when you crouch. Record a short test from each position before committing to a full day.
Do I need 360° video to film snowboarding?
No. Choose 360° if you want to select camera direction during editing or create a third-person look. For straightforward POV clips with minimal editing, a conventional wide-angle action camera is simpler.
Will a waterproof rating protect a camera from every fall?
No. A depth rating describes water resistance under specified conditions; it does not guarantee resistance to impact, a loose battery door, or a damaged lens. Check seals and mounts before every run.
What should I do if the battery drops quickly in the cold?
Film planned clips rather than leaving the camera running on every lift and descent. Keep removable spare batteries warm in an inner pocket and swap them before a key run. Do not assume a runtime measured in one recording mode applies to higher-resolution or higher-frame-rate filming.
Conclusion
For a first snowboard camera, match the camera to your shot: simple POV, lightweight wearable, or editable 360°. Secure mounting and a short, repeatable shot list matter more than chasing the largest resolution number. Add a sheltered fixed camera only when you need a separate long-distance view.