Surf Videography: How to Film Surfers from Shore in 2026
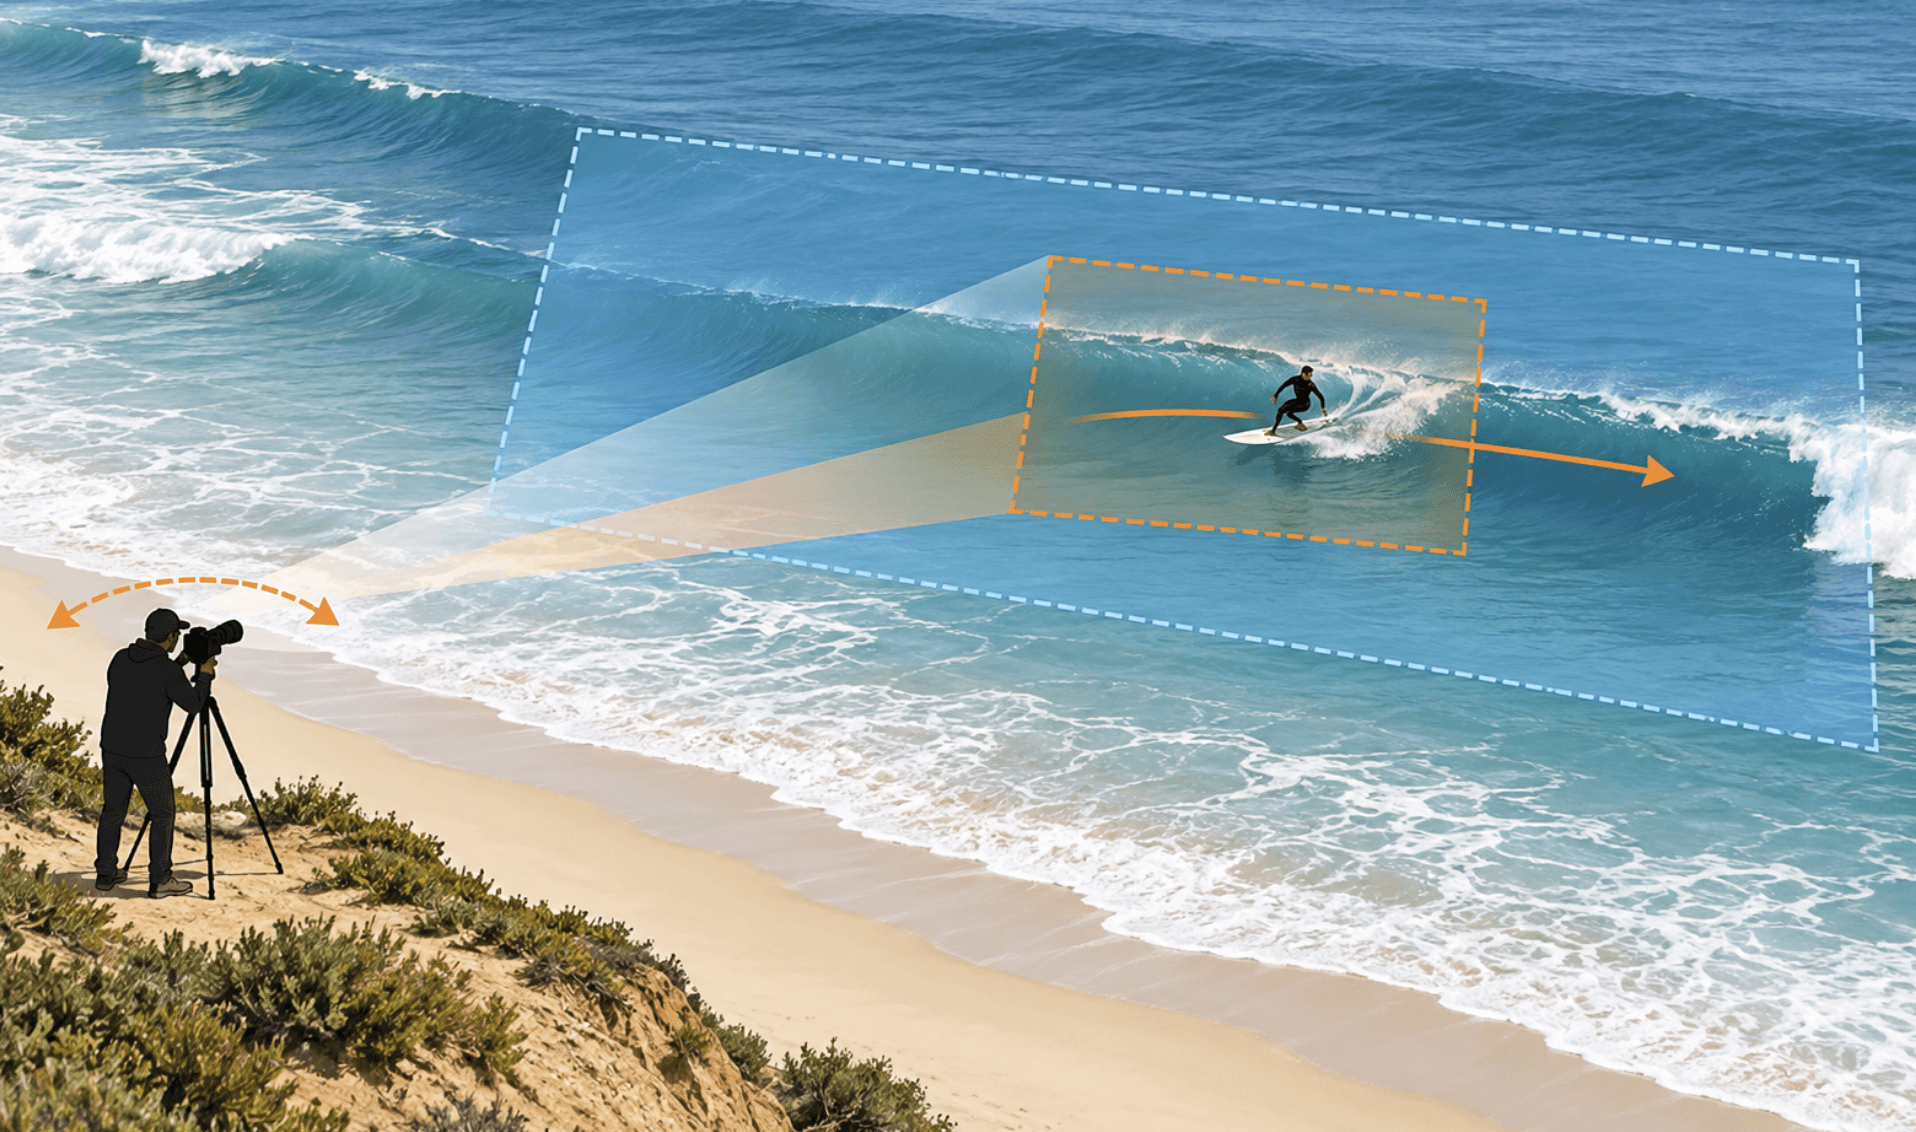
A surfer can look tiny from the beach, even when the wave looks enormous in person. Before choosing gear for surf videography, decide whether your viewer needs to see the entire ride for coaching, a tight turn for a highlight, or the atmosphere around the break. That choice determines how close you frame, how much zoom you need, and whether a second camera in the water is worth the effort.
In this guide
Essential Gear for Surf Videography
Choose a camera for its position
For filming complete rides from shore, prioritize enough optical reach and a stable way to follow the surfer.
A long-zoom camera or a mirrorless camera with a telephoto lens can do this; an action camera usually cannot make a distant surfer large enough in the frame. If you also need sharp still photographs, a mirrorless body gives you more control over lenses and photo capture.
A water-level camera has a different job: show how the wave feels from close range. An action camera is the simpler entry point. A mirrorless camera can produce more flexible images in the water, but it needs a compatible waterproof housing and lens port. Do not take a shore-based camera into the surf simply because it is described as weather-resistant.
Match the lens to the break
Use full-frame-equivalent focal length when comparing systems; a lens marked 350mm on an APS-C camera does not frame the same way as 350mm on a full-frame camera.
- Close break or wide environmental shots: Approximately 70–200mm equivalent can keep the surfer visible while showing the shape of the wave.
- Many shore-based action shots: Treat 400–600mm equivalent as a practical range to test. The right number depends on how far out the wave breaks and how much of the ride must stay in frame. Experienced surf shooters discussing distant breaks also emphasize a long lens and a fluid-head tripod, while noting that even 400mm may be short at some locations.
- Very distant break: More than 600mm equivalent may help fill the frame, but the narrow view makes it harder to find the surfer again after a turn or a wall of spray. Start wider, acquire the rider, then zoom in.
- In-water angle: Choose a wide lens for close action and confirm that the exact camera, lens, housing, and port work together. For example, Ikelite mentions that its Sony 10–20mm setup needs a compatible dome port to preserve the lens's wide view.
If you are learning what zoom figures mean before shopping, see OBSBOT's optical zoom camera guide.
Bring support and protection, not just a camera
Put a long-lens shore camera on a sturdy tripod with a fluid head. Balance the camera and lens before filming; then practice following a surfer across the break without jerky starts and stops. Pack charged batteries, formatted cards, a lens cloth, a hood, and a cover for windblown sand or spray. Keep unused gear off the sand, and clean it according to the manufacturer’s instructions after the shoot.
For water-level filming, check the housing seal and port compatibility before entering. Use a secure mount or retention system, and only shoot from the water when your swimming ability, conditions, and local rules make it safe. Swim fins and a housing are not substitutes for surf awareness.
Choose a Shore Position Before You Zoom In
Stand where you can see the takeoff, the main section of the wave, and the likely end of the ride without people or rocks repeatedly blocking the shot. Before recording, watch several waves from that spot. If the rider disappears behind a section every time, move along the beach rather than relying on a longer lens to solve the problem.
Start with a frame wide enough to include the approaching wave. Follow the surfer through the takeoff, then tighten only when their path becomes predictable. Leave space in front of the rider so viewers can see where they are going. For a coaching video, keep the entire board and wave visible; for a highlight, move closer only after you have secured a complete-ride shot.
Set Frame Rate and Exposure for Moving Water
If this is your first surf video, 30p or 60p is an easy starting point. Record at 30p for straightforward, normal-speed coverage. Choose 60p when you may want a smoother-looking ride or slow motion later: on a 30p timeline, 60p footage can play at 50% speed; on a 24p timeline, it can play at 40% speed without inventing frames.
If you want a 24p finish with no planned slow motion, record 24p and use it at normal speed. It can give motion a familiar film-style cadence, but fast pans may look less smooth.
A useful starting shutter speed is roughly twice the frame rate—about 1/50 second at 24p, 1/60 at 30p, 1/125 at 60p, and 1/250 at 120p. These are starting points: a faster shutter can make spray droplets crisper but may make movement look more abrupt.
| Surf action | Resolution | Frame rate | Starting shutter speed |
|---|---|---|---|
| Paddle-in, takeoff, and complete ride | 4K | 60p | 1/125 sec |
| Tight turn or spray intended for slow motion | 1080p or 4K, if available | 120p | 1/250 sec |
| Fast aerial shown at normal speed | 4K | 60p | 1/250 sec; check motion blur |
| Wide lineup, beach detail, or interview | 4K | 30p | 1/60 sec |
Set exposure for the surfer and bright foam, not for the darkest water in the frame. If foam loses all detail, lower exposure and test again. Lock white balance when possible so the ocean does not shift color every time a white wave crosses the shot. Verify which resolution and frame-rate combinations your particular camera supports before arriving at the beach.
Best Cameras for Surf Photography and Video
These cameras serve different positions. Choose the job first; do not expect one camera to be equally good for distant rides and close-up water footage.
1. OBSBOT Tail 2
OBSBOT Tail 2 contains 5× optical zoom. Optical reach matters here because it changes what the camera captures before digital enlargement.
Its other features also includes AI Tracking 2.0, PTZ Motion Sync, and built-in NDI HX3. For a small crew, that combination is useful when one fixed shore camera must follow action and feed a recording or live-production setup. Start tracking in a wider frame and check its behavior at the actual break: spray, overlapping surfers, and sudden direction changes can still require manual correction.
2. Sony α6700 — For both stills and shore video
Sony's α6700 has a 26MP APS-C sensor, 4K recording up to 60p, and 4K up to 120p with a crop. The 26MP stills give a photographer room to crop a well-focused surf image; 4K60 is useful for recording an entire ride with some slow-motion flexibility. The cropped 4K120 mode can bring distant action closer in the frame, but it also changes your field of view, so test it before a wave arrives.
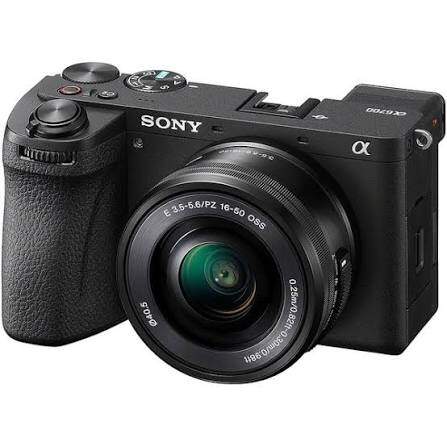
Pairing the body with Sony's 70–350mm lens gives approximately 105–525mm full-frame-equivalent framing. That is a useful span for many shore positions, though it may still be short for an unusually distant break. The lens's f/4.5–6.3 maximum aperture also means that at the long end, dim dawn or dusk light may force a higher ISO.
Its main strength is flexibility: one operator can deliberately frame photos and video and change lenses for another assignment. Its limitation is the same human workload. Someone must pan accurately at long focal lengths, manage focus and zoom, and decide when to switch between stills and video. The body is not waterproof.
3. GoPro HERO13 Black — For close water-level footage
The HERO13 Black records up to 5.3K60 or 4K120, has HyperSmooth 6.0 stabilization, and is rated waterproof to 33 feet (10 meters). At water level, its wide view can show a surfer, the approaching section, and the movement of the water in one shot. 4K120 gives you room to slow a quick turn or splash, while 5.3K provides extra resolution for reframing during editing.
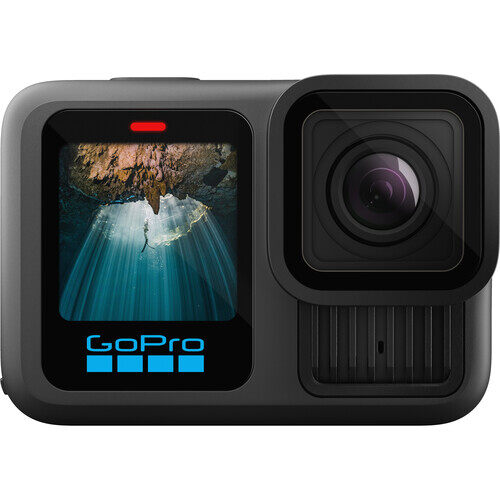
Its core weakness is reach. From the beach, a distant surfer will remain small no matter how much resolution the file contains; cropping cannot replace a long optical lens. It is best used as a second, immersive angle beside a long-zoom shore camera. A waterproof rating also does not prevent a camera from being lost in surf, so secure it and shoot within your ability.
For more camera choices across sports, not just surf, check OBSBOT's sports videographer camera guide.
Edit a Surf Video That Shows More Than the Best Turn
- Sort by surfer and wave. Name clips by rider and ride number so you do not accidentally join two different waves into one "complete" run.
- Build the full ride first. Keep the paddle-in, takeoff, main maneuver, and exit in order. Trim waiting time, but leave enough lead-in for viewers to understand the wave.
- Make a separate highlight cut. Open with a brief wide shot, then use a closer takeoff or turn. Save the strongest moment for the middle or end instead of showing every spray shot at once.
- Use slow motion selectively. Place a 60p clip at 50% speed on a 30p timeline, or a 120p clip at 25%, when the board changes direction or spray reveals the movement. Return to normal speed before the next maneuver.
- Finish for the destination. Match the color of shore and water angles, keep the horizon level, and check that a vertical crop still includes the surfer and the part of the wave they are approaching. Export the uncut ride separately if it is for coaching.
Surf Videography FAQs
Can I film surfing from shore with a phone?
Yes, for nearby waves, beach atmosphere, or a wide record of the session. For a distant break, test whether the surfer is still large enough at the phone's optical zoom setting. Heavy digital zoom will not reveal detail that was never captured.
Do I need a drone for surf videography?
No. A stable shore camera can record full rides, while a water-level camera can add an immersive angle. A drone offers a different overhead view, but adds an operator, battery limits, and local flight-rule checks. Choose it only if that angle serves the video.
How do I tell surfers apart when everyone wears a dark wetsuit?
Before the session, note each rider's board color, board shape, and any visible suit markings. Record a short wide shot as they enter the water. When riders cross, zoom out until you can identify the correct board again rather than confidently tracking the wrong person.
Can one person capture both stills and complete rides?
They can, but not reliably at the same moment with one manually operated camera. If every ride matters, keep one camera recording a continuous wide or tracking angle and use a second camera for photographs. If you have only one camera, decide which deliverable takes priority before the session.
Conclusion
Great surf videography starts with a clear job for each camera. Use long optical reach and stable support to capture complete rides from shore; add a protected wide-angle camera when you need a water-level perspective. Test your framing and exposure at the break, then edit to show each wave's full story.