Running Camera Guide: Best Setups, Angles, and Settings
Match your camera to the shot you actually need, and this gets a lot simpler.
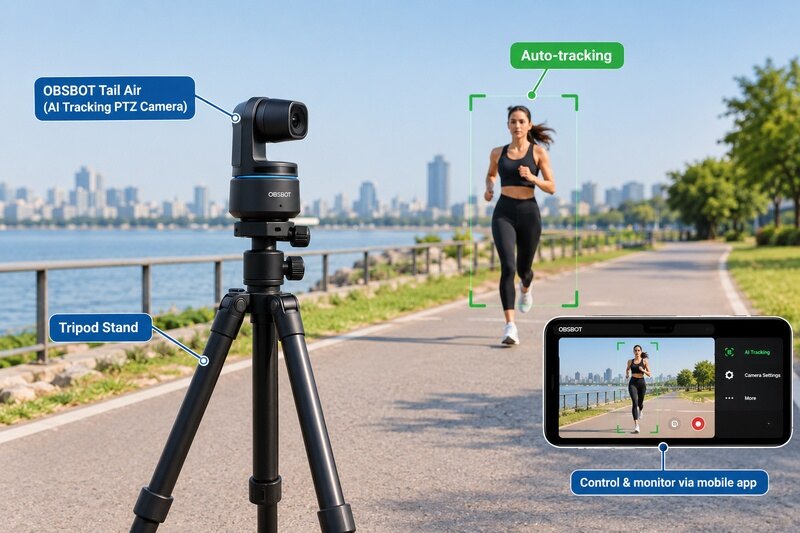
A phone or action camera works for POV. A tripod handles a controlled run-by. And if you need to stay inside one framed area without anyone operating the camera, a fixed AI-tracking camera does that job better than either. Most of the shaky, out-of-frame, constantly repositioned footage people end up with comes down to picking the wrong one of these three for the shot.
This guide walks through setups, placement, angles, settings, and a full shot list when filming yourself running.
Choose the Best Camera Setup for Your Running Video
Different goals call for different gear. Here's how the main options stack up.
| Goal | Recommended Setup | Camera Recommendation |
|---|---|---|
| First-person race or trail footage | Action camera with chest, head, or short handheld mount | GoPro Hero 13 Black, Insta360 X5, DJI Osmo Action 5 Pro |
| Simple run-by shot | Phone or camera on a stable tripod | Any recent smartphone, Sony ZV-E10 II |
| Hands-free filming in a defined area | Fixed AI-tracking PTZ camera on a tripod | OBSBOT Tail Air, OBSBOT Tail 2 |
| Creative solo reframing | 360 camera and short selfie stick | Insta360 X5, GoPro MAX2 |
Let's go through the advantages of these setups quickly :
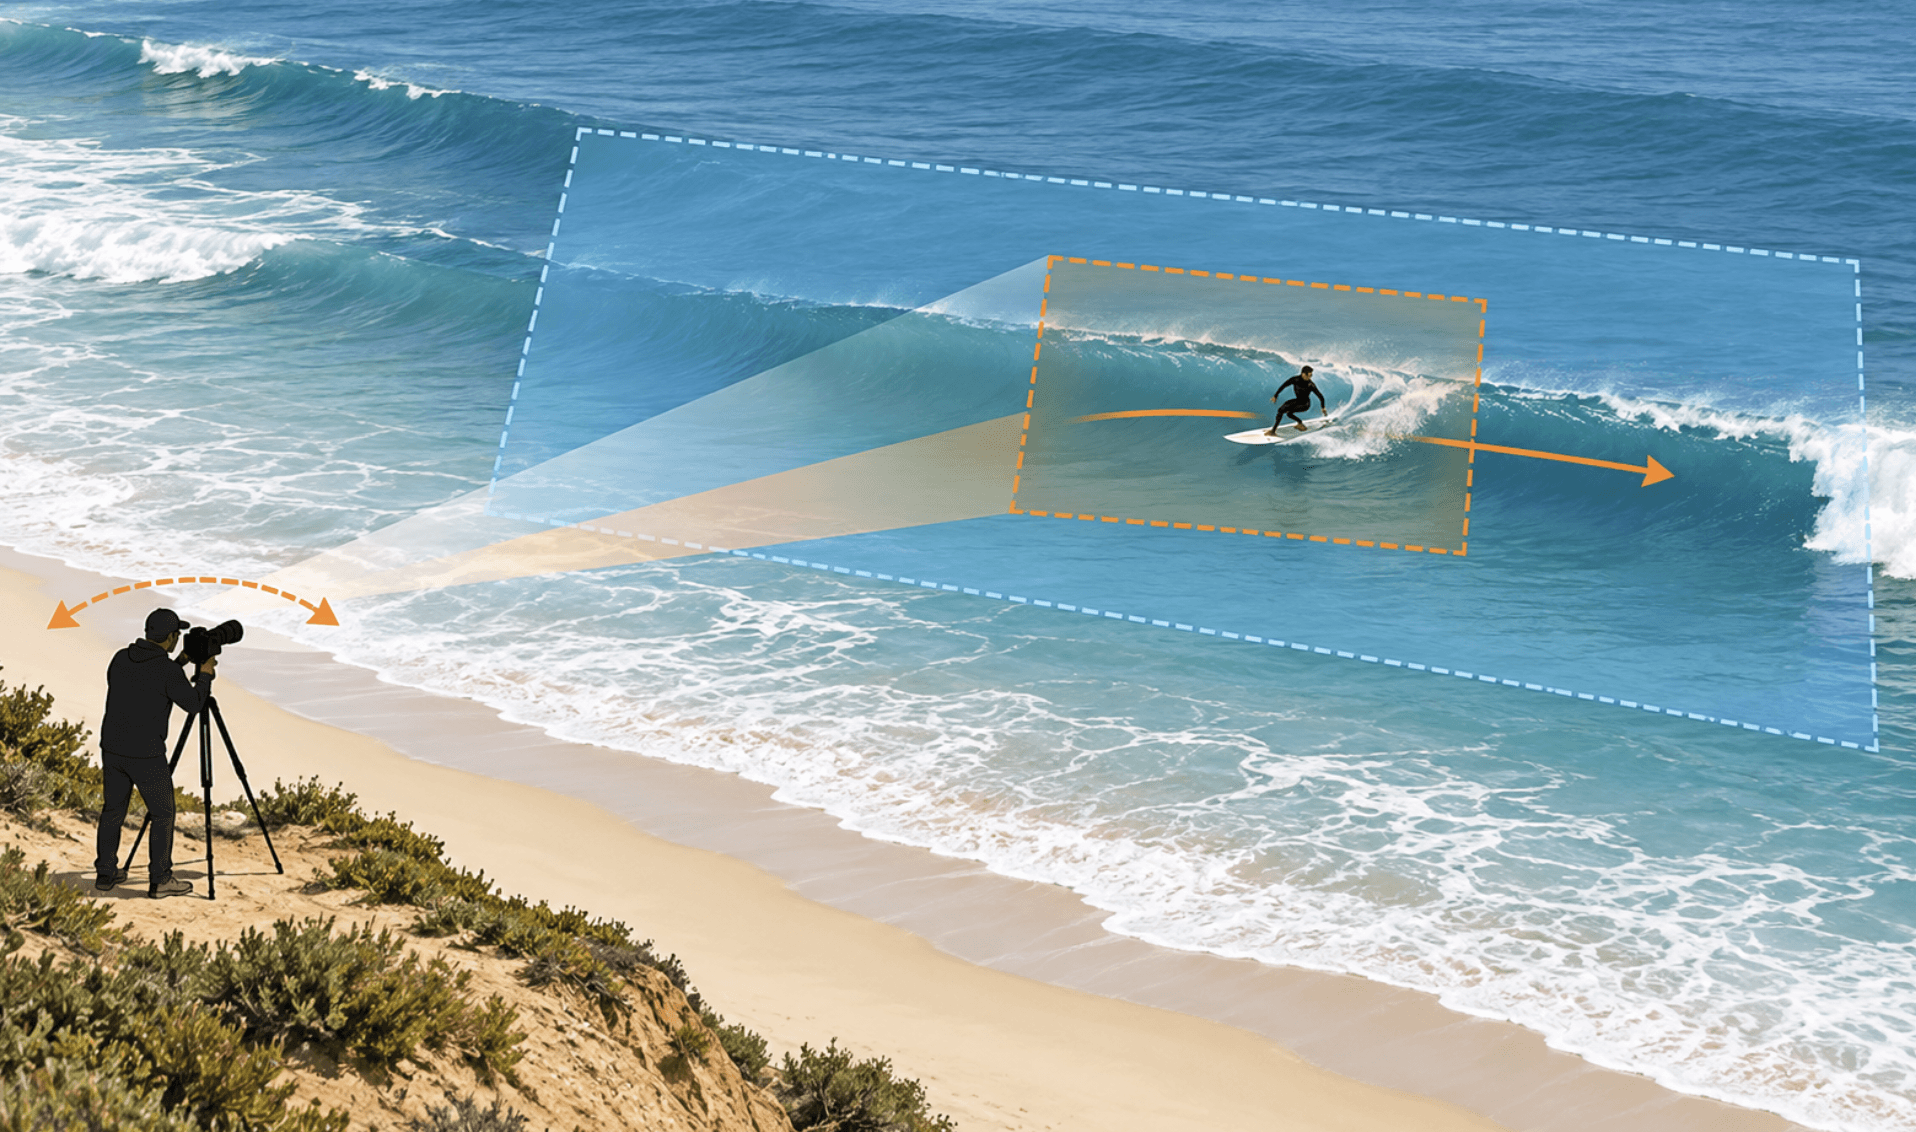
- An OBSBOT Tail Air locks onto you and holds the frame. If you set it up once at the edge of your track or driveway, it will follow you through every pass without anyone touching it. Want to stretch the zoom further to capture a full loop? The OBSBOT Tail 2 is best for the job.
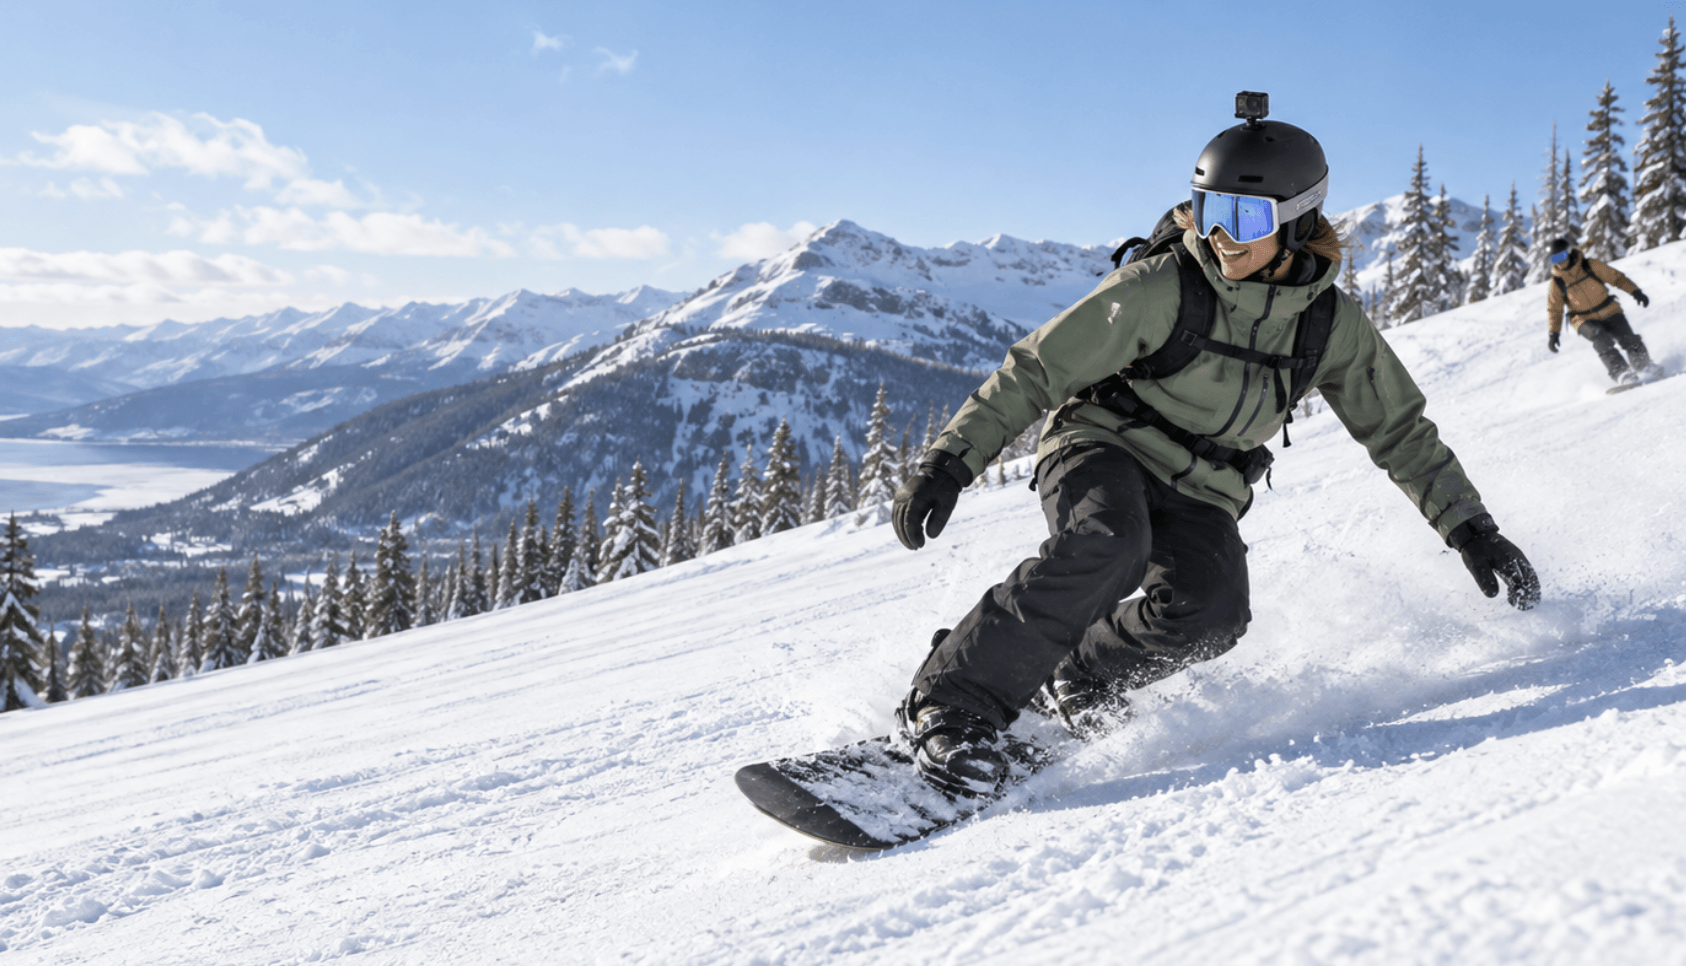
- The GoPro Hero 13 Black earns its spot for one reason: stabilization. Its HyperSmooth feature keeps the horizon level.
- If your work involves recording running sports, Insta360 X5 removes a decision you would normally make every time. It records every direction at once, and you can pick your angle afterward instead of guessing it beforehand.
- The Sony ZV-E10 II is the simplest option here, its autofocus tracks a face well enough that a single run-by shot stays sharp without pre-focusing on a marked spot first.
If you are building a wider content kit rather than a single running setup, this guide to cameras for content creators covers general-purpose options worth comparing.
How to Film Yourself Running Step by Step
This workflow works whether you are using a phone, action camera, 360 camera, or fixed tracking camera.
Step 1: Decide What the Shot Needs to Show
Pick your main goal before you press the record button. Your options are:
- POV (only a chest or head mount in the frame)
- a full-body run-by (needs a wide static shot with the whole body visible from head to feet)
- a running-form review (a side-on or rear shot)
- talking-to-camera footage (front-on frame at eye level)
- or a cinematic sequencea which usually mixes a wide establishing shot with a tighter follow-up angle.
As each of these needs different framing, it is also important that you have your platform picked before you actually start filming. Now, simply frame for the platform before you shoot.
Step 2: Choose a Safe Filming Zone
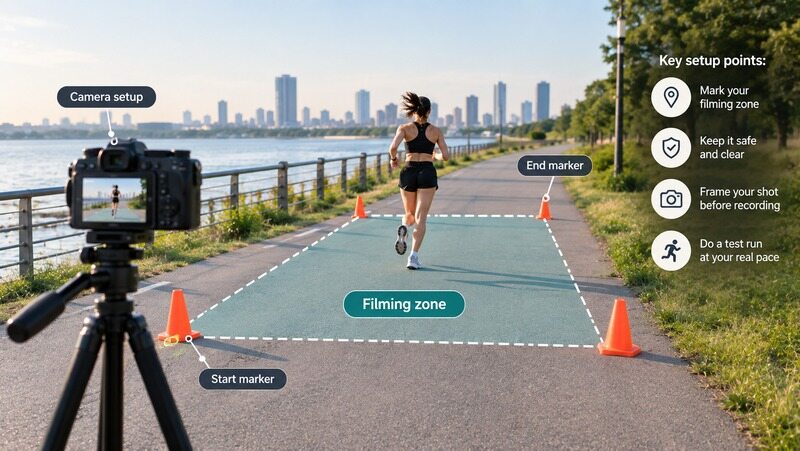
You should mark the points where you will enter and exit the frame. You can use anything that is available: a cone, or a visible landmark, ideally a 10-15 foot zone. This makes each pass repeatable. It also keeps you from drifting into traffic, or other runners mid-shot.
This repeatable zone matters even more for AI tracking. Because in that case the camera needs a consistent boundary to hand framing decisions off to.
Step 3: Frame and Test Before the Full Run
The smartest move is to record a short test pass at your actual running speed.
For a static camera, leave roughly two body-lengths of empty space in front of your direction of travel, so you don't run out of the shot mid-stride.
And if you are using AI tracking, select your subject first. Test the edges of your filming zone before you record the final take.
Step 4: Record Several Short Passes
One long take rarely gives you a usable clip. Record three to five short passes of 5-10 seconds each from the same setup. Change one variable at a time between passes- angle, pace, or distance, so you end up with real options to choose from in the edit, instead of a single imperfect recording you are stuck with.
Best Camera Angles for Running Videos
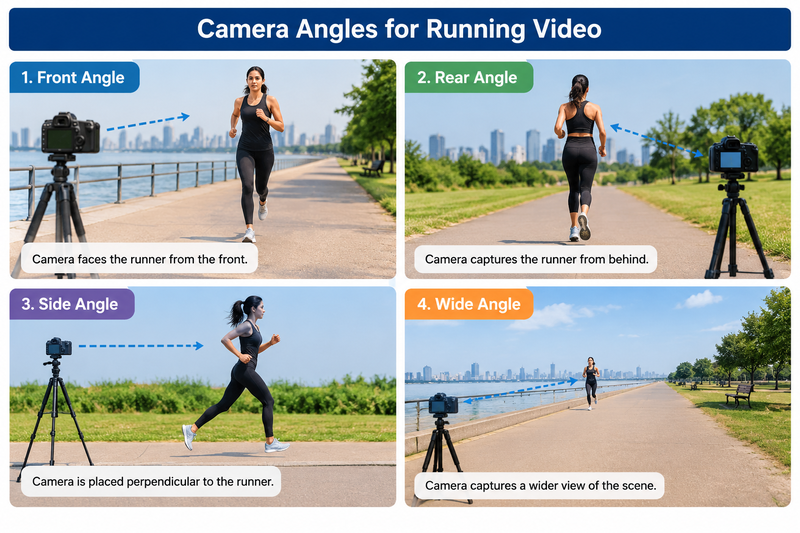
Each angle tells a different story about the run.
| Angle | What It Shows | Best Use |
|---|---|---|
| Front-on | Face, posture, breathing | Motivational or talking-to-camera clips |
| Rear | Stride length, foot strike | Running-form review |
| Side | Full stride cycle, cadence | Coaching and technique breakdowns |
| Wide | Runner within their environment | Trail footage, scale, and setting |
A rear angle is the one most coaches ask for. It shows overstriding and foot placement clearly without forcing the runner to slow down or adjust their gait for the camera. A side angle set at hip height captures the most complete stride. A camera placed at ground level exaggerates stride length.
One placed too high flattens it instead. Hip height, roughly 35-40 inches off the ground for most adult runners, is the closest to a neutral perspective. A wide shot works best on trails or scenic routes, where the environment is part of the story.
As clearly, there's more room on either side of the runner to absorb a slightly early or late trigger; it's also the most forgiving frame if your test pass wasn't perfectly timed.
Best Camera Settings for Running Videos
A setting only matters if you can see its effect in the footage. Here's what each one changes.
- Autofocus: Use continuous autofocus or subject tracking if you want the runner to stay sharp as the distance changes. For a predictable run-by, pre-focus on your marked zone if autofocus hunts for the subject. Hunting mid-run is hard to fix in the edit, so it's worth catching in the test pass.
- ISO: Start with Auto ISO when light changes quickly, such as running in and out of tree cover. Set a maximum ISO limit if your camera allows it. Capping it around ISO 3200 in daylight, or ISO 6400 for a dawn or dusk run, keeps noise from climbing without limit as the light drops.
- White balance: Use a fixed daylight or cloudy setting when several clips need to match in color, especially if you're editing multiple takes into one video. Auto white balance is fine for a quick, one-off setup where color matching doesn't matter.
- Stabilization: Use it for wearable or handheld footage. The highest stabilization setting isn't always the best choice. It can crop the frame tighter than expected, and it can drain the battery faster than a moderate setting does.
- Audio: Record a short test clip before the real take. Wind protection matters more than microphone specs for outdoor running audio. A basic foam windscreen removes most of the noise a $200 microphone upgrade wouldn't fix on its own.
- Storage: 4K footage at 60fps can run 400MB or more per minute, depending on the camera's bitrate. Check that your card has enough space for every planned pass before you start, not after your third take fills it.
How to Film Yourself Running with OBSBOT Tail Air
If you are the one running, then of course you can't also hold the camera. The OBSBOT Tail Air solves that specific problem. It's a fixed camera that follows you through a set filming zone without anyone operating it.
It's a good fit for filming solo repeats on a track, a driveway, or a set stretch of trail. You get the same framing across every pass without repositioning a tripod between takes. It's less useful for open trail runs covering long, unpredictable distances.
Tail Air setup for running video:
- First, mount it on a tripod at roughly hip height, 15-25 feet back from your running line.
- Set the AI tracking mode to Human Tracking. Select yourself as the subject before your first pass.
- Now, walk your planned route once first. This lets the camera lock onto the correct filming zone before you actually run it.
- Record in 4K at 30fps for the sharpest detail. Use 1080p at 60fps instead if smoother slow-motion review matters more than resolution.
- Save 4-5 short passes rather than one long recording.
- Use a fast microSD card rated U3 or better. A slower card can drop frames during 4K recording, which shows up as stutter you won't notice until you are back at your computer.
- Charge the battery fully beforehand. Stock battery life runs close to 2.5 hours, enough for most solo sessions.
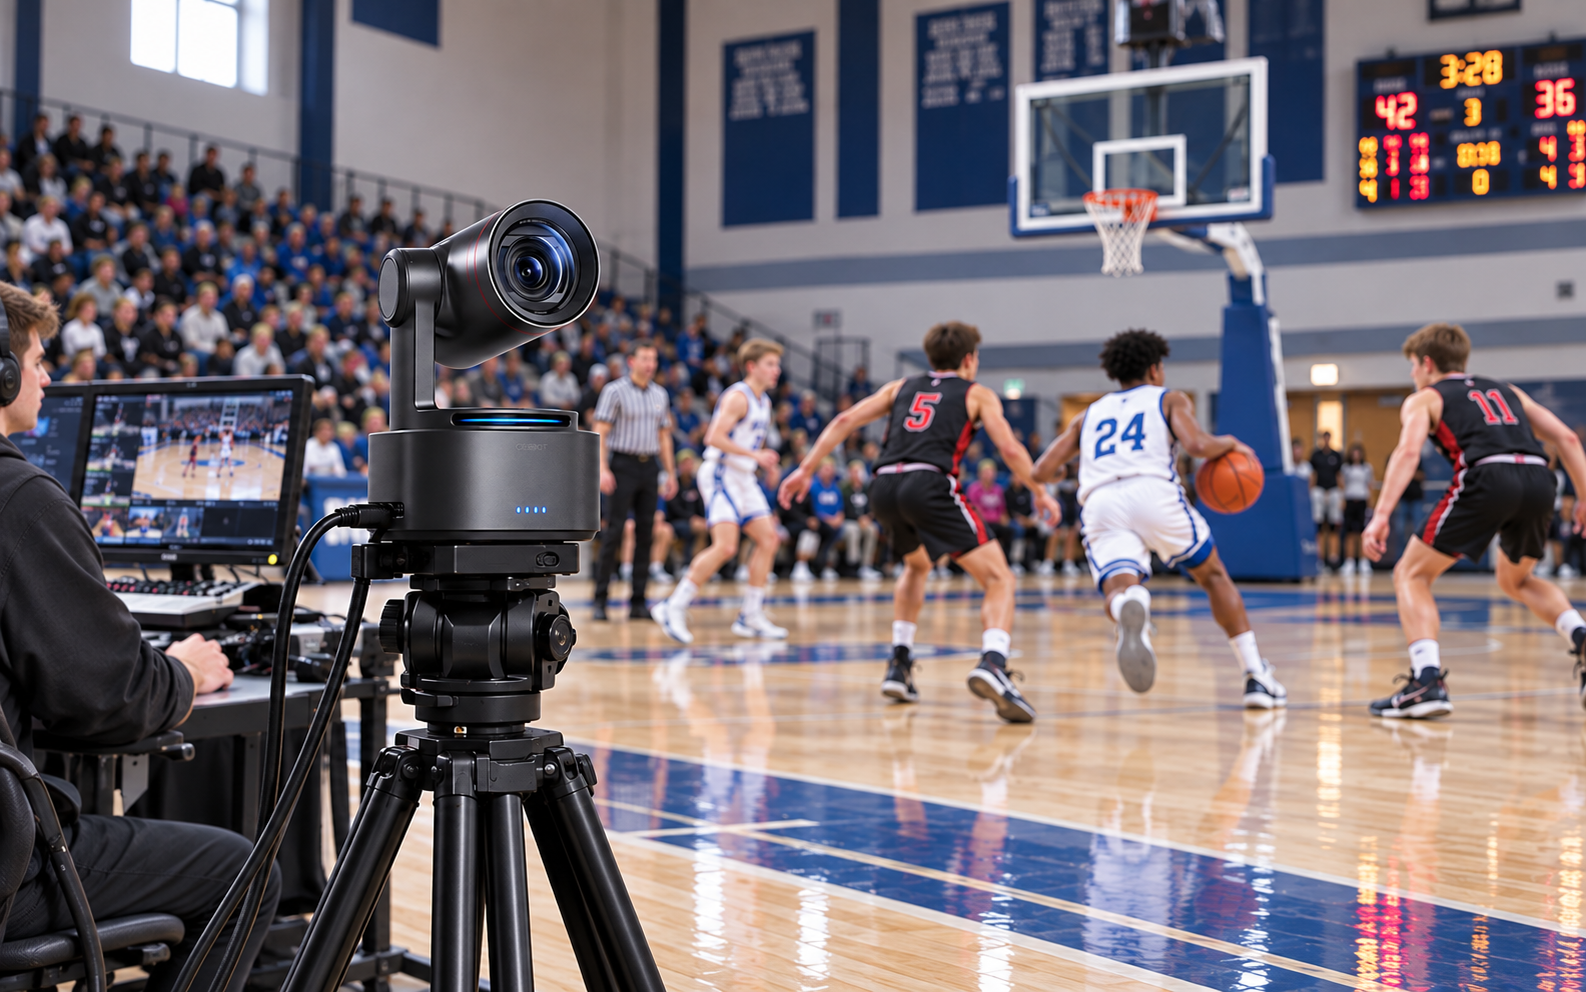
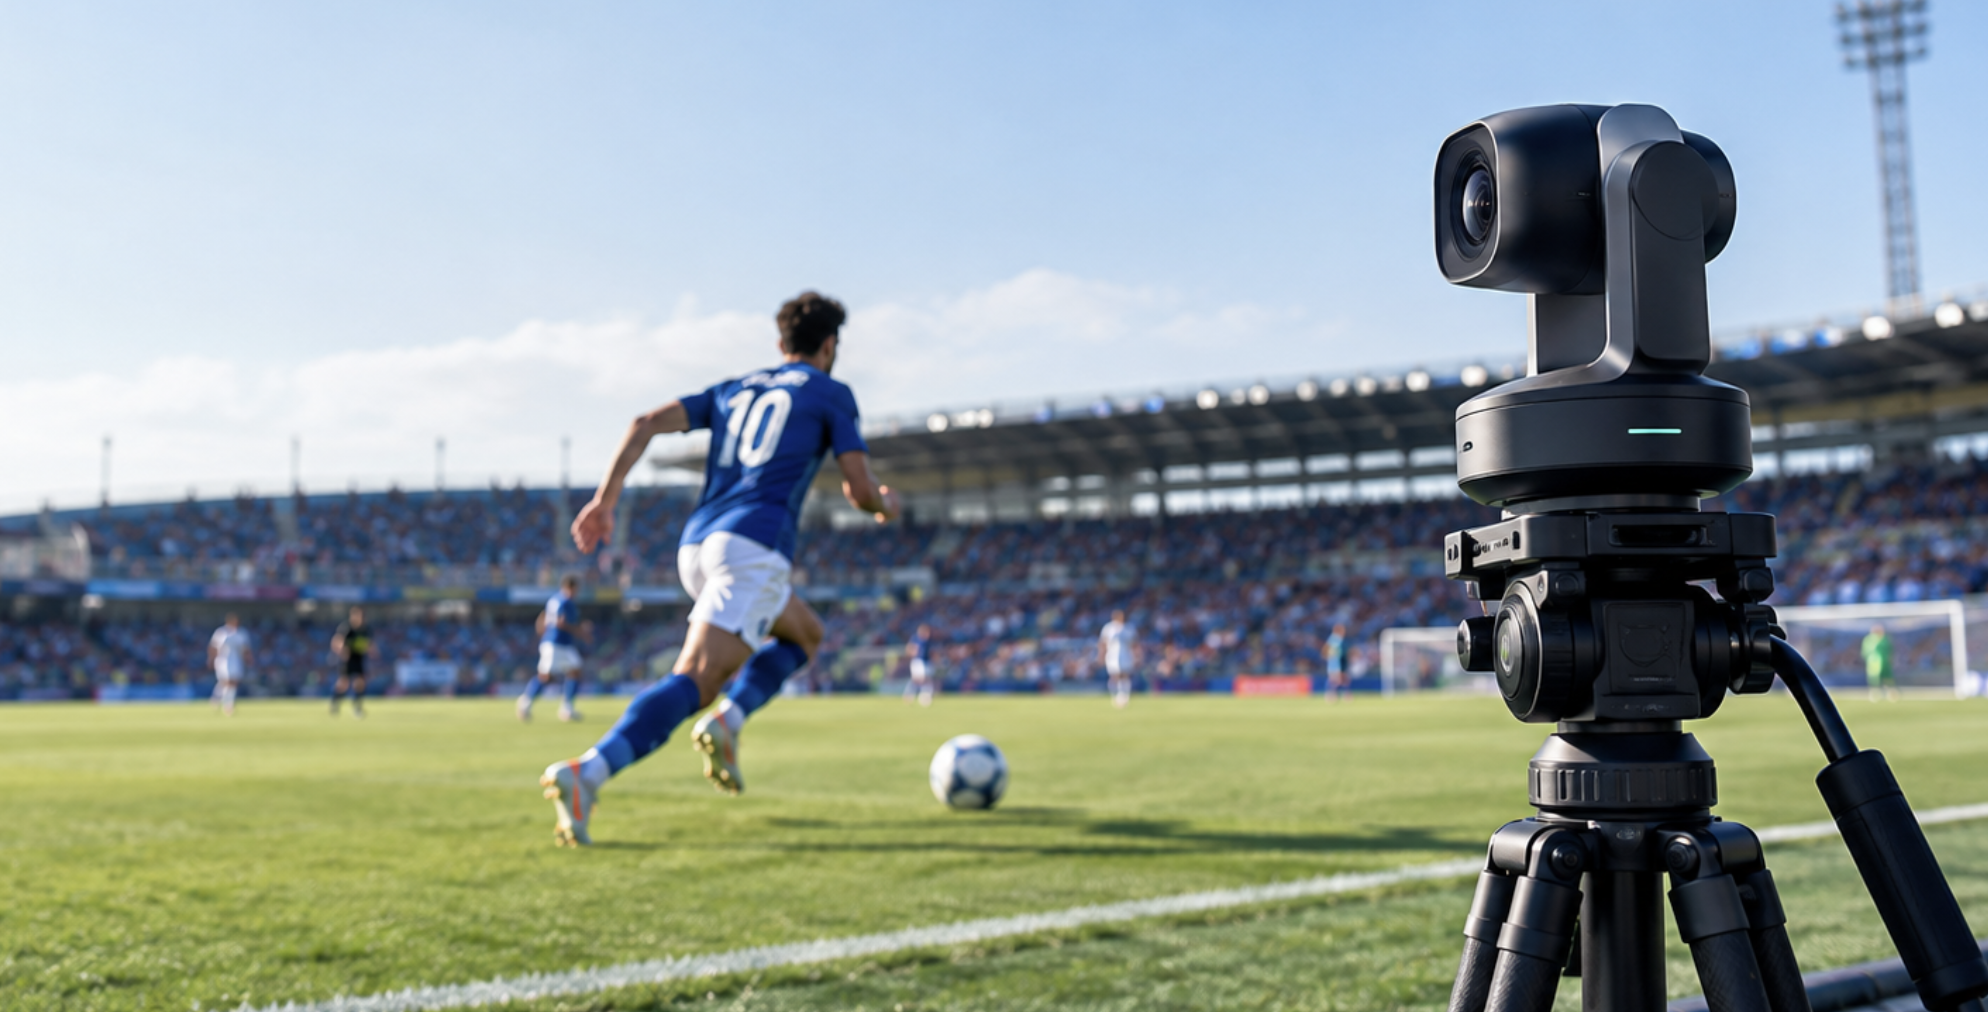
This setup solves the same "who's holding the camera" problem that comes up in team sports. It's covered in more depth in this guide to sports tracking cameras.
Common Mistakes When Filming Yourself Running
Even a good setup might slip sometimes. Here is a list of common traps you need to avoid.
- There was no test pass before the real take. A framing mistake at running speed looks completely different from one caught during a slow walk-through.
- Stabilization left on the highest setting by default. The strongest setting can crop the frame more than expected and drain battery life faster than a moderate one.
- You filmed only one angle. A single pass rarely gives you enough footage to choose from once you're in the edit.
- No wind protection on the microphone. Outdoor running audio needs a windscreen more than an expensive mic upgrade.
FAQs on Running Camera Setups
A few questions come up in almost every running videography setup, so here are quick, practical answers.
Can I film myself running with just a phone?
Yes. A phone on a stable tripod handles a simple run-by shot well. Most modern phones have good enough autofocus and stabilization for casual use. A dedicated camera setup gives more consistent results for repeated passes or hands-free filming, especially once you're reviewing form rather than capturing a single highlight clip.
What frame rate is best for running videos?
24 or 30fps looks natural for standard playback speed. 60fps gives smoother motion and room for a moderate slow-down in the edit, which helps when reviewing foot strike or arm swing frame by frame. Higher frame rates need more light and more storage.
How do I keep myself in frame when running alone?
Three options work here. Compose a wider static frame with extra margin on both sides. Ask someone to watch the camera and adjust as needed. Or use a fixed AI-tracking camera inside a tested filming zone, covered in the Tail Air section above.
Where should I place a camera to record running form?
Side-on at hip height, 15-20 feet back, captures stride and foot strike most clearly. A rear angle from the same distance works well for a second pass focused on overstriding or arm swing. For a full review, record both angles in the same session rather than trying to judge form from a single clip.
Conclusion
The core of how to record yourself running is to match the camera setup to the shot you actually want. Begin with testing one safe filming zone and then record several short angles. It is very crucial to pick settings based on motion and light rather than defaults. A fixed AI-tracking camera is worth considering for repeatable solo sessions. Even so, the setup matters more than the gear itself.