

Concert Videography: How to Film Live Music with a Small Crew
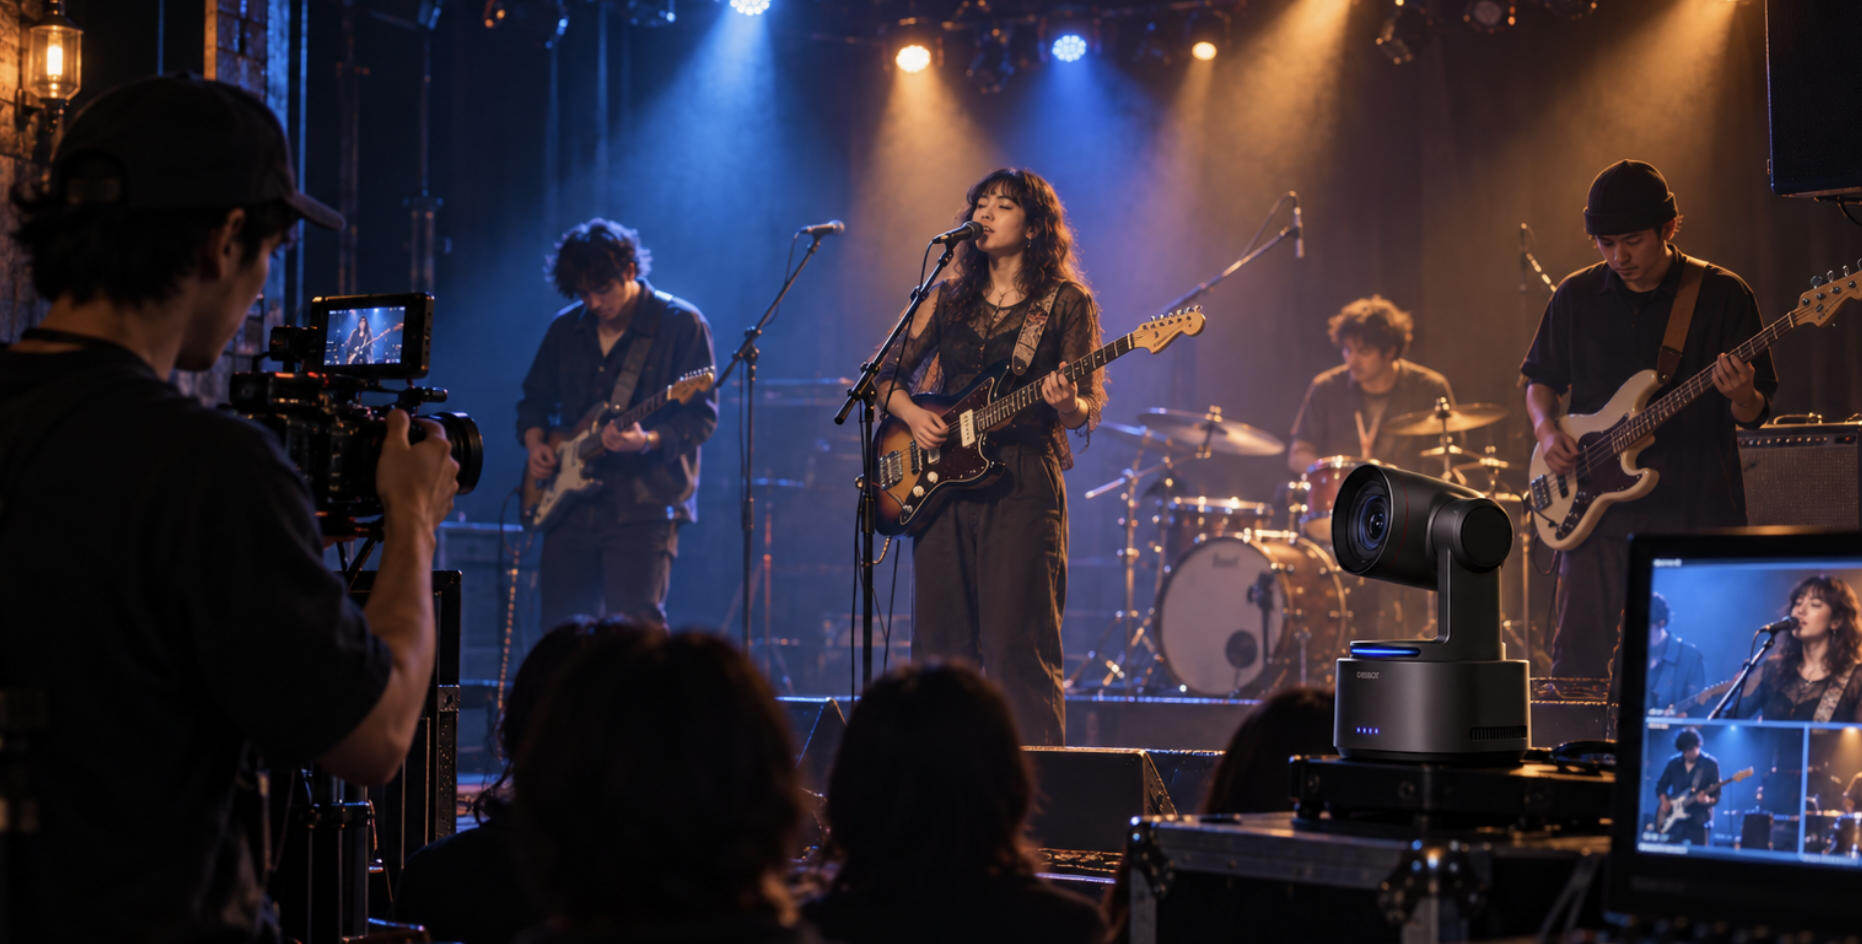
You do not get a second take of a live chorus. For a one- or two-person crew, the safest concert videography plan is to protect the whole performance first, then collect the close-ups that give it energy. This guide turns that idea into a practical plan for highlight reels, full-show videos, and livestreams—from camera placement and audio checks to stage-light settings and the final edit.
Decide What You're Delivering Before You Pack
Tell the artist or organizer what you will hand over before deciding how to shoot. These are three different jobs:
Highlight reel
For a 60–90-second recap, plan to capture 10–15 distinct moments: a venue or crowd opener, the singer, each featured musician, a recognizable chorus, a solo, a crowd reaction, and a finish.
As an editing starting point, many finished shots may last 2–5 seconds; give a solo or emotional vocal moment 5–8 seconds when the music calls for it. You can leave one position to find a better angle because the final video does not promise uninterrupted coverage.
Full song or full show
Keep one camera recording the entire stage without gaps. Put a second camera on the singer and soloists, but do not depend on it for continuity.
Confirm the set length, recording limits, power, card space, and whether the artist wants between-song talk and applause included. Record continuous audio across song transitions.
Livestream
Prepare a wide shot, one closer shot, and a simple holding shot or graphic. Test the audio feed and the actual outgoing stream on a phone using a different connection from the production computer. Record a local backup even if the stream looks healthy.
If you use OBS, check its scenes, recording, and stream output during rehearsal; the OBS streaming-settings guide can help with the software side.
Ask for the likely setlist, the most important song, the final video format, and filming access. A setlist lets your close-up operator prepare for a solo rather than reacting after it starts. Confirm publishing plans separately from permission to enter the venue and film.
Give Every Camera One Clear Job
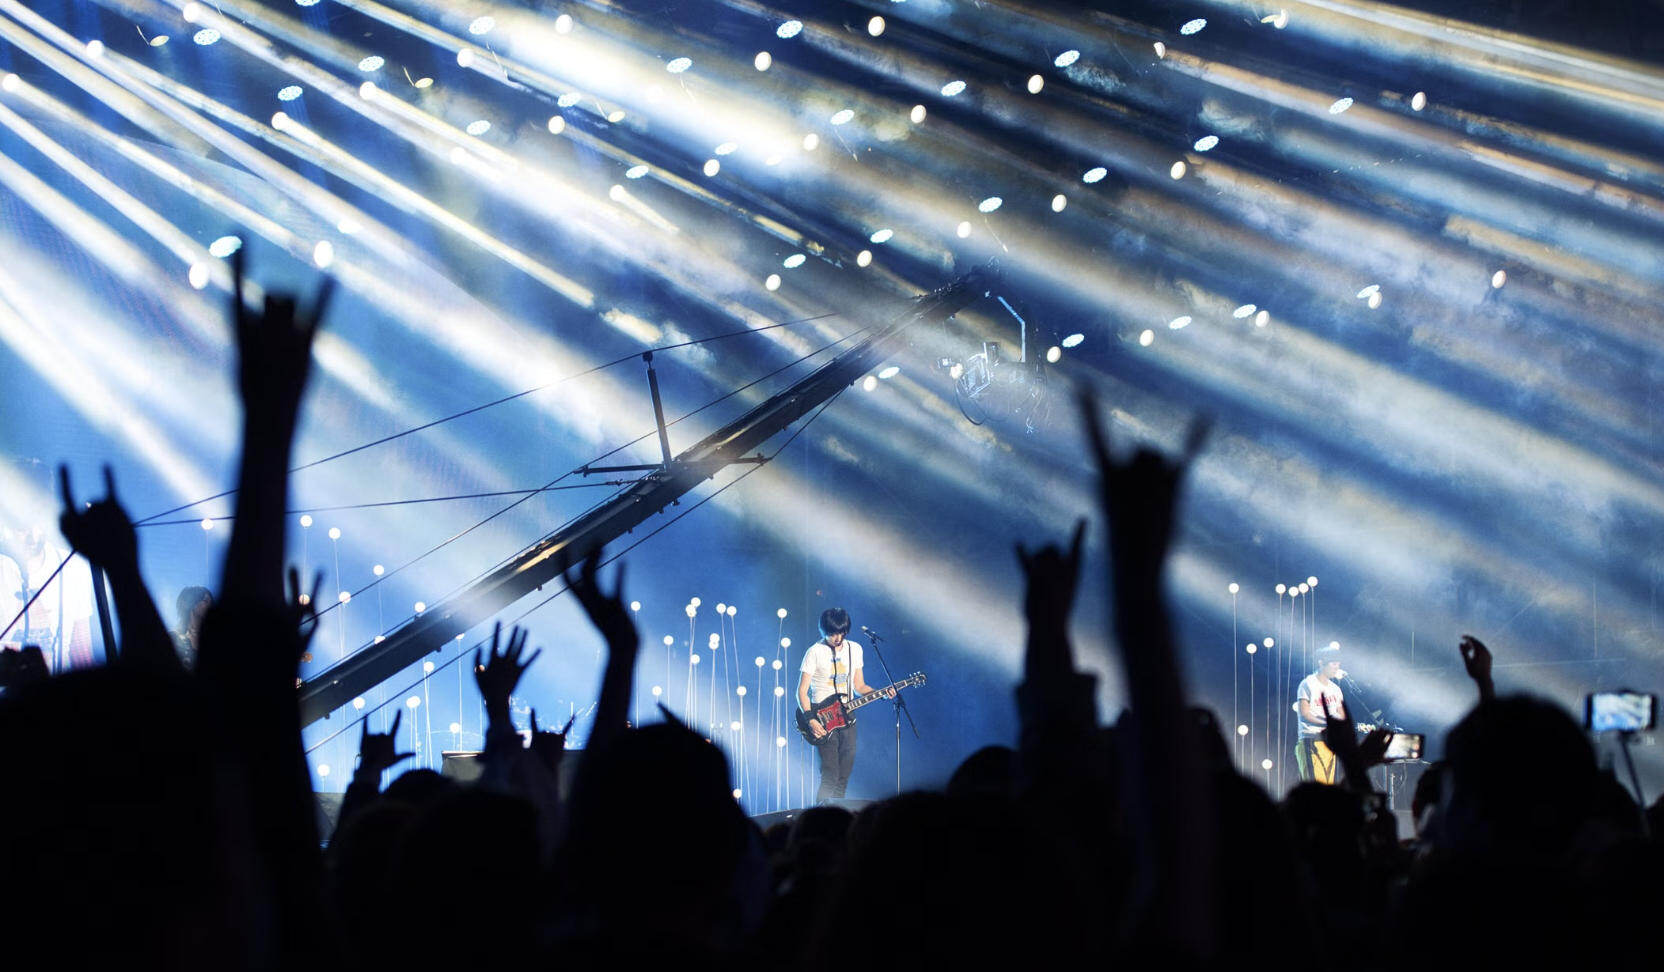
Do not make every camera chase the singer. Assign each angle a job and test it with people standing where the audience will stand.
Fixed wide
Place this camera near the rear center position with a clear view of every performer. Frame the outermost positions the musicians may use.
Record a 20-second test while someone stands in the front row; if their head hides the stage, raise or move the camera before doors open. Keep this camera rolling through the songs.
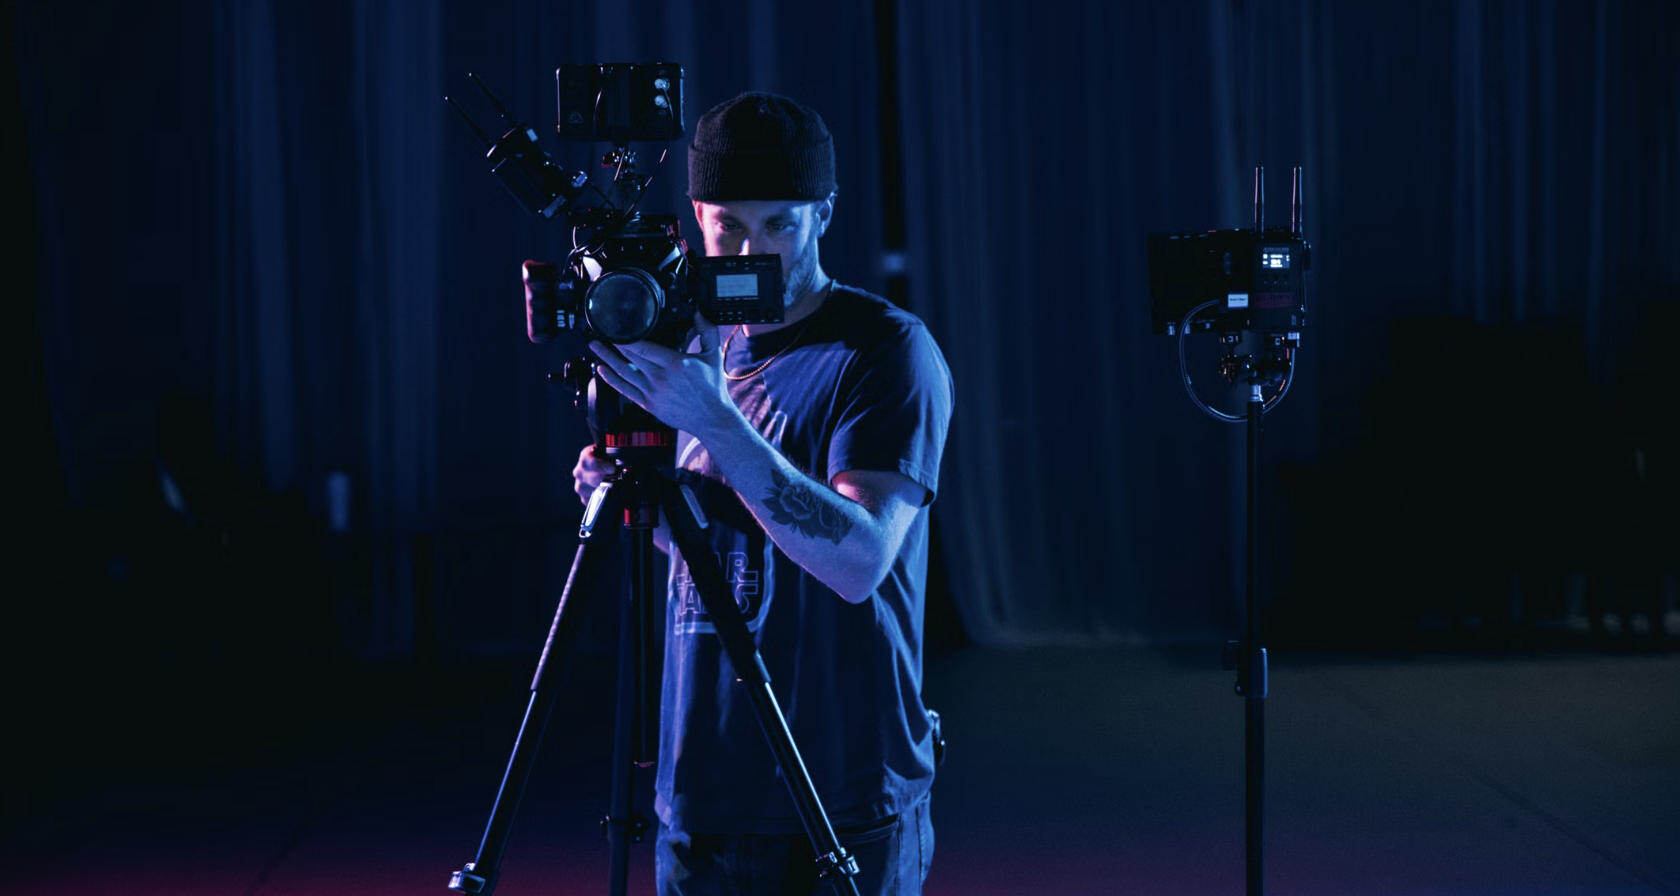
Operated close-up
Work from an approved aisle or side position. Follow the vocalist during a verse, turn to the musician before a planned solo, and collect audience reactions between musical moments.
Hold a usable shot for several seconds instead of constantly panning. Start recording a little before the action and keep rolling briefly afterward so the editor has clean edges.
Optional tracking angle
If the featured performer moves across the stage while your operator covers the rest of the band, an AI-tracking camera such as OBSBOT Tail 2 can supply another close angle.
If you work alone, start with the fixed wide. Add a handheld camera for a highlight reel only if you can leave the wide camera unattended safely. For continuous coverage of a moving singer, a tested tracking angle may be the more manageable.
Try OBSBOT Tail 2 When One Operator Cannot Follow Every Musician
When one operator is busy capturing solos and crowd reactions, but the singer repeatedly crosses the stage, try OBSBOT Tail 2 and place it at an approved, stable position and select the singer during soundcheck.
Try its Only Me tracking with the performer moving left and right, passing behind a bandmate, and returning to center. Start with a medium composition.
If automatic zoom makes the shot too restless for the performance, keep a steadier framing instead. Limit the tracking area to the stage where the setup allows it.
Check the recorded result under show lighting—not just the preview—and keep the fixed wide ready when the band needs to be seen together. If your production uses network video, see the NDI camera guide before choosing that connection.
Treat Audio as Its Own Recording
Give one person responsibility for checking sound, even if that person also operates a camera.
Ask the front-of-house (FOH) sound engineer, the professional mixing the sound heard by the audience, whether you can receive a stereo recording feed. Ask what connector and signal level they will provide. A line-level feed can overload a mic-only input, so check your recorder’s input setting before connecting it.
Check the recording level
Where the recorder supports it, use 48 kHz, 24-bit WAV for the separate recording. During the loudest part of soundcheck, listen on headphones and set the level so peaks have headroom; roughly −12 to −6 dBFS on a digital meter is a useful starting range. A clean sound matters more.
Play back a short test. A moving meter alone cannot tell you whether the signal is distorted.
Capture the room, too
The board feed gives you a clear music source, but it may sound unlike the room. If permitted, record audience ambience on a second track from a stable position away from a single loudspeaker.
If the engineer cannot offer a feed, put a portable recorder near the front-of-house mixing position, where the room mix is usually easiest to judge, and check a loud chorus there. Record a brief clap or another clear reference sound on both audio and camera tracks when possible; it will help you sync them later without interrupting the show.
Test the Stage Lights, Not Just the Empty Room
Use soundcheck to test settings against the actual lighting cues. The following are starting points for a venue in a 60 Hz power region, such as the US.
A common baseline is 30 fps at 1/60-second shutter. If you need 60 fps for a well-lit, fast-moving section, start near 1/120 second. LED fixtures can still create bands at either setting, so record and replay a test clip. Shutter adjustments and variable-shutter controls can be effective ways to investigate flicker.
- Dark club with red or blue washes
Start at 30 fps and 1/60 second. Open the lens as far as you can while keeping the singer in focus, then raise ISO in steps until the lit face is usable.
For example, compare short clips at ISO 800, 1600, and 3200 if those settings suit your camera; keep the lowest setting that exposes the face acceptably. Do not brighten the black audience area at the cost of noisy skin tones.
- Bright spotlight on a singer, dark band behind
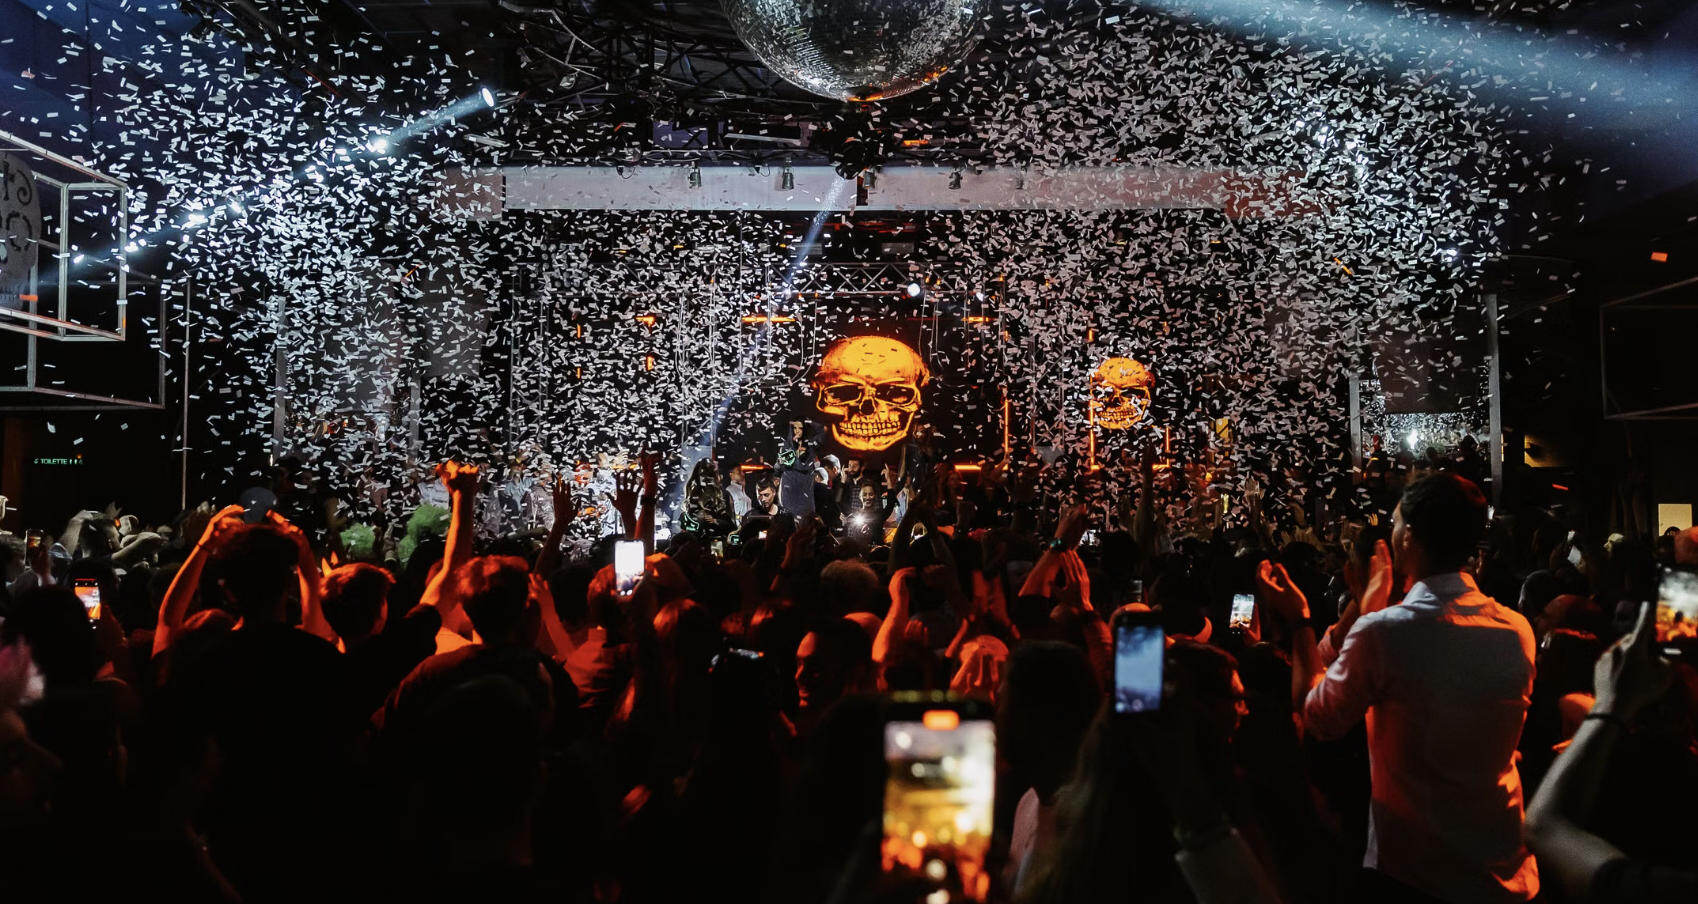
Expose for the singer's face, not the average brightness of the frame. Watch highlight warnings or the brightest facial areas in a playback clip.
If the face loses detail, lower exposure even though the rest of the stage becomes darker. Keep the fixed wide available to show the band when the close camera cannot hold both bright and dark areas well.
- LED wall or rapidly changing fixtures
Record at least 10 seconds through several lighting cues and inspect the file for horizontal bands or pulsing. Try a different shutter setting, such as 1/120 second in a 60 Hz venue, or a camera's variable-shutter control if available.
A faster shutter admits less light, so recheck the performer's face after changing it. If the bands remain, ask the lighting operator whether an alternative LED cue is possible.
- Fast dance or energetic movement on a bright stage
Try 60 fps around 1/120 second for the operated angle if the stage supplies enough light.
If that makes faces too dark or noisy, return to 30 fps at 1/60 second and prioritize a steady, well-framed shot over the higher frame rate.
- Mixed warm and colored light
Find a neutral or white stage wash during soundcheck, set a consistent white balance from it where your camera allows, and compare all angles. Do not let each camera shift its color independently throughout the same song.
Final check: Review the recorded clips, not only the camera screens. Check a face, a dark area, and the LED background in the same test.
Follow a Simple Show-Day Routine
Use a short sequence of checks instead of trusting that the setup worked yesterday.
- Before doors
Confirm the approved positions with the venue, clear walkways and exits, get the setlist, and agree on the audio connection.
Calculate storage from your camera's recording bitrate. For example, 100 Mb/s for 90 minutes uses about 68 GB before allowing for other clips, so a 128 GB card plus a spare is a more sensible plan than a nearly full 64 GB card. Check power for longer than the expected set.
- At soundcheck
Record 20 seconds on every camera and the audio recorder. Have the featured performer walk through the actual stage area.
Replay the files to check blocked sightlines, tracking, focus, LED banding, and clipping audio. Fix one problem at a time and record another test after a change.
- Just before the first song
Confirm the wide camera's record indicator, card space, and power. Start the continuous audio and wide camera early enough to catch the entrance.
For a livestream, verify the outgoing picture and sound on a separate device and start the local backup recording.
- During the set
Leave the safety wide running. Between songs, check recording indicators and remaining power without disturbing the audience.
If the closer angle loses the performer or the stream operator needs time to troubleshoot, return to the wide shot.
- After the show
Copy video and audio to two places, then open a file from each copy to confirm it plays. Note any missing songs or audio faults before you clear cards or leave the venue.
Edit Each Deliverable Differently
Choose the best continuous audio recording before cutting pictures. Align each camera to it using a clap, waveform, or distinctive drum hit.
Check lip movement and a drum strike near both the start and end of a long show; if one device has drifted, correct the sync before cutting angles.
Highlight reel
Use one musical passage as the backbone. For a sample 60-second cut, spend the opening few seconds establishing the venue or performer, move into a recognizable chorus, alternate stable close-ups and crowd reactions for roughly 2–5 seconds each, let the strongest solo or vocal moment breathe longer, and end on a musical finish or applause.
Cut on phrases and actions. Remove any shot that repeats the same information without adding energy.
Full song or show
Put the uninterrupted wide shot on the base video track and the continuous audio underneath it. Add the operated or tracking angle only where it is focused and well composed.
If a close-up misses the start of a solo, stay wide until the close shot settles; do not cut to a camera while it is searching. Keep the songs in their real order and preserve meaningful introductions and applause if the artist requested the complete event. Add song chapters for a long online video when the platform supports them.
Livestream and replay
Before going live, prepare three simple scenes: wide, featured performer, and a holding graphic or safe wide. Preview the next source before switching to it. If tracking or focus is uncertain, take the wide shot instead.
In the replay, trim pre-show waiting and long post-show silence, check that the local recording has the complete audio, and mark song starts for navigation.
Vertical clips
Choose a singer or musician who can remain legible in a 9:16 frame. Reframe a short musical moment, then watch the whole clip on a phone to see whether the face, instrument, and hands stay visible.
Do not crop a full-band wide shot into a narrow strip and expect it to tell the same story. If vertical delivery is important, plan a dedicated vertical angle at the show.
Before publishing any version, confirm the permissions needed for the performance and music. Permission to film in the venue does not automatically give you permission to distribute every song; YouTube's copyright guidance explains why uploads can still receive claims.
Concert Videography FAQs
Can one person film an entire concert?
Yes, but promise a reliable record of the show before promising varied angles. Lock a wide camera, secure continuous audio, and use a second camera only if you can monitor it without losing the first two. A one-person highlight reel allows more movement than a polished, gap-free full-show edit.
How much storage should I bring?
Check the camera's selected bitrate and the planned recording time. As a quick estimate, divide megabits per second by eight to get megabytes per second, then multiply by the number of seconds. At 100 Mb/s, a 90-minute recording is about 68 GB. Bring additional capacity for soundcheck, encores, and a recording setting that may use more data than expected.
What if the venue cannot provide a soundboard feed?
Use a recorder at an approved spot near the front-of-house listening position, then play back a loud test before the show. Avoid placing it directly in front of one speaker, where it may capture an unbalanced mix. Monitor with headphones and keep a second audio recording if possible.
Can I upload the concert video to YouTube?
Confirm venue and artist permission, plus the rights needed for the music and performance. Your ownership of the camera footage does not automatically settle those rights. If the release plan is unclear, agree on it before filming rather than discovering the problem after editing.
Conclusion
A small crew can make a strong concert video by making a few decisions early. Pick the deliverable, protect the full performance with a wide camera and continuous sound, test the real stage lights, and give each extra angle a specific job. Then edit the highlight, full show, livestream replay, or vertical clip for its own audience instead of forcing one cut to do everything.
















