How to Record Webcam (Step-by-Step + Best Tools)
Learning how to record webcam videos is essential today, whether you're creating tutorials, attending meetings, or building online content. With the right tools and setup, you can record webcam footage that looks clear, professional, and engaging. This guide provides step-by-step instructions to record webcam videos for Windows, Mac, and online tools, along with software recommendations and practical tips to improve your recording quality.
How to Record Webcam on Windows, Mac, and Online
On Windows

Steps:
- Click the Start menu and search for the Camera app, then open it.
- Once launched, switch from photo mode to video mode using the toggle option.
- Check your framing by positioning yourself in the centre of the screen.
- Adjust lighting in your environment to improve visibility and reduce shadows.
- Click the record button to start your camera recorder video.
- Speak clearly and maintain eye contact with the camera while recording.
- Click stop when finished, and your file will be automatically saved to your device.
This built-in video cam recorder is ideal for quick recordings when you need a simple and reliable solution without installing extra software.
On Mac

Steps:
- Open QuickTime Player from your Applications folder.
- Click "File" in the top menu and select "New Movie Recording".
- A recording window will appear, click the dropdown arrow to select your webcam and microphone.
- Adjust your framing and ensure your face is well-lit and clearly visible.
- Press the red record button to begin your webcam video recorder session.
- Speak naturally and monitor your positioning while recording.
- Click stop when done, then save the file to your preferred location.
This straightforward web camera video recorder is perfect for everyday recording tasks on macOS.
Online (No Download Required)

Steps:
- Open your browser and visit a trusted free cam site.
- Allow access to your camera and microphone when prompted.
- Select your preferred camera and audio input if multiple devices are available.
- Click the record button to start using the online webcam recorder.
- Stay within the frame and ensure stable lighting during recording.
- Stop recording once finished and preview your video if the platform allows.
- Download or save your file directly to your device.
A video recorder camera online or online camera recorder is ideal when you need a fast, no-installation solution.
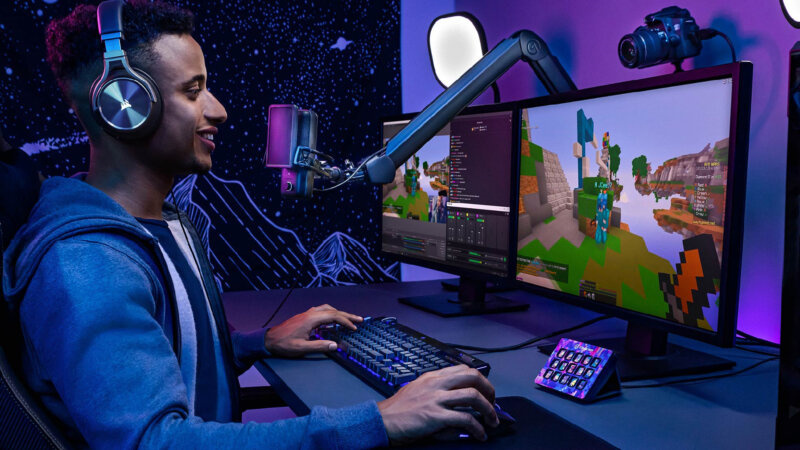
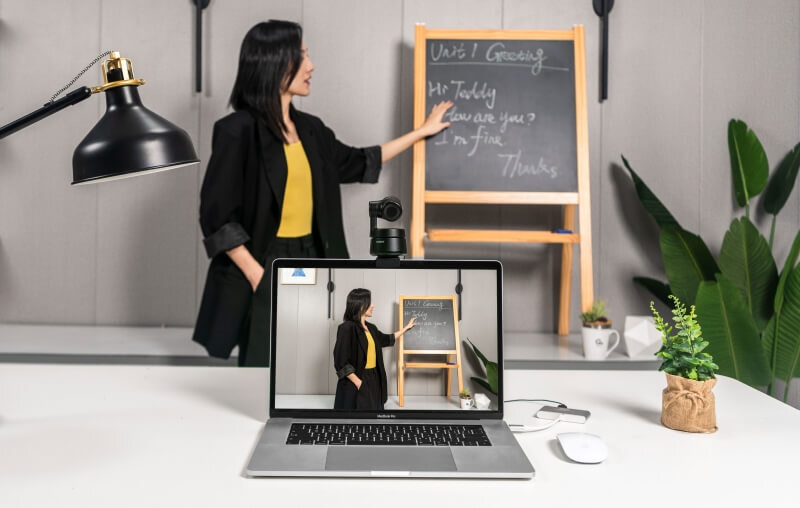
If you frequently record webcam videos, your hardware plays a major role in the final result. OBSBOT Tiny 3 4K PTZ Webcam is built for users who want high-quality video and audio without complicated setups. It combines advanced imaging, intelligent tracking, and studio-level audio into a compact device. Unlike basic webcams, it actively adapts to your environment and movement, helping you stay framed and sound clear. This makes it a practical upgrade for content creators, remote workers, and educators who rely on consistent webcam recording quality.
Key Features:
- Professional Spatial Audio System: Uses a hybrid three-microphone setup to deliver clear, natural sound, helping you record video with camera without needing an external mic.
- 4k@30fps/1080p@120fps: Supports crisp 4K recording and smooth motion capture, improving your overall camera recorder video quality.
- AI Tracking 2.0: Keeps you centred automatically while you record from camera, even if you move around.
- Voice & Gesture Control: Lets you operate your video cam recorder hands-free for a smoother workflow.
- Compact PTZ Design: Flexible movement and angles make it ideal for dynamic facecam record setups.
Best Webcam Recording Softwares
| Software | Platform | Type | Pricing | Key Use |
|---|---|---|---|---|
| OBS Studio | Windows/Mac/Linux | Advanced Recording | Free (open-source) | Professional recording |
| Loom | Web/Desktop | Simple Recording | Free plan; Paid plans from ~$12.50/month | Quick sharing |
| Clipchamp | Windows/Web | Editing + Recording | Free plan; Premium from ~$11.99/month | Beginners |
| Riverside | Web | Remote recording | Free plan; Paid plans from ~$15/month | Podcasts and Interviews |
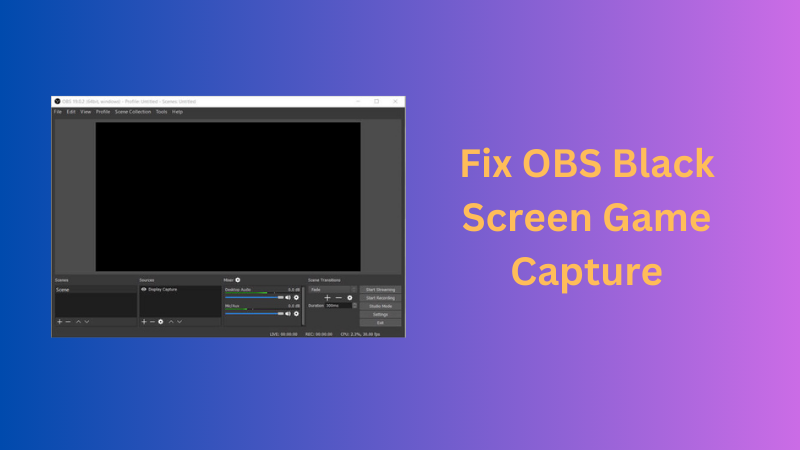
OBS Studio – Professional Recording

Overview:
OBS Studio is a powerful screen and webcam recorder used by professionals and content creators. It offers deep customisation options, allowing you to control video quality, bitrate, and multiple inputs. Users can create scenes and layouts for more polished content. Although it has a learning curve, it provides flexibility that basic tools cannot match. It's especially useful for users who want full control over their screen and camera recording setup.
Key Features:
- Screen and Webcam Recording: Allows you to capture both your display and webcam simultaneously, making it ideal for tutorials, presentations, and content creation.
- Advanced Customisation Controls: Gives you full control over resolution, bitrate, and frame rate, helping you optimise recording quality based on your needs.
- Scene and Source Management: Lets you switch between multiple layouts and inputs, creating more professional and dynamic recordings.
- Open-Source and Free Access: Provides a completely free cam free solution with powerful features, making it accessible for both beginners and advanced users.
- Plugin and Integration Support: Expands functionality through plugins, allowing you to customize your workflow and enhance recording capabilities.
Loom – for quick online recording

Overview:
Loom is designed for users who need a fast and simple facecam recorder. It allows you to record and share videos instantly without complex setup. The platform focuses on speed, making it ideal for communication, tutorials, and quick updates. Its cloud-based system removes the need for manual uploads. Overall, it's a convenient solution for everyday record cam tasks.
Key Features:
- Instant Recording and Sharing: Enables you to record cam videos quickly and share them via a link, reducing the need for downloads or uploads.
- Simple User Interface: Offers an easy-to-use design that helps beginners start recording without technical complexity.
- Cloud-Based Storage: Saves your recordings online, allowing you to access and manage videos from any device.
- Integrated Facecam Recorder: Combines screen and webcam recording in one tool, making it suitable for quick communication and demonstrations.
- Basic Editing Tools: Allows you to trim and refine recordings before sharing, improving the overall quality of your videos.
Clipchamp – for Beginners

Overview:
Clipchamp combines recording and editing into one platform, making it suitable for beginners and casual creators. It simplifies the process of capturing and refining videos in a single workflow. With its intuitive design, users can easily manage their webcam recording software needs. Built-in templates and tools make content creation faster. It's a practical option for those looking for an all-in-one solution.
Key Features:
- All-in-One Recording and Editing: Combines webcam recording software with built-in editing tools, streamlining the entire video creation process.
- Drag-and-Drop Interface: Makes it easy to create and edit videos, even for users with no prior experience.
- Free Cam Download Free Option: Provides access to essential recording and editing features without requiring an upfront payment.
- Screen and Webcam Recording Support: Enables flexible recording setups for tutorials, presentations, and social content.
- Multiple Export Options: Allows you to export videos in different resolutions, helping you optimize content for various platforms.
Riverside – for high-quality remote recording

Overview:
Riverside is designed for creators who need high-quality remote recordings for podcasts and interviews. It records locally on each device, ensuring consistent quality even with unstable internet. This makes it reliable for professional content creation. It also provides separate tracks for better editing flexibility. It's ideal for users prioritising quality in an online cam recorder environment.
Key Features:
- Local High-Quality Recording: Records audio and video directly on each participant's device, ensuring consistent quality regardless of internet connection.
- Stable Online Cam Recorder: Provides a reliable recording experience for remote sessions, reducing lag and interruptions.
- Separate Audio and Video Tracks: Gives you more control during editing, allowing precise adjustments for each participant.
- Cloud Backup and Storage: Automatically saves recordings online, making it easy to access and manage files securely.
- Multi-Participant Recording Support: Allows you to record multiple speakers simultaneously, making it suitable for interviews, podcasts, and discussions.
Best Settings for Webcam Recording
- Use 1080p resolution for balanced quality: Recording in 1080p provides clear and sharp visuals without creating excessively large file sizes. It's a practical choice for most users, as it maintains good video quality while keeping storage and processing requirements manageable.
- Ensure proper lighting for better clarity: Lighting plays a major role in how your video looks. Use soft, front-facing light to illuminate your face evenly and reduce harsh shadows. Natural light from a window or a simple desk lamp can significantly improve your overall image quality.
- Position the camera at eye level: Placing your webcam at eye level helps create a natural and professional appearance. It avoids awkward angles and makes your video feel more engaging, especially during meetings, tutorials, or when you record webcam content.
- Use external microphones for clearer audio: While built-in microphones can work, an external mic usually delivers better sound quality. It reduces background noise and captures your voice more clearly, which is especially important for tutorials, presentations, and long recordings.
- Test your setup before recording: Before starting a cam show record, take a few seconds to test your video and audio. This helps you catch issues like poor framing, low volume, or lighting problems early, saving time and avoiding re-recording.
Common Problems & Fixes
Webcam not recording
Sometimes, your webcam may fail to start recording or not be detected by the system at all. This is usually caused by permission issues, software conflicts, or outdated drivers.
- Check permissions and restart the app: Make sure your system and browser have permission to access the webcam. If the issue persists, restarting the application can often resolve temporary glitches.
- Ensure no other app is using the camera: Webcams typically cannot be used by multiple applications at the same time. Close other software that might be accessing your camera in the background.
- Update drivers or reconnect the device: Outdated drivers or loose connections can prevent your webcam from working properly. Updating drivers or reconnecting the device can restore functionality.
No audio
You may find that your video records correctly, but there is no sound. This issue is often related to incorrect microphone settings or muted inputs.
- Select the correct microphone input: If you're using multiple audio devices, ensure the correct microphone is selected in your recording settings.
- Check volume levels and mute settings: Low input volume or muted microphones are common issues. Adjust system settings to ensure your audio is properly captured.
- Test audio in another application: Trying your microphone in a different app can help determine whether the issue is with your device or the recording software.
Lag
Lag during recording can result in choppy video or delayed audio, which usually happens when your system is under heavy load or settings are too high.
- Close background apps: Running too many applications can slow down your system. Closing unnecessary programs frees up resources for smoother recording.
- Reduce resolution or frame rate: If your system struggles, lowering resolution or frame rate can improve performance and reduce lag during recording.
FAQs About How to Record Webcam
Q1: How to record a webcam with audio?
Select both camera and microphone before recording, and test levels for clear sound when you record a webcam.
Q2: How to record webcam and screen at the same time?
Use tools like OBS that support screen and camera recording simultaneously.
Q3: How do I get my webcam to record?
Enable permissions and open a recording tool with the correct device selected.
Q4: How do I record myself through my webcam?
Use a recording tool, position yourself properly, and check lighting.
Q5: How do I record a live video?
Use streaming software or an online camera recorder for real-time capture.
Q6: Can a web camera be used to record video?
Yes, most webcams support webcam recording for content creation and meetings.
Conclusion
Understanding how to record webcam videos helps you communicate and create content more effectively. Whether you use built-in tools, online platforms, or advanced software, each option offers different levels of control. For users who want better quality and convenience, upgrading to a smarter webcam like OBSBOT Tiny 3 can significantly improve clarity, framing, and ease of use, helping you consistently record webcam content that looks polished and professional.