How to Attach Webcam to Monitor - Quick Guide

This guide covers how to attach a webcam to a monitor, from the clip method most people use to alternatives for curved and thin-bezel screens, plus how to connect the camera to your PC and troubleshoot common issues.
Part 1: How to Attach Webcam to Monitor
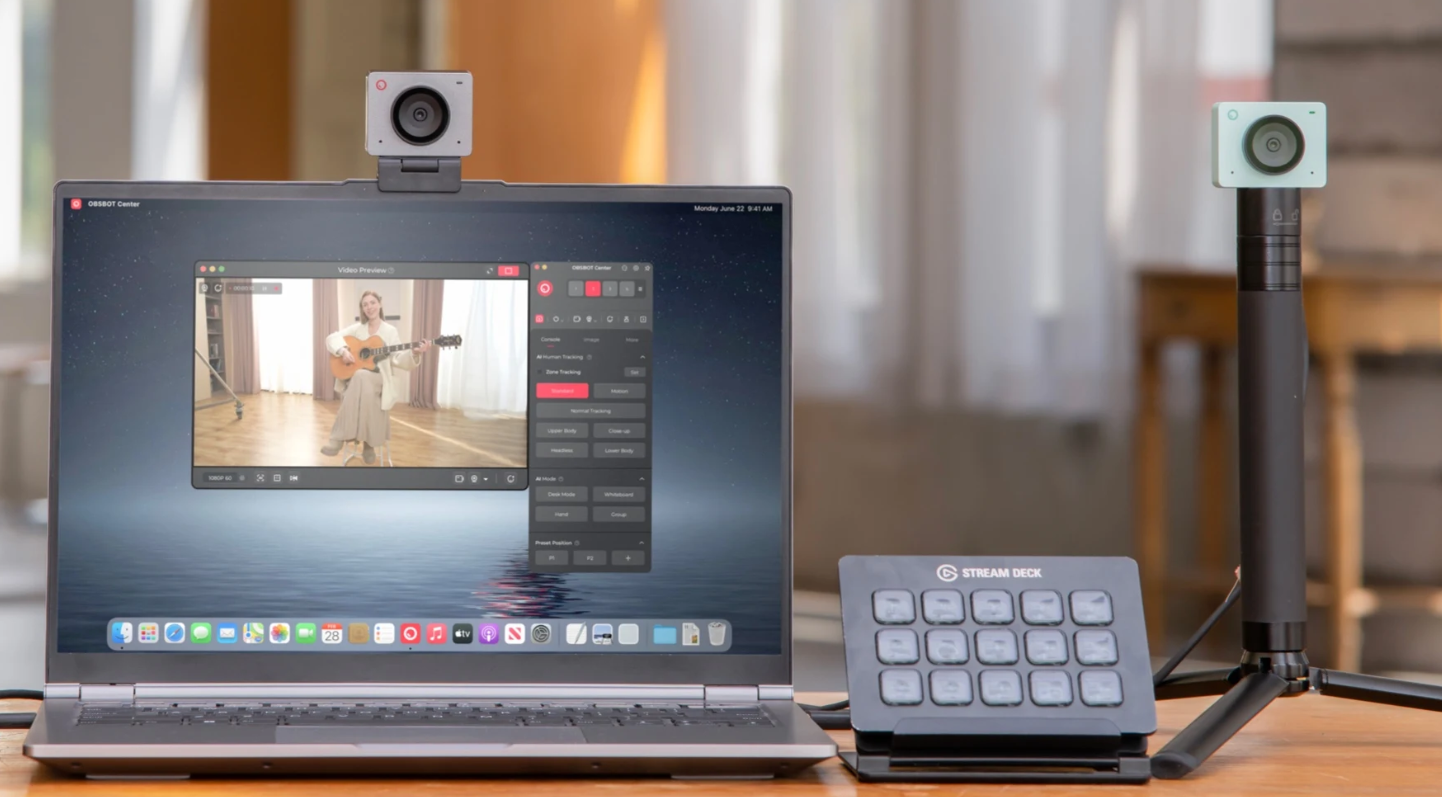
To attach a webcam to a monitor, hook the built-in clip over the top of the screen and let the padded backstop settle against the rear panel until the camera stops moving.
Mounting Steps
- Step 1: Find eye level first. Look at where your eyes naturally land on the screen during a call, this is where the camera should end up, not necessarily dead center. If you use two monitors, pick the one you actually face most, not just the one physically in the middle.
- Step 2: Open the mounting clip. Most external webcam has a small hinged bracket on the underside. Swing it open until it forms a wide gap.
- Step 3: Hook the front edge over the bezel. Slide the clip's shorter side onto the top of the monitor first, rather than dropping it straight down.
- Step 4: Let the back panel close against the monitor. The longer side of the clip should rest flat on the back of the screen. If it's angled or only touching at one corner, the grip won't hold.
- Step 5: Check the fit before letting go. Give the camera a light push forward and side to side. It should not rock or shift.
- Step 6: Connect the USB cable to a free port on your computer, then leave a small loop of slack near the base so the cord's weight doesn't pull the clip out of place.
A properly seated clip shouldn't need retightening once it's on. If it does, the bezel is likely too thin, too curved, or too glossy for a standard clip, which is covered below.
If the Clip Doesn't Fit
Ultra-thin bezels, curved screens, or monitor arms need a different approach.
| Situation | Alternative | How to Do It |
|---|---|---|
| Curved or thin-bezel monitor | Adhesive or magnetic mount | Clean the spot with a lint-free cloth and isopropyl alcohol, press the pad on for 10–15 seconds, then attach the webcam via its magnetic or screw-in connector. |
| Monitor is on an articulating arm | Arm mount | Attach a small clamp or ball-head adapter to the webcam's 1/4" tripod thread, then mount it directly on the arm at eye level. |
| Streaming or off-screen positioning | Tripod | Screw the webcam into a mini or full-size tripod and position it beside the monitor at eye level. |
Bonus: Skip the Manual Angle Adjustments
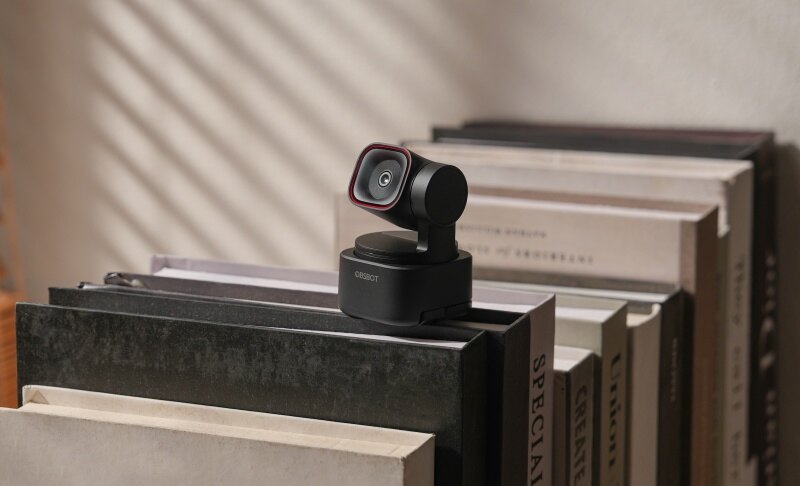
If you'd rather not keep re-clipping and re-tilting your webcam every time you shift position, a webcam with built-in auto-framing solves that problem at the source. The OBSBOT Tiny 3 Lite 4K PTZ Webcam is worth considering if you want the mounting itself to matter less.
Key Features:
- AI Tracking 2.0 keeps you framed automatically, so small shifts in position don't require manually readjusting the clip's angle each time.
- Versatile mounting options support landscape, portrait, downward, and upside-down shooting, useful if your monitor setup doesn't allow for a standard top-mount.
- Compact, lightweight body puts less strain on the clip than heavier webcams, reducing the cable-weight tilt issue covered above.
It ships at $199 with 4K resolution and a built-in three-mic array, making it a practical upgrade if you're setting up a new desk from scratch.
Part 2: How to Connect Your Webcam to Your Computer
Connecting a webcam to your computer takes four steps once it's mounted: plug it in, let the driver install, enable camera permissions, and test it.
Step 1: Plug in the USB cable. Use a rear motherboard port on desktops rather than a front-panel port or hub, both are more prone to dropped connections.
Step 2: Let the driver install. Windows and macOS install a generic driver automatically within seconds. For brand-name webcams, installing the manufacturer's app afterward unlocks extras like autofocus control or background blur.
Step 3: Enable camera permissions. No video after plugging in usually means permissions, not a hardware issue.
- Windows: Settings > Privacy & Security > Camera, turn on both toggles.
- Mac: System Settings > Privacy & Security > Camera, enable access for your call app.
Step 4: Test it. Open the Camera app (Windows) or Photo Booth (Mac) to confirm video, then join a quick test call in Zoom, Teams, or Meet to check audio too.
Part 3: Troubleshooting Common Webcam Issues
Even with the webcam properly connected, a few issues come up often enough to cover directly.
| Issue | Likely Cause | Fix |
|---|---|---|
| Webcam not detected | Outdated driver, disabled privacy setting, or BIOS-level camera disable | Update or reinstall the driver, check privacy settings, confirm the camera isn't disabled in BIOS |
| Video appears mirrored or upside down | Software display setting, not a hardware fault | Check the video app's mirror/flip setting, usually in its video preferences menu |
| Webcam clip feels loose or keeps falling off | Bezel too thin, curved screen, or worn clip spring | Switch to an adhesive or magnetic mount |
| Multiple apps competing for the same webcam | Windows only allows one app to access the camera at a time | Close other apps using the camera, including background tools like Teams or OBS |
If none of these fixes work, try the webcam on a different computer. If it still doesn't respond, the issue is likely hardware rather than software.
Part 4: FAQs About How to Attach Webcam to Monitor
1. Can I attach a webcam to my monitor?
Yes. Nearly every external webcam includes a clip, adhesive pad, or tripod thread designed specifically for mounting on a monitor, regardless of the monitor's brand or size.
2. Where should I put a webcam on my monitor?
Center it above the screen at eye level. This keeps your eyeline natural during calls. If you use two monitors, mount it on the screen you look at most.
3. Why is my PC not detecting my webcam?
The most common causes are a missing driver, disabled camera permissions in system settings, or a faulty USB port. Try a different port first, then check your privacy settings.
4. Can I attach a webcam to a curved monitor?
Yes, but a standard clip usually won't grip a curved bezel securely. Use an adhesive or magnetic mount instead, which sticks flat to the monitor housing rather than clamping onto the edge.
5. Do webcams use USB-C?
Some do. Most webcams still use standard USB-A, but newer models, especially 4K and premium options, increasingly ship with USB-C for faster data transfer. Check your webcam's cable before assuming compatibility.
6. How do I mount a webcam?
Use the clip built into most webcams for flat monitors, a tripod thread adapter for monitor arms or tripods, or an adhesive pad for curved and thin-bezel screens.
Conclusion
Attaching a webcam to a monitor comes down to three things: mount it (clip, adhesive, arm, or tripod), connect it, and set it at eye level. Once that's done, your setup should stay stable call after call.