DSLR Camera as a Webcam: USB vs HDMI Setup Guide

If you already own a DSLR or camcorder, you may not need to buy another webcam for Zoom calls, Teams meetings, OBS streams, or YouTube broadcasts. The important decision comes first: should you connect the camera through USB webcam software, or use its HDMI output with a capture card?
These two methods do not offer the same setup, image quality, or control. This guide compares them first, then walks through each connection method and explains how to handle clean HDMI, continuous power, overheating, autofocus, audio, and streaming software settings.
- Check the Compatibility of Your DSLR or Camcorder
- USB Software vs HDMI Capture Card: Which Method Should You Use?
- How to Use a DSLR as a Webcam Through USB Software
- How to Use a DSLR as a Webcam With an HDMI Capture Card
- Camera Settings for Zoom, Teams, OBS, Twitch, and YouTube
- Common Problems and Practical Fixes
- FAQs About Using a DSLR as a Webcam
Check the Compatibility of Your DSLR or Camcorder
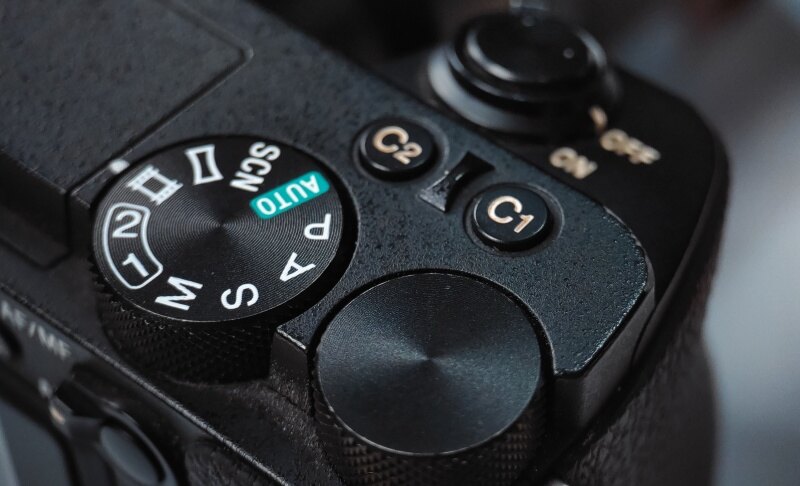
Not every DSLR can work as a webcam through USB, and not every camera provides a clean HDMI output. Check the exact model before buying a cable or capture card.
Check for Official USB Webcam Support
Camera manufacturers may offer their own webcam applications. Verify these details:
- Whether your exact camera model is supported.
- Whether your operating system is supported.
- Whether the connection requires a specific USB mode.
- Whether the software supports the video application you plan to use.
- Whether the camera sends audio or only video.
Check for HDMI Output and Clean HDMI
A camera may have HDMI output but still show battery icons, focus boxes, menus, or recording information on the signal. A clean HDMI output removes those overlays so the capture card receives a usable video feed.
Search the camera manual for terms such as clean HDMI, HDMI info display, display information, or output display. If the camera cannot remove its overlays, it may still work for testing, but the result will look distracting in a meeting or livestream.
Check the HDMI Port Type
DSLRs and camcorders often use Micro HDMI or Mini HDMI rather than full-size HDMI. The camera-side connector must match the camera, while the capture-card side is commonly full-size HDMI or another specified input.
Use a cable that matches both devices. Do not force a full-size HDMI plug into a smaller camera port.
USB Software vs HDMI Capture Card: Which Method Should You Use?
Before connecting anything, decide whether you need a simple webcam replacement or a more flexible video production setup.
| Method | What you need | Best for | Main limitation |
|---|---|---|---|
| USB webcam software | Compatible camera, USB data cable, manufacturer software | Zoom, Teams, Google Meet, simple calls, basic streaming | Camera compatibility and output quality vary by model |
| HDMI capture card | Camera with HDMI output, clean HDMI signal, capture card, HDMI cable | OBS, Twitch, YouTube, multicamera production, higher-control workflows | More equipment, cables, settings, and possible delay |
Choose USB Software When You Want the Simplest Setup
USB is usually the better starting point for a meeting or class. Once the camera is supported, the manufacturer’s software creates a virtual webcam that applications such as Zoom or Teams can select.
This method keeps the setup compact and avoids a capture card. It works well when you sit in one position and do not need to route the camera through OBS or a hardware switcher.
Choose an HDMI Capture Card When You Need More Control
An HDMI capture card is more useful for Twitch, YouTube, OBS, and other production workflows. The camera sends its video signal through HDMI, and the capture card converts that signal into a webcam source for the computer.
This approach is better when you need a clean HDMI feed, higher-quality routing, multiple cameras, overlays, scenes, or direct control over video and audio sources. It also works for some camcorders that do not support USB webcam software.
How to Use a DSLR as a Webcam Through USB Software
USB webcam software is the shortest route when your camera is officially supported.
Step 1: Install the Manufacturer’s Webcam Software
Download the software from the camera manufacturer’s official support page. Install the version that matches your operating system, then restart the computer if the installer requests it.
Step 2: Prepare the Camera
Mount the camera at eye level and connect a lens that gives you the framing you need. For a desk setup, a moderate wide-angle lens is usually easier to use than a long lens because you can show your face and shoulders without placing the camera far across the room.
Set the camera to video mode if required, disable automatic power-off when possible, and connect a continuous power source for long sessions.
Step 3: Connect the Camera by USB
- Turn off the camera.
- Connect the camera to the computer with a USB data cable.
- Turn on the camera.
- Set the camera to the USB or PC connection mode required by the manufacturer.
- Open the webcam utility and wait for the camera preview.
A charging-only USB cable will not work as a webcam connection. If the computer does not detect the camera, try another cable and USB port before changing camera settings.
Step 4: Select the Camera in Your App
Open your video application and select the manufacturer’s webcam utility as the camera source.
- Zoom: Open Settings, choose Video, and select the camera utility.
- Microsoft Teams: Open Settings, choose Devices, and select the camera under Video settings.
- Google Meet: Open the meeting settings and select the camera utility under Video.
- OBS: Add a Video Capture Device source and choose the virtual camera.
- Twitch or YouTube: Select the camera source inside OBS, Streamlabs, or the broadcasting software you use.
USB software is convenient, but the camera may output only a limited resolution or frame rate. The final image also depends on the software’s processing and the application receiving the signal.
How to Use a DSLR as a Webcam With an HDMI Capture Card
Use an HDMI capture card when the camera supports clean HDMI but does not offer a suitable USB webcam mode, or when you want to build a more flexible streaming setup.
Step 1: Connect the Camera to the Capture Card
- Connect the camera’s HDMI output to the capture card’s HDMI input.
- Connect the capture card to the computer through USB.
- Turn on the camera.
- Set the camera to video mode.
- Open the capture card preview in your video software.
The capture card should appear as a camera or video capture device. If it does not appear, check the USB connection, capture card driver requirements, and the selected HDMI input.
Step 2: Enable a Clean HDMI Feed
Open the camera’s display or HDMI settings and disable overlays. Look for battery status, focus indicators, exposure information, and recording icons in the preview.
Some cameras show a clean feed only when recording is not active. Others can output a clean signal while recording internally. Test the camera before the livestream so you know which behavior applies to your model.
Step 3: Configure the Camera in OBS
- Open OBS Studio.
- Add a new Video Capture Device source.
- Select the capture card.
- Choose the required resolution and frame rate.
- Set the video format to the option recommended by the capture card.
- Check the preview for overlays, delay, flicker, or dropped frames.
For Twitch, 1080p at 30 or 60 frames per second is often a practical starting point. For YouTube, you can choose a higher output if your camera, capture card, computer, upload speed, and streaming software can handle it reliably.
Step 4: Add Audio Separately
Many HDMI capture cards can carry camera audio, but that does not automatically make it the best audio choice. A microphone connected directly to the computer, audio interface, or mixer is usually easier to monitor and adjust.
In OBS, add the microphone as a separate Audio Input Capture source. If the capture card also carries audio, disable one of the duplicate sources to avoid echo.
Camera Settings for Zoom, Teams, OBS, Twitch, and YouTube
Exposure and White Balance
Automatic exposure can change when a bright window, monitor, or phone enters the frame. If the brightness keeps shifting during a call, use manual exposure or lock the exposure after your face is correctly lit.
Manual white balance also helps keep skin tones consistent when the lighting comes from more than one source.
Autofocus
Autofocus is useful when you move toward the camera, hold objects up to the lens, or stand during a presentation. If you remain seated at a fixed distance, manual focus can create a steadier image because the lens will not hunt every time you move slightly.
For a two-person setup, frame both people first and test whether autofocus can recognize the intended subject. If the camera repeatedly switches focus between faces, a locked focus position may look more stable.
Power and Battery Management
A normal battery may last for a short meeting but fail during a long Twitch or YouTube broadcast. Use the camera maker’s AC adapter, a compatible dummy battery, or an approved continuous-power accessory.
Make sure the dummy battery matches the camera model and voltage requirements. An incompatible power accessory can damage the camera or cause unstable operation.
Heat and Automatic Shutdown
Long recording and streaming sessions create more heat than ordinary photography. Keep the camera away from enclosed shelves, leave ventilation openings clear, and check whether the camera has a high-temperature shutdown setting.
Before streaming publicly, run the camera for at least the expected session length. A camera that remains stable for 20 minutes may still overheat during a three-hour broadcast.
Audio Routing
Use one primary microphone source. For Zoom and Teams, choose the same microphone in the application’s audio settings. For OBS, add the microphone as its own audio source and monitor it with headphones.
If the camera audio reaches the computer through HDMI and a second microphone is also active, mute one source to prevent an echo or delayed double voice.
Common Problems and Practical Fixes
The Camera Is Not Detected Over USB
Try a different USB data cable, another USB port, and the camera’s required USB mode. Close other applications that may already be using the camera. If the exact model is not on the manufacturer’s supported list, switch to an HDMI capture-card setup if clean HDMI is available.
The HDMI Image Shows Menus or Icons
Enable clean HDMI or disable the camera’s information display. If the camera cannot remove the overlays, it may not be suitable for a polished streaming workflow.
The Camera Keeps Refocusing
Improve the lighting, reduce background movement, or switch to manual focus when you remain seated. Use continuous autofocus when the stream involves movement, demonstrations, or frequent changes in distance.
The Camera Turns Off During Streaming
Connect continuous power, disable automatic sleep, improve airflow, and lower demanding video settings if the camera becomes hot. Check the manual for maximum recording or streaming limits.
The Video Works but the Audio Is Missing
Select the microphone separately in Zoom, Teams, OBS, Twitch, or YouTube software. Many USB webcam utilities transmit video only, and some capture-card setups may not pass camera audio correctly.
Bonus: A Simpler Webcam Alternative - OBSBOT Tiny 3
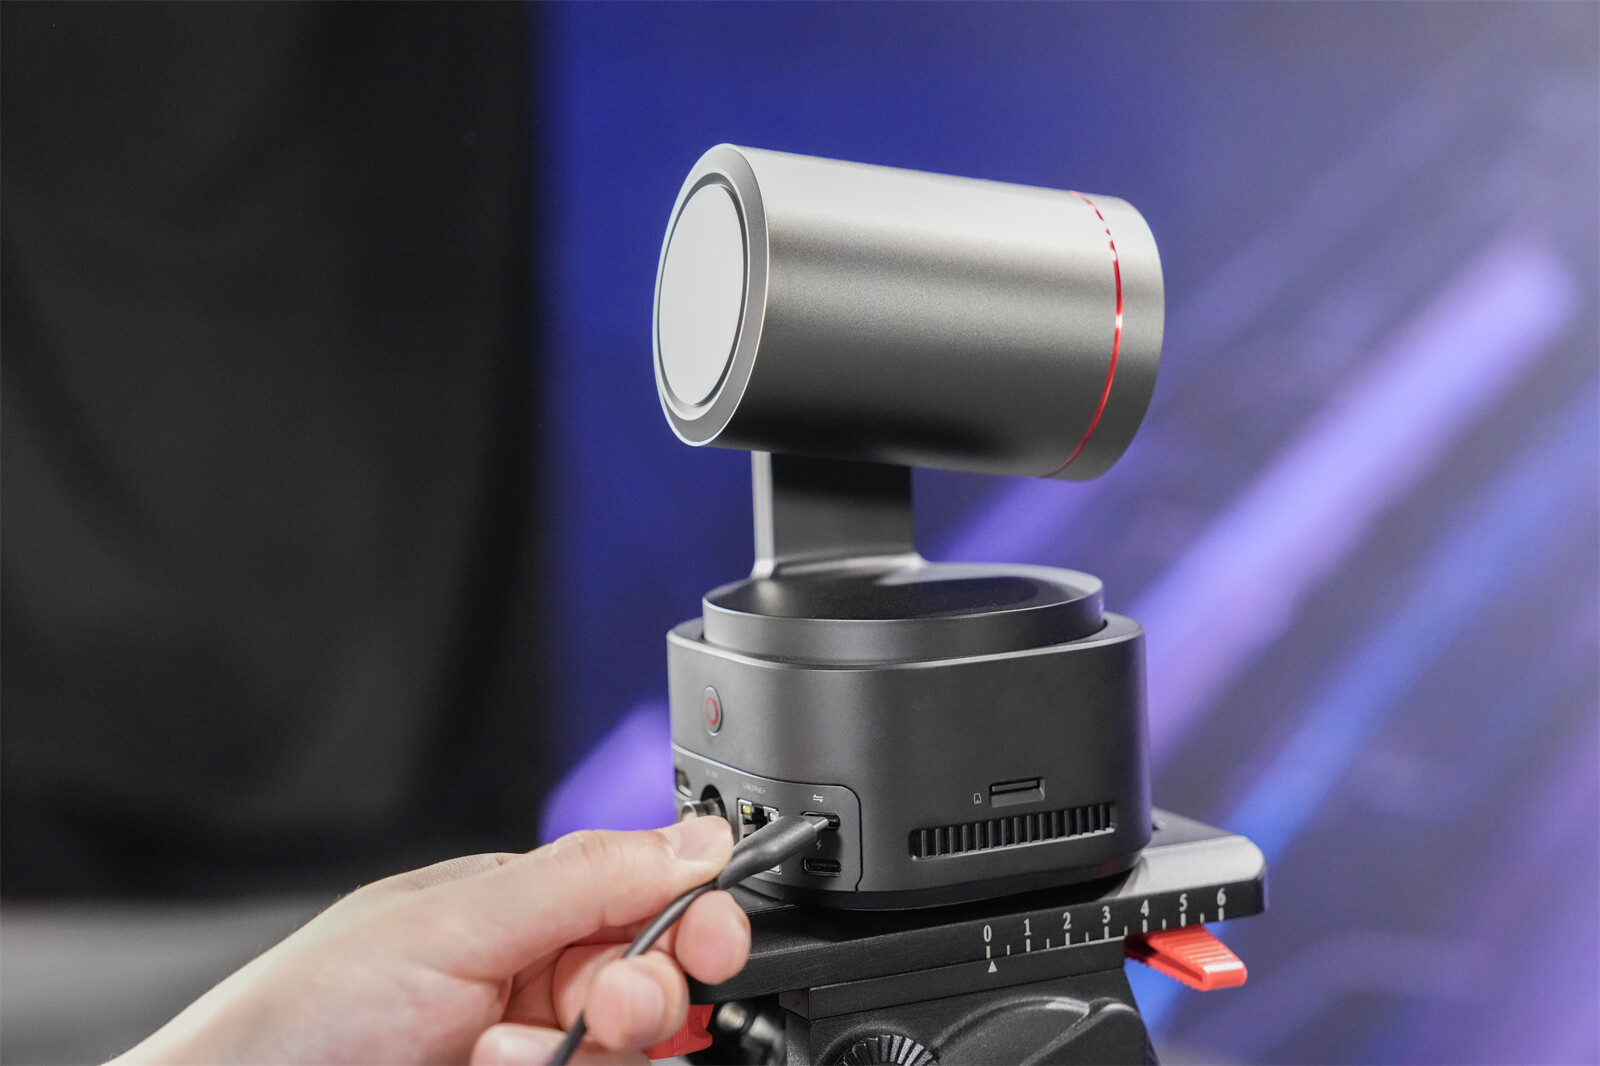
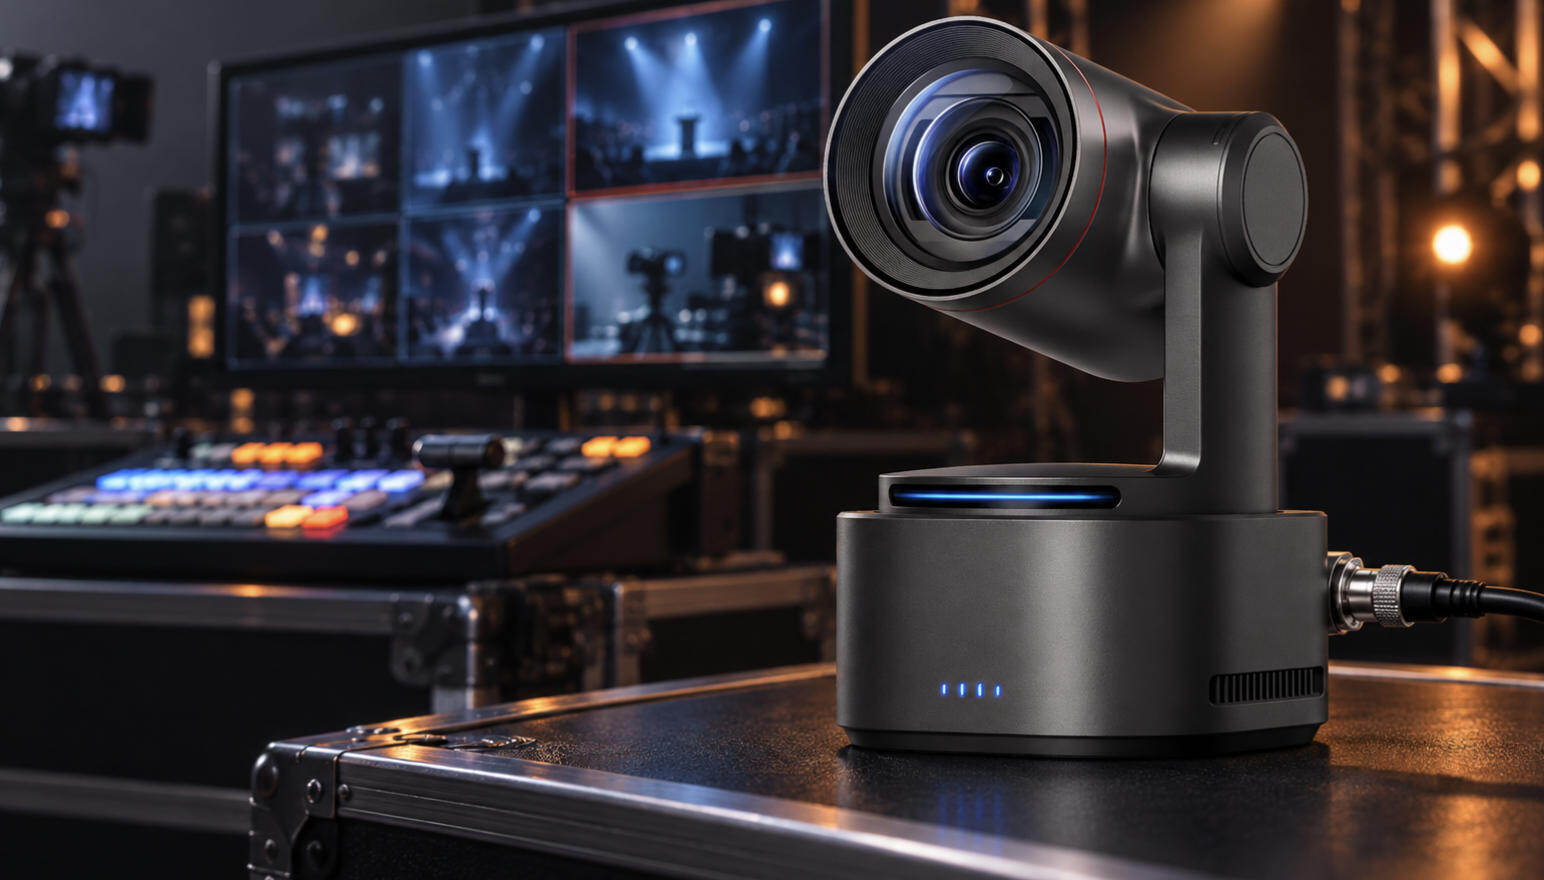
If your DSLR setup keeps running into capture-card compatibility, battery, heat, or autofocus problems, a purpose-built webcam can be easier to manage. The OBSBOT Tiny 3 is designed for creators who want clear video and automatic framing without building a DSLR webcam workflow from separate accessories.
It fits best on a desk, in a home studio, or in a small streaming space where you may move between sitting, standing, and presenting. You can connect it directly to your computer, select it in Zoom, Teams, OBS, Twitch, or YouTube software, and start streaming without a capture card.
Why it can simplify the setup:
- Direct USB webcam connection: Connects straight to a computer, so you do not need an HDMI capture card or a camera-specific webcam utility.
- 4K video and 1080p at 120fps: Keeps close-up face-cam footage detailed and leaves more flexibility for motion-focused content or cropped scenes.
- AI Tracking 2.0: Keeps the streamer framed when they move, stand up, demonstrate a product, or shift between parts of a small room.
- Voice Locator and Voice Tracking: Helps the camera identify where the active speaker is, which is useful for solo presentations, tutorials, and small podcast setups.
- Spatial audio system: Uses directional microphone capture and multiple audio modes when you want a cleaner starting point without adding a separate microphone immediately.
FAQs About Using a DSLR as a Webcam
Can any DSLR be used as a webcam?
No. The camera must support USB webcam software, HDMI output through a capture card, or another compatible connection. Always check the exact model rather than relying on the camera brand alone.
Is a capture card necessary to use a DSLR as a webcam?
Not always. A compatible DSLR can work directly through USB webcam software. A capture card becomes necessary when the camera does not support USB webcam mode or when you need HDMI-based routing for OBS, Twitch, YouTube, or multicamera production.
What does clean HDMI mean?
Clean HDMI is a video output without camera menus, battery icons, focus boxes, exposure information, or other overlays. It is important when using a DSLR or camcorder with a capture card for meetings or livestreaming.
Can I use a camcorder as a webcam?
Yes, if the camcorder supports USB webcam mode or provides a clean HDMI output. Camcorders can be convenient for long sessions because many models are designed for extended video recording, but you still need to verify power, heat, audio, and connection compatibility.
Can I use a DSLR for Twitch and YouTube?
Yes. Connect the camera through supported USB software or an HDMI capture card, then select the correct source in OBS or your broadcasting software. For long streams, continuous power, clean HDMI, stable focus, and separate audio are more important than resolution alone.
Conclusion
Using an existing DSLR or camcorder as a webcam is practical when the camera matches your workflow. Choose USB software for the simplest Zoom or Teams setup. Choose an HDMI capture card for OBS, Twitch, YouTube, multicamera production, and greater control. Before going live, test clean HDMI, continuous power, heat, autofocus, audio routing, and the exact application settings you plan to use.