OBS Desktop Audio Not Working? Start With These 5 Checks
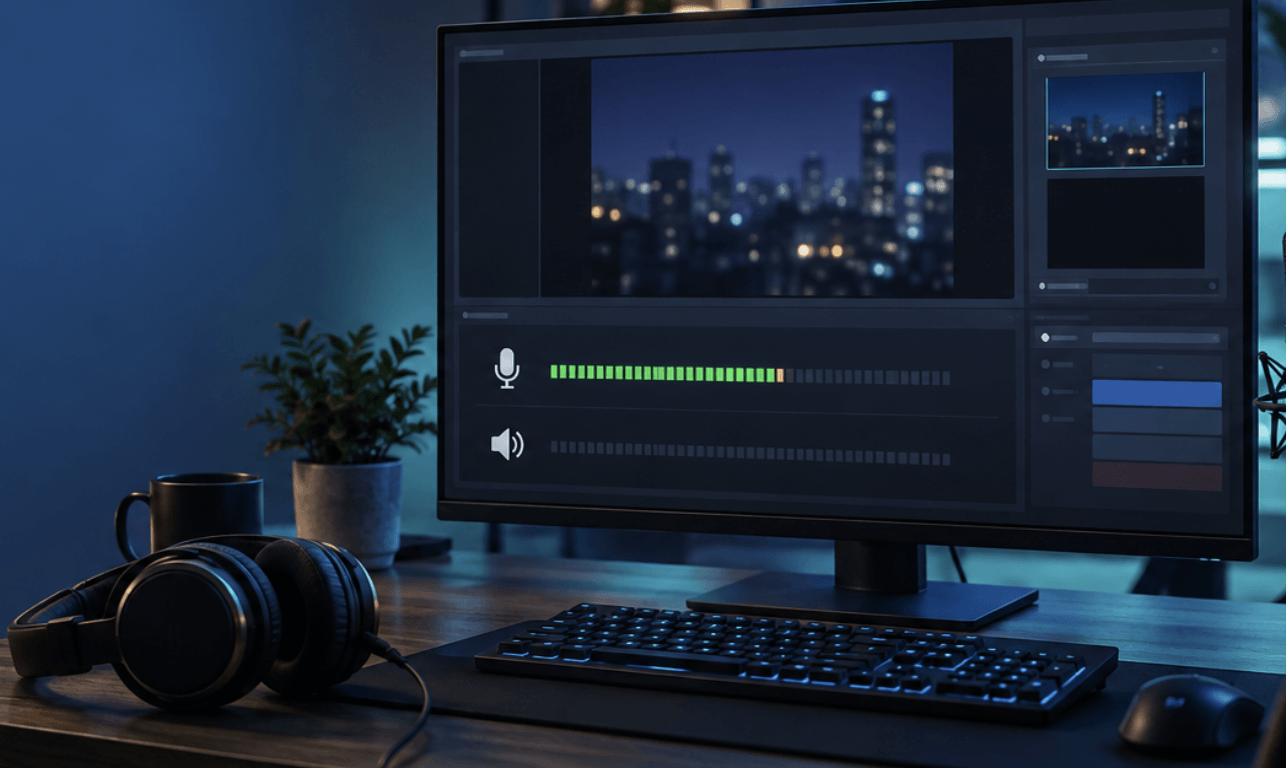
You can hear a game or video through your headphones, but OBS Studio records silence. Before changing drivers or reinstalling anything, find out where the sound stops. A moving Desktop Audio meter means OBS is receiving sound; a flat meter means it is not. Then make a 10-second test recording to check whether the sound reaches the file. This guide walks through both results on Windows and macOS.
1. Start with a 30-second audio test
Open a video or music file that you know produces sound. Keep it playing, then look at the Audio Mixer in OBS. Watch the Desktop Audio meter, not the microphone meter. Click Start Recording, record about 10 seconds, stop, and play the file outside OBS. OBS recommends checking the mixer and making a test recording before a real session.
| What you see | What it usually means | Go to |
|---|---|---|
| The Desktop Audio meter stays flat | OBS is not receiving sound from the selected device or app. | Check the capture device and app output. |
| The meter moves, but the file is silent | Sound reached OBS but may not be routed to the recorded track. | Check track and monitoring settings. |
| The file has sound, but you cannot hear it while recording | Capture may be working; headphone playback and OBS monitoring are separate. | Check what you are monitoring. |
2. Fix a Desktop Audio meter that does not move
On Windows, the most common mismatch is simple: your browser or game plays through one output, while OBS listens to another. This often happens after switching from speakers to a USB headset, connecting Bluetooth headphones, or plugging in an HDMI monitor.
- Check where Windows sends the sound. Open Settings > System > Sound > Volume mixer. While your test video plays, make sure the app is not muted and note its Output device. If the app uses a different headset or speaker from the Windows default, that difference matters.
- Point OBS to that device. In OBS, open Settings > Audio > Global Audio Devices. Choose the matching device for Desktop Audio, click Apply, and play the sound again. You can try Default, but selecting the device by name is easier to verify when several outputs are connected.
- Check the meter again. If it starts moving, make a short recording before changing anything else. If it stays flat, try the scene-specific option below.
Capture one output device or one app instead
To capture one headset or speaker in a particular scene, click + in Sources, add Audio Output Capture, and select the same device that plays the sound. Do not capture that device both here and through the global Desktop Audio setting; duplicate capture can create echo. If you only need game or browser sound on a supported Windows setup, Application Audio Capture may be cleaner. OBS also supports adding app audio through newer Window Capture or Game Capture options. Disable global Desktop Audio when you intentionally use per-app capture to avoid picking up the same sound twice.
If you are deciding between whole-desktop and app-only sound for a screen recording, the OBSBOT guide to recording audio with screen video covers those broader workflow choices.
3. Fix a silent recording when the meter moves
A moving meter proves OBS received the sound. It does not prove that your recording includes it. Work through these checks in order:
- Unmute and raise the source. In the Audio Mixer, check that Desktop Audio is not muted and its slider is not at the bottom.
- Check the recording track. Open the mixer's menu or gear and choose Advanced Audio Properties. For a simple recording, tick Track 1 for Desktop Audio. If you also want your microphone in the normal playback, tick Track 1 for that source too.
- Check which tracks the file records. Open Settings > Output. In the recording settings, enable the same audio track you assigned above. If you use an advanced multi-track setup, keep a complete mix on Track 1; many ordinary video players play only one audio track.
- Check monitoring mode. In Advanced Audio Properties, avoid Monitor Only (mute output) for audio that must reach the recording or stream. Use Monitor Off if you do not need to hear that source through OBS, or Monitor and Output if you need both. This setting does not replace track assignment.
If you are still setting up the rest of your recording, see the OBSBOT overview of OBS recording settings. For the audio-track behavior itself, follow the OBS multiple-audio-track guide.
4. Capture desktop audio on a Mac
On macOS, a flat Desktop Audio meter does not always mean a broken output device. The capture method depends on your macOS and OBS versions:
- macOS 13 or newer with OBS Studio 30 or newer: Add a macOS Audio Capture source. Choose all desktop audio or a specific app, then watch its mixer meter.
- macOS 13 or newer with OBS Studio 28 or 29: Add a macOS Screen Capture source; it can capture desktop or individual-app audio. If you hide that source, its audio is removed too.
- Older macOS: Native desktop-audio capture is more limited. OBS documents routing tools such as a virtual audio cable for these systems; follow its version-specific setup rather than adding Windows-style Audio Output Capture instructions.
If a macOS capture source cannot see the intended window or app, review OBS permissions in macOS and restart OBS when the system requests it. The official macOS desktop-audio guide explains the available paths by version.
5. Run a final recording check
After each change, record a short clip with the actual app, headset, and scene you plan to use. Play the file through a regular video player and confirm that the game or browser sound and microphone are both present at sensible levels. If you deliberately record separate tracks, also inspect the file in an editor that can show every track; a standard player may play only Track 1.
Do not judge the result only by what you hear in your headphones. Monitoring controls what OBS sends back to you, while output tracks control what goes into the recording or stream. If the recording is correct but your headphones are quiet, fix monitoring or the system playback device without undoing a working capture route.
6. FAQs
Why can I hear a game, but OBS Desktop Audio stays flat?
The game may be playing through a headset or monitor that OBS is not capturing. Compare the game's output in Windows Volume mixer with Settings > Audio > Desktop Audio in OBS. If they differ, choose the actual output device in OBS or use an app-specific capture source.
Why is my microphone recorded but desktop audio is missing?
The microphone and desktop audio are separate sources. A working mic does not confirm that OBS selected the correct speaker or headset. Check the Desktop Audio meter first; if it moves, check the desktop source’s recording-track checkbox.
Why does my OBS recording have sound in an editor but not in a video player?
Your sound may be on a separate audio track that the player does not select. For straightforward playback, assign the sources you want viewers to hear to Track 1 and record that track. Keep separate tracks as extras when you need editing flexibility.
Does Display Capture automatically include computer audio?
Not necessarily. On Windows, display capture handles the picture; configure desktop or app audio separately and confirm the relevant mixer meter moves. On supported macOS versions, the macOS Screen Capture source can include audio, but you still need to verify its meter and the recorded file.
Why did desktop audio stop after I connected Bluetooth headphones?
Windows or the app may have switched to a new output device while OBS still captures the old one. Play your test sound, inspect the app's output in Windows Volume mixer, then reselect the matching device in OBS. Make another 10-second recording before going live.
Conclusion
Follow the sound from the app to the OBS meter to the recorded file. A flat meter points to device or capture selection; a moving meter with a silent file points to tracks or monitoring. One short test after each change will show whether the fix worked.