How to Get Multiple Audio Tracks in OBS for Editing
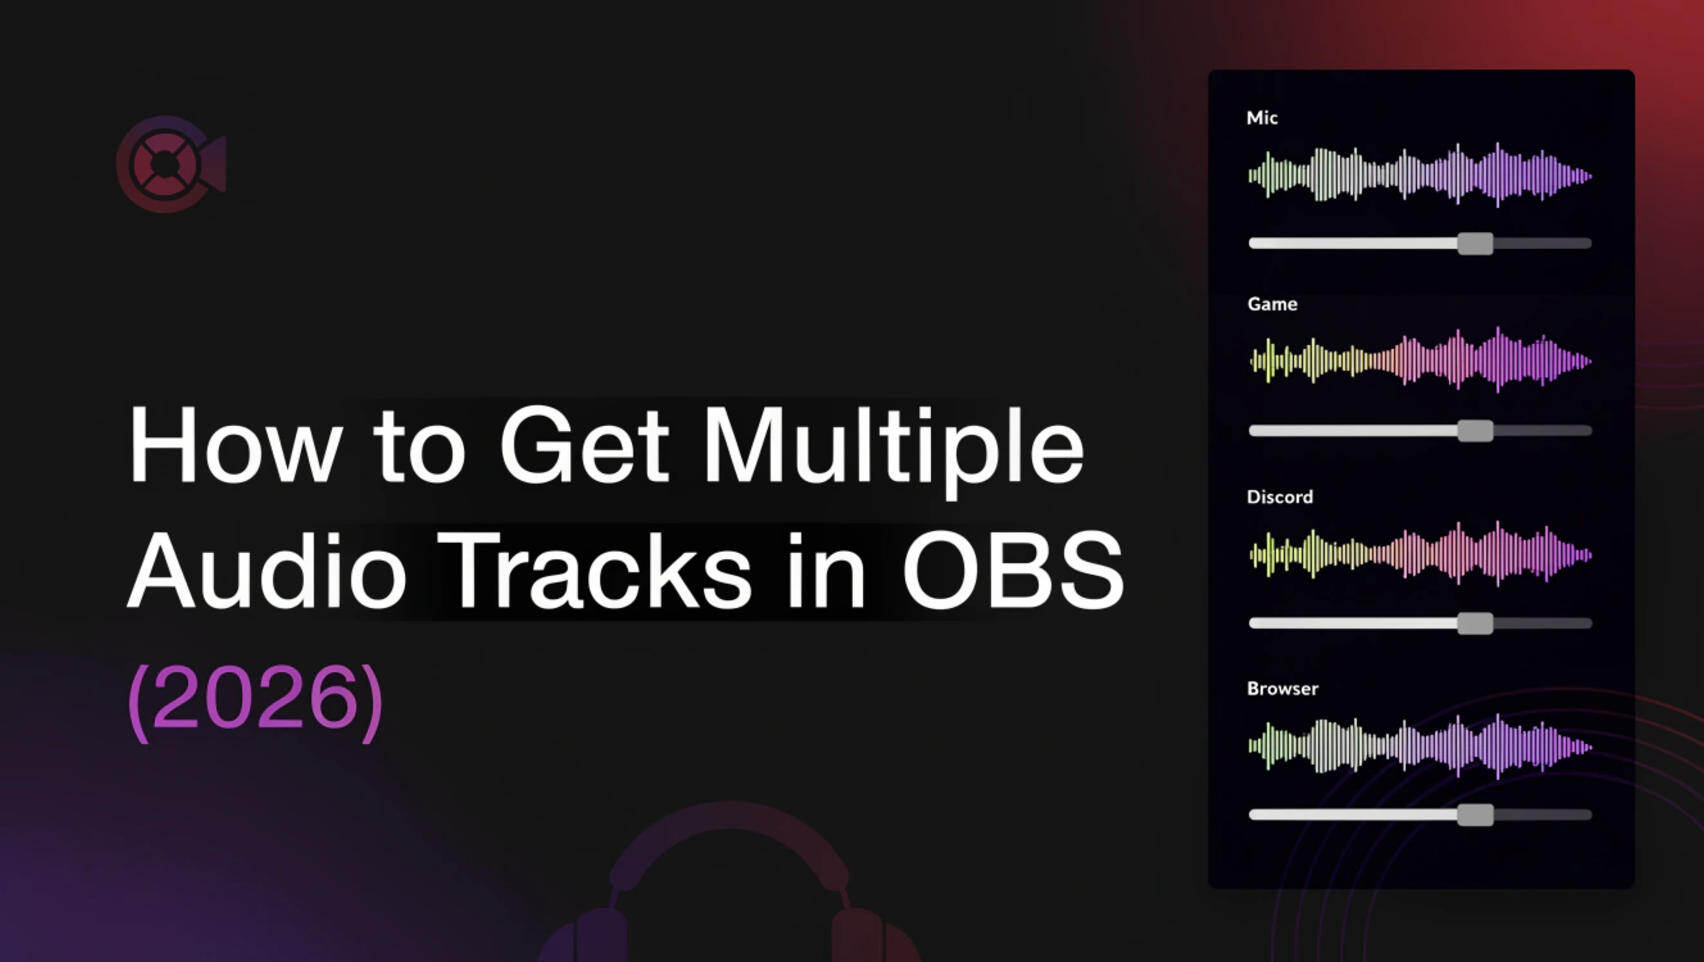
A long recording is a bad time to discover that your microphone, game, Discord chat, and music were permanently mixed together. To get multiple audio tracks in OBS, you must first capture those sounds as separate sources, then route them to different recording tracks. The setup below also keeps a complete mix for normal playback or streaming, so you gain editing control without sending your audience an incomplete soundtrack.
Separate Your Audio Sources Before Creating Tracks
OBS cannot unmix Desktop Audio. It can route separate sources to separate tracks, but it cannot recover independent applications after their sound has entered through one combined source.
If your game, Discord, browser, and music all appear under Desktop Audio, assigning that source to Tracks 2, 3, and 4 creates three copies of the same mix. It does not produce independent application audio.
On Windows 10 and 11, create separate sources before configuring the tracks:
- Open Settings > Audio and decide whether you still need the global Desktop Audio device.
- Add your microphone with Sources > + > Audio Input Capture.
- Add the game, Discord, browser, or music app as individual Application Audio Capture sources.
- In OBS 30.1 or later, you can instead enable Capture Audio inside a compatible Game Capture or Window Capture source.
- Rename each source clearly, such as Mic, Game, Discord, and Browser Music.
- Watch each Audio Mixer meter while playing one source at a time. Only the intended meter should move.
When you use per-application capture, disable global Desktop Audio unless you need it for something else. Otherwise, OBS may capture the same application through both sources and create echo or doubled sound. Some applications cannot be isolated directly and may require a virtual audio cable. Check more OBS Application Audio Capture Guide for the built-in method and its limits.
Enable and Route Multiple Recording Tracks in OBS
Enable the tracks once, then build one clear routing matrix. This prevents missing sources and avoids recording the same complete mix six times.
Choose the Recording Format and Tracks
- Open Settings > Output.
- Set Output Mode to Advanced for the clearest access to the relevant controls.
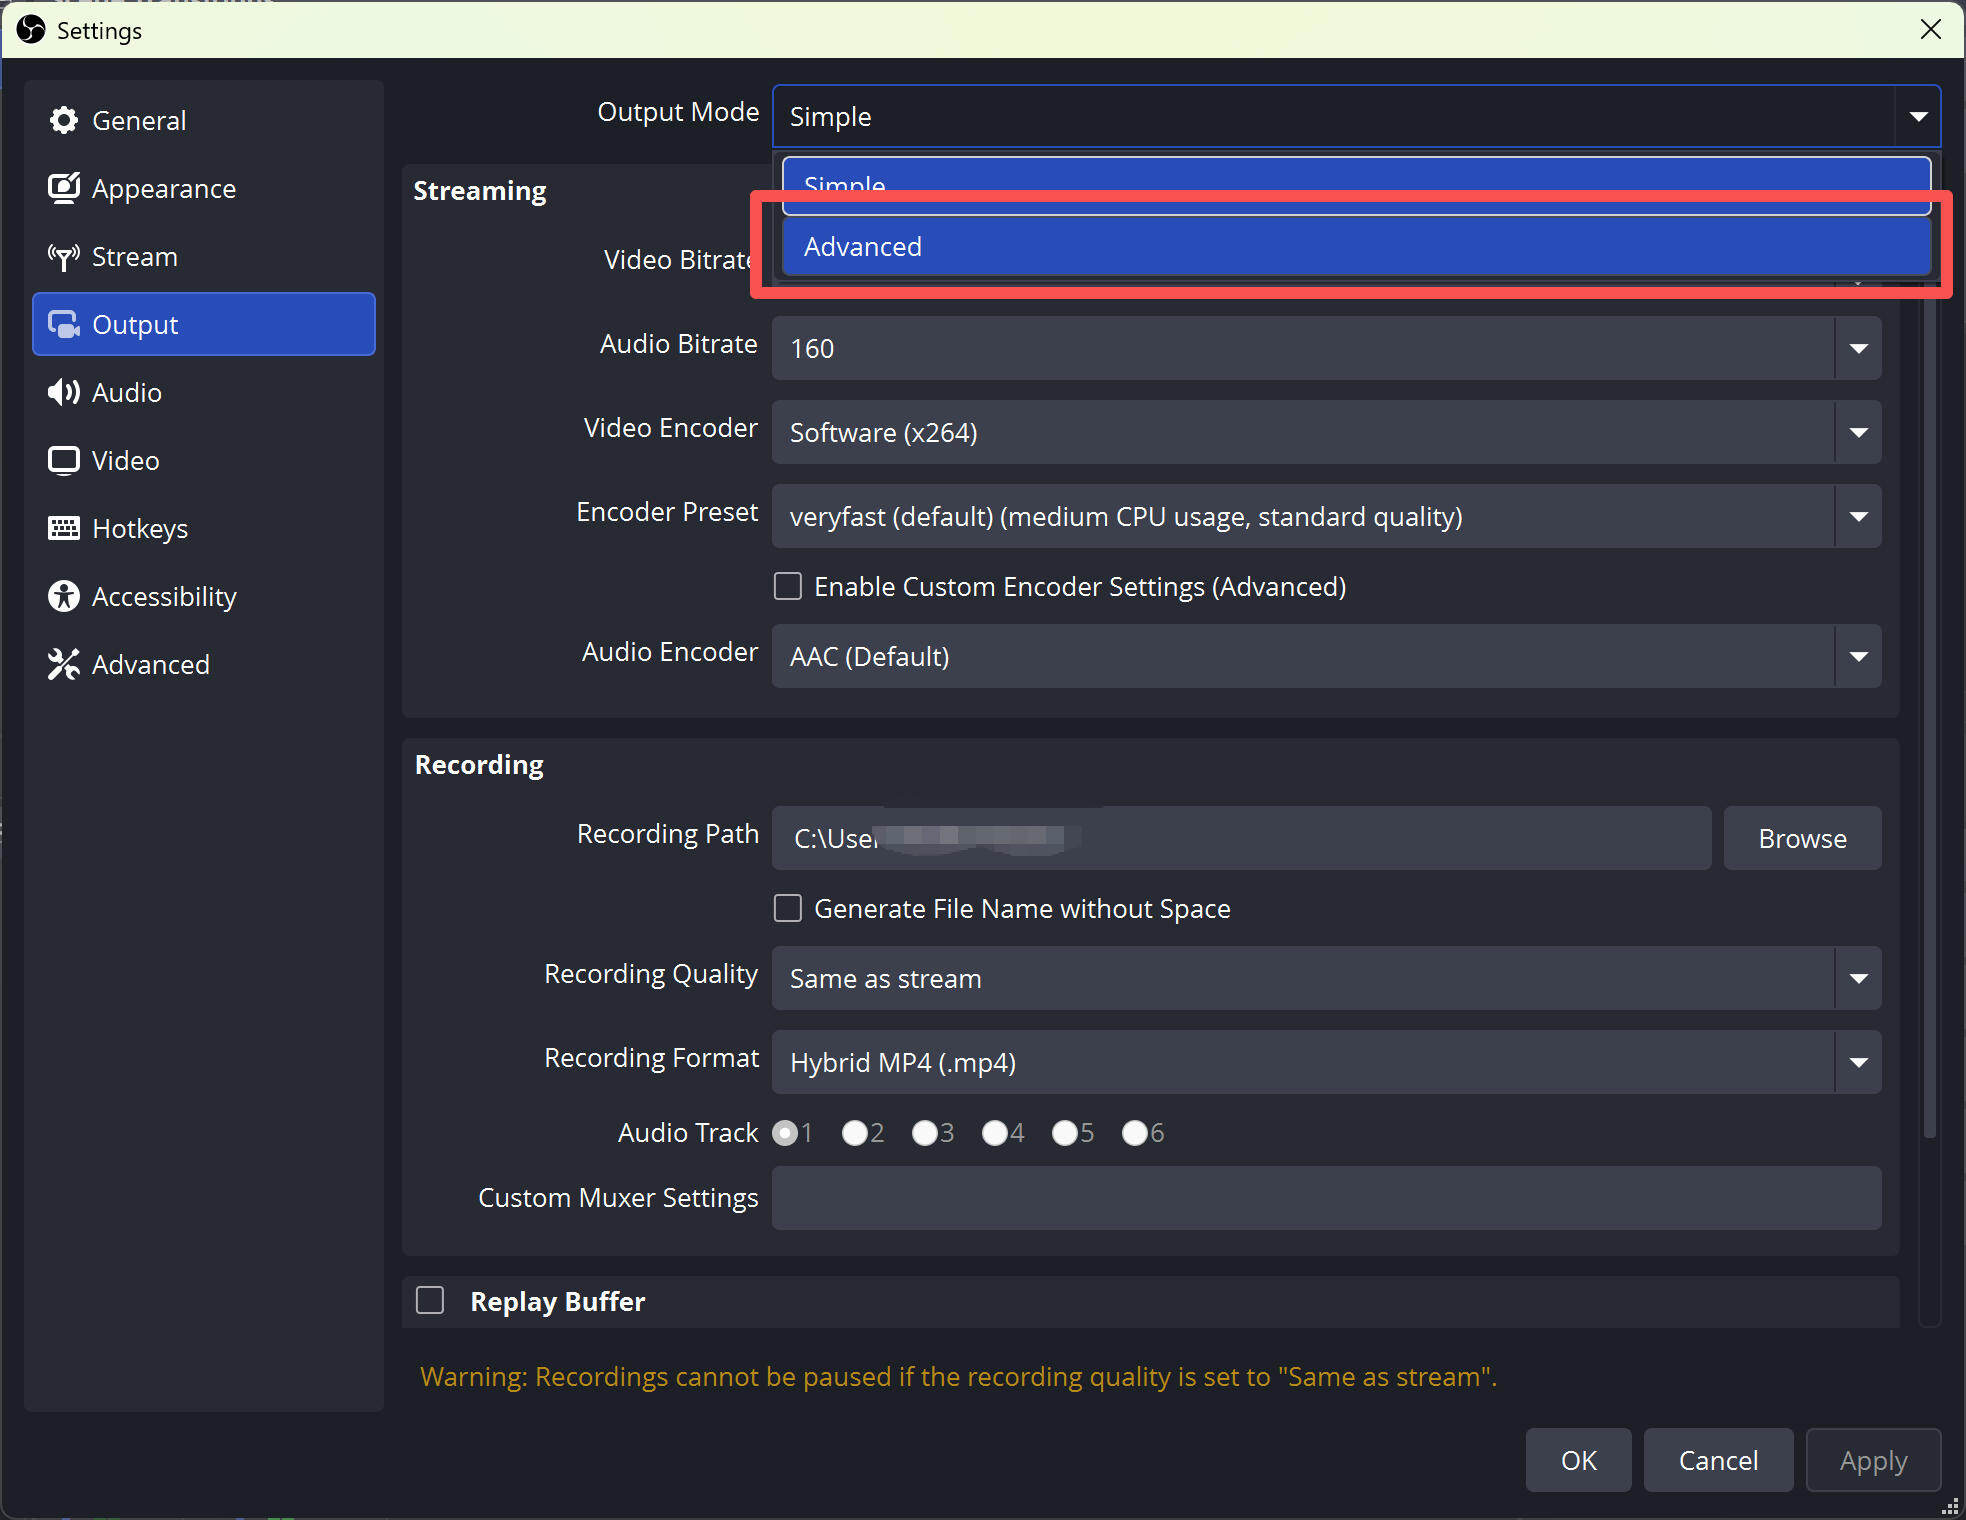
3. Open the Recording tab.
4. Choose MKV if recording resilience and broad OBS codec support matter most. Choose Hybrid MP4 or Hybrid MOV when you want easier editor compatibility without the failure risk of traditional MP4/MOV recording.
5. Do not use FLV for this workflow because it supports only one audio track.
6. Under Audio Track, enable Track 1 and every isolated track you plan to record.
MKV may need to be converted before editing. OBS can do this through File > Remux Recordings without re-encoding the video. AAC is the simplest audio choice when editor compatibility matters more than lossless recording.
Assign the Sources
Return to the main OBS window, open the Audio Mixer menu, and select Advanced Audio Properties. Each row is an audio source, and the numbered boxes on the right determine which tracks receive it.
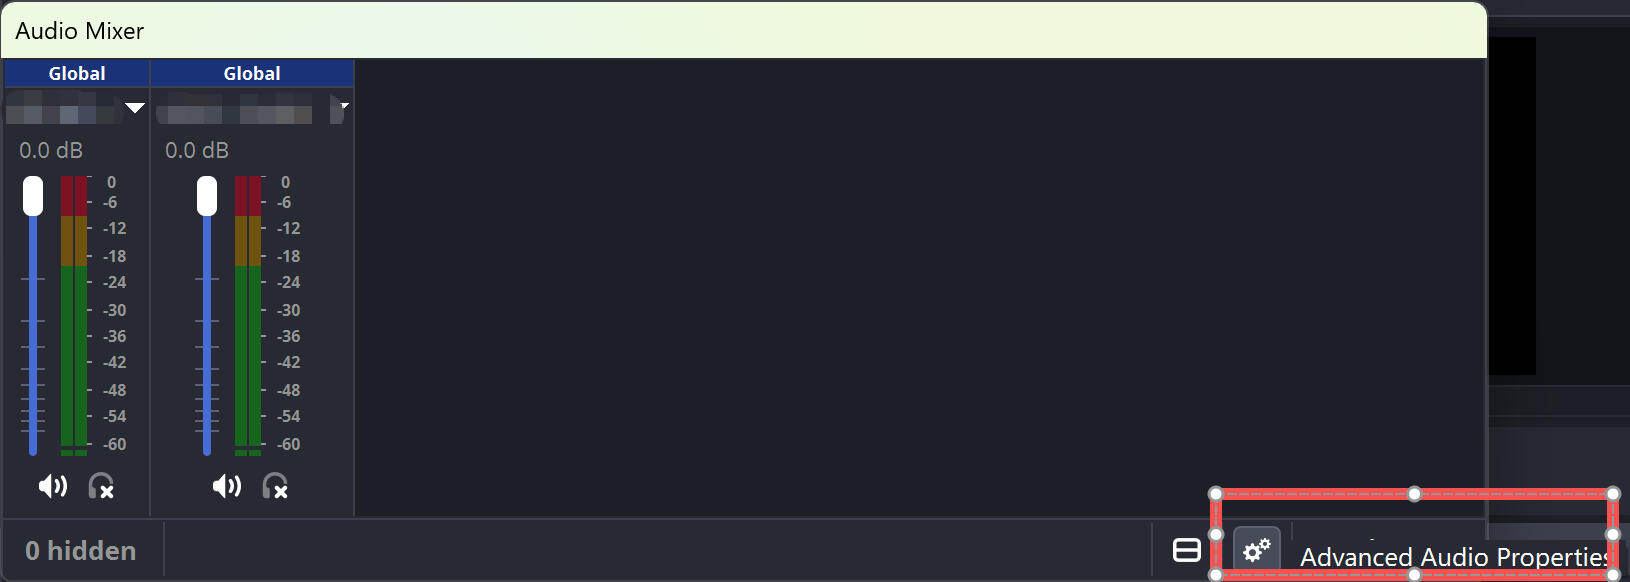
Use Track 1 as a complete safety mix. Then place each source on one additional isolated track:
| Track | What to Assign | Purpose |
|---|---|---|
| Track 1 | Mic + game + Discord + browser + alerts | Complete mix for streaming and ordinary playback |
| Track 2 | Microphone only | Voice cleanup, compression, and level changes |
| Track 3 | Game only | Independent gameplay volume |
| Track 4 | Discord or guest only | Balance or mute other speakers |
| Track 5 | Browser or music only | Lower or remove background media |
| Track 6 | Optional guest, backup, or clean mix | Extra production-specific output |
For example, Mic should be checked on Tracks 1 and 2, Game on Tracks 1 and 3, and Discord on Tracks 1 and 4. Do not check every source on every isolated track. That mistake produces several identical mixes.
Stream One Mix While Recording Separate Tracks
You can stream and record from the same OBS session. You do not need a second copy of OBS or Streamlabs.
In Settings > Output > Streaming, select Track 1 as the stream audio track. Because every audience-facing source is assigned to Track 1, viewers hear the complete program mix. In the Recording tab, enable Track 1 plus the isolated tracks. OBS will save the full mix and the individual sources in the same recording file.
For Twitch, the layout may be different. OBS can send Track 1 to the live stream and Track 2 to the Twitch VOD, allowing you to exclude music from the archived version. Tracks 3–6 remain available for isolated recording. See the official Twitch VOD Track Guide for the platform-specific controls.
If OBS reports encoder overload after you start recording, the number of audio tracks is unlikely to be the main problem. Check whether recording uses a separate video encoder, a demanding quality preset, a higher resolution, or a higher frame rate. Changing Recording Quality away from Same as Stream can require additional computer resources.
Test the Recording and Fix Missing or Duplicate Tracks
Run a 30-second test before the real session. This is long enough to verify every source without risking an hour of unusable footage.
- Speak into the microphone for five seconds.
- Play the game while staying silent.
- Play a short Discord or guest-audio sample.
- Play browser audio or music.
- Stop the recording and import it into the editor you plan to use.
- Solo each audio track and confirm that it contains only the intended source.
A normal media player often plays only one audio track at a time. Hearing only Track 1 does not prove that the other tracks are missing. Import the file into a compatible editor or inspect it with MediaInfo or ffprobe before changing the OBS setup.
| Symptom | Likely Cause | What to Do |
|---|---|---|
| Every track has the same sound | Every source is checked on every track, or all apps enter through Desktop Audio | Create separate application sources and correct the routing matrix |
| Only Track 1 plays | The media player selects one embedded audio stream at a time | Switch audio streams or open the file in an editor |
| The editor shows one track | Editor, container, codec, or timeline compatibility problem | Verify with MediaInfo/ffprobe; remux MKV or try AAC/Hybrid MP4 |
| Track boxes are unavailable | Same as Stream, Simple Output limitations, or an incompatible format | Use Advanced Output, choose another recording setting, and avoid FLV |
| One source is missing | Its track is disabled or the source is routed to the wrong track | Check Output > Recording and Advanced Audio Properties |
| Audio echoes or sounds doubled | The same app is captured through two sources | Disable either Desktop Audio or the duplicate application source |
Lossless or uncompressed audio also needs extra compatibility testing. A file may contain multiple PCM or FLAC tracks even when an editor imports only the first one. For the least complicated workflow, test the exact container, audio codec, and editing application together before committing to a long session.
Bonus: Add a Professional Camera Angle with OBSBOT Tail 2
Once your audio is separated, the next upgrade is a camera angle that stays usable while you manage the stream.
For professional video production, OBSBOT Tail 2 records up to 4K/60fps and uses AI Tracking 2.0 to follow a presenter, performer, or moving guest. Its PTZR movement, 5x optical zoom, and HDMI, SDI, USB, and NDI connectivity suit flexible studio and event workflows. It has no built-in microphone, so continue routing an external mic or mixer through OBS.
FAQs About Multiple Audio Tracks in OBS
How Do I Split One Audio Track into Multiple Audio Tracks?
OBS cannot cleanly split a finished Desktop Audio mix back into microphone, game, chat, and music tracks. Create separate audio sources before recording and assign each source to its own track. Stem-separation software is a different, less reliable recovery process.
Why Is OBS Only Recording One Audio Track?
Confirm that several tracks are enabled under Settings > Output > Recording and that each source is assigned in Advanced Audio Properties. Also avoid FLV, which supports only one track. If the file contains multiple tracks but you hear one, the player may simply be selecting Track 1.
Why Aren't My Separate Audio Tracks Working in OBS?
First check whether the sources are truly separate in the Audio Mixer. Next verify the routing matrix and enabled recording tracks. If OBS created the tracks but your editor cannot display them, test a more compatible container or AAC audio before rebuilding the entire setup.
Can I Use Multiple Audio Outputs at Once?
Multiple recording tracks are not the same as multiple physical outputs. OBS can create several recorded tracks while sending one complete stream mix, but its built-in monitoring normally uses one selected Monitoring Device. Sending different monitor mixes to several devices generally requires additional routing software or a suitable audio-monitoring plugin.
Conclusion
To get multiple audio tracks in OBS reliably, separate the applications first, keep one complete mix on Track 1, and route each source to one additional recording track. Then make a short test file and check it inside your real editor. That final test prevents the two most common false alarms: duplicate tracks caused by the routing matrix and "missing" tracks that are present but hidden by the player or editing software.