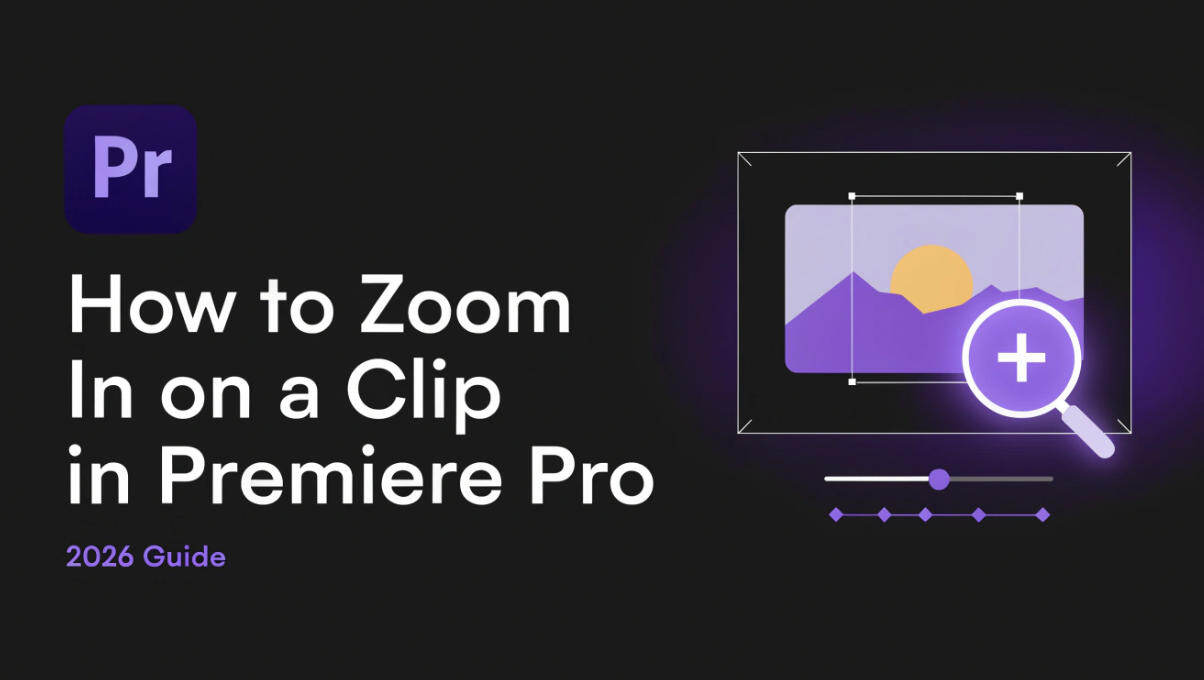
Want to zoom in on Adobe Premiere Pro? First decide what you want to enlarge: the video your audience will see, the timeline you edit in, or just the preview on your screen. They use different controls. Here's the quickest way to do each.
How to Zoom In on a Clip in Premiere Pro
To keep a shot closer for the entire clip, change its Scale. For example, you can crop a wide interview shot into a tighter view of the speaker without adding an animation.
- Select the clip in the timeline.
- Open Window > Effect Controls. The default shortcut is Shift + 5 on Windows and Mac.
- Expand Motion and increase Scale. Try a small change first—such as 110%—and check the result in the Program Monitor.
- If the subject is no longer where you want them, adjust Position to reframe the shot.
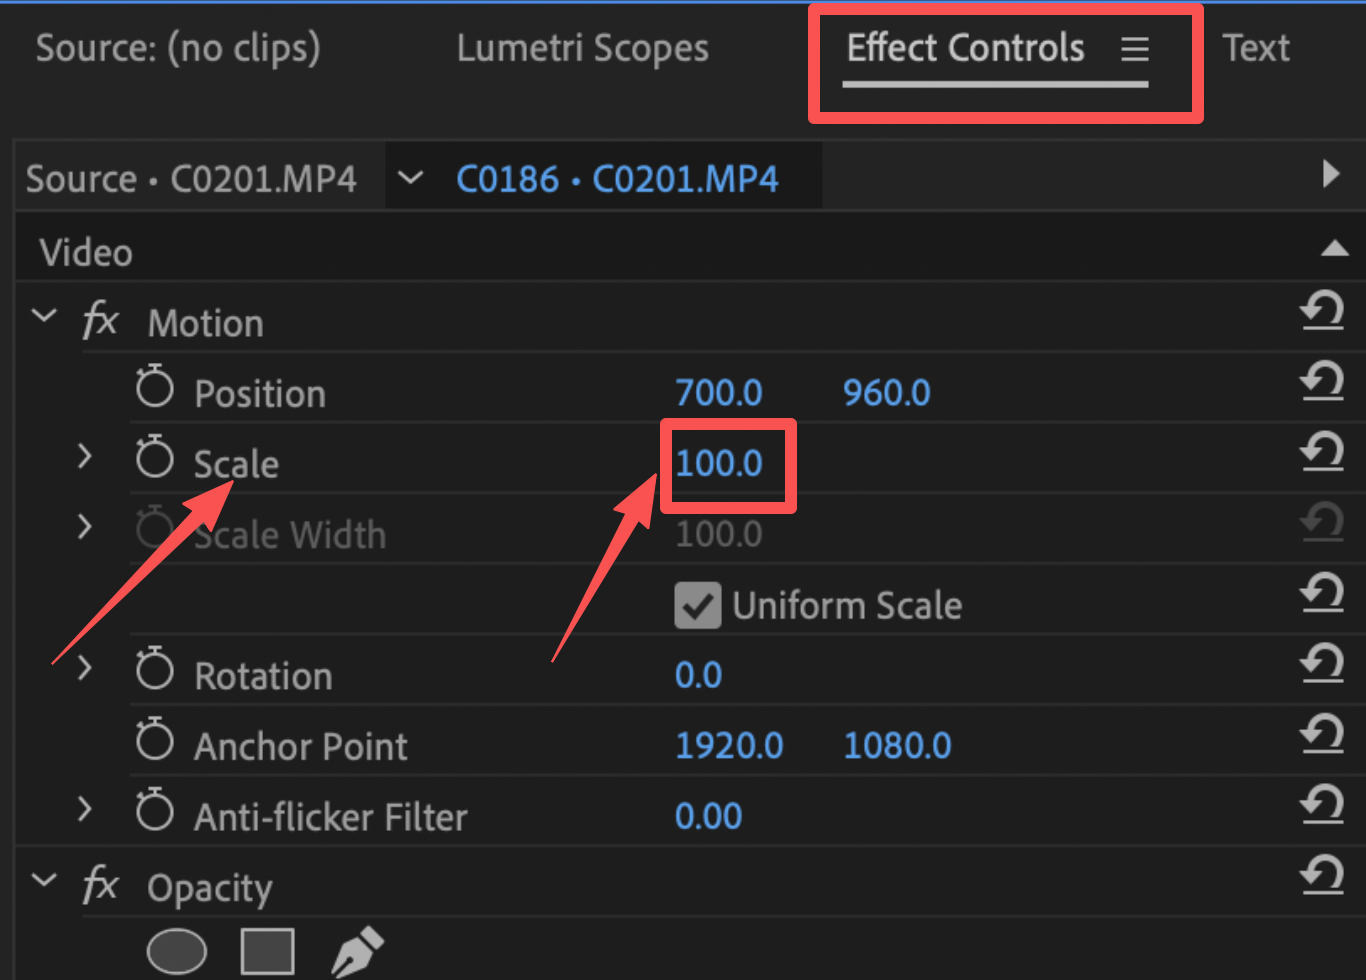
That is the basic answer to how to zoom in on a video in Premiere Pro: select the clip, increase Motion > Scale, then adjust Position if needed. The change will appear in your export. Adobe explains these controls in its Motion effect guide.
Watch the edges: If increasing Scale reveals empty space around the frame, raise it until the frame is filled. If the image becomes soft, reduce the crop; enlarging a low-resolution recording cannot create detail that was never captured.
If you regularly need a close-up of a speaker or performer, it helps to frame that shot while recording instead of relying on a large digital crop in Premiere. OBSBOT Tail 2 is one option for productions where the subject moves and the camera cannot always be operated by hand:
- 5× optical zoom brings a distant subject closer through the lens, preserving more captured detail than enlarging pixels in the edit.
- Up to 4K/60fps recording gives editors high-resolution footage and some room for moderate reframing.
- AI Tracking 2.0 helps keep a moving subject in frame during a presentation or performance.
- PTZR movement supports pan, tilt, zoom, and lens rotation for horizontal or vertical shots.
The best choice still depends on where you can place the camera and how close the final shot needs to be. Check the framing in a short test recording before the event.
How to Make the Video Zoom In While It Plays
For a gradual push toward a face or an object, use keyframes. A keyframe tells Premiere what the Scale or Position should be at a particular moment. Two keyframes are enough to create movement between two views.
- Select the clip and open Effect Controls with Shift + 5.
- Place the playhead where the zoom should begin. Under Motion, set the starting Scale and Position.
- Click the stopwatch beside Scale. Click the stopwatch beside Position too if the zoom needs to move toward an off-center subject.
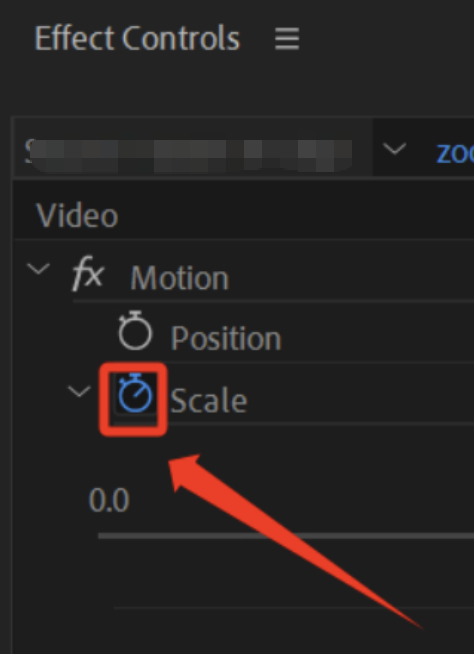
4. Move the playhead to where the zoom should finish—for example, about one second later.
5. Increase Scale and, if needed, change Position. Premiere creates the ending keyframes automatically.
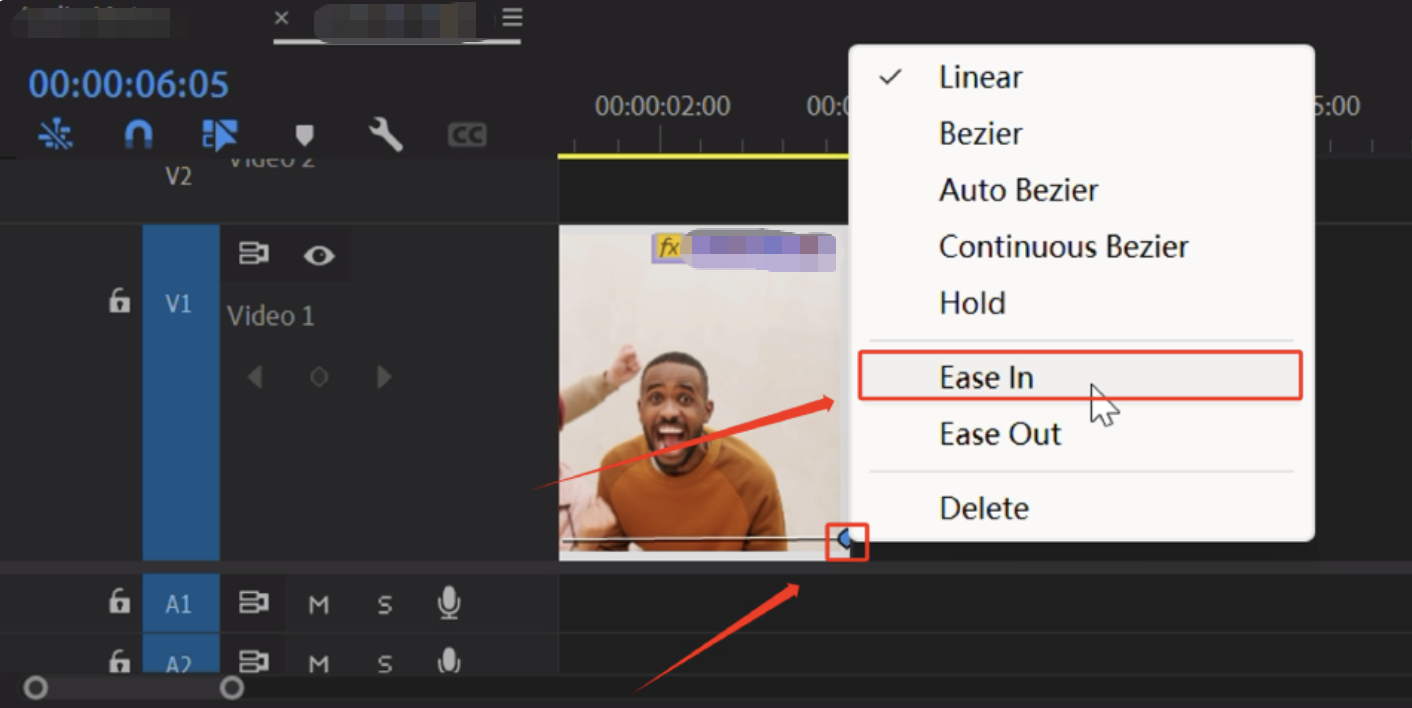
6. Play the clip. If the movement feels abrupt, move the keyframes farther apart for a slower zoom. You can also right-click the first keyframe and choose Temporal Interpolation > Ease Out, then apply Ease In to the last keyframe.
For a restrained documentary-style move, try starting at the clip's existing Scale value and ending only slightly closer. For an energetic reaction shot, make the change larger and place the keyframes closer together. To zoom out, reverse the values: start close and finish wide.
Shortcut note: Shift + 5 opens Effect Controls, but the timeline's = shortcut does not create a zoom effect in the video. Change Scale in Effect Controls for that.
How to Zoom In on the Timeline in Premiere Pro
If you need to see individual edits more clearly, zoom into the timeline instead of the footage. Click the Timeline panel so it is active, then press = to zoom in or - to zoom out. These are the default shortcuts on both Windows and Mac.
You can also drag the ends of the horizontal zoom bar at the bottom of the Timeline panel: move them inward to see a shorter span in more detail, or outward to see more of the sequence. This only changes your editing view; it does not change the exported video.
| Action | Windows | Mac |
|---|---|---|
| Zoom in on the active timeline | = | = |
| Zoom out of the active timeline | - | - |
| Show the Timeline panel | Shift + 3 | Shift + 3 |
| Show Effect Controls | Shift + 5 | Shift + 5 |
| Show the Program Monitor | Shift + 4 | Shift + 4 |
If your shortcuts have been customized, check them in Edit > Keyboard Shortcuts on Windows or Premiere > Keyboard Shortcuts on Mac.
What If You Only Want a Closer Preview?
Use the Select Zoom Level menu in the Program Monitor and choose a larger viewing percentage. Choose Fit when you want to see the whole frame again. This is useful for checking focus or inspecting an edge, but it does not crop the video or affect the export. To make the final video look closer, return to the clip's Motion > Scale setting.
Quick Fixes When Zooming Does Not Work as Expected
- The = key does nothing: Click inside the Timeline panel first. If it still does not work, check whether the shortcut has been reassigned.
- The clip moves instead of zooming: You changed Position. Adjust Scale to enlarge the image; use Position to place the enlarged subject.
- Scale changes at a point you did not expect: Look for an active stopwatch and existing keyframes in Effect Controls. With animation enabled, changing Scale at the playhead creates or updates a keyframe.
- The preview is closer, but the export is not: You changed the Program Monitor's viewing percentage. Select the clip and change Motion > Scale instead.
FAQs About Zooming in Premiere Pro
How do I zoom in on only one part of a clip?
Cut the clip at the beginning and end of the section you want enlarged, then increase Motion > Scale on the middle segment. For a smooth move rather than an instant change, use Scale keyframes within that segment. The default Add Edit shortcut is Ctrl + K on Windows or Cmd + K on Mac; check which tracks are targeted before cutting.
Can I zoom in without keyframes?
Yes. Increase Scale with animation turned off to keep the same closer framing throughout the selected clip. Use keyframes only when you want the framing to change over time.
Can I zoom in without losing image quality?
A small crop may look fine, particularly when the source footage has more resolution than the final export. A large digital crop can look soft because Premiere must enlarge the remaining pixels. For a close-up you know you will need, optical zoom or a closer camera position usually gives you a better starting image.
Why does the zoom focus on the center instead of my subject?
Increasing Scale enlarges the image around its current framing. Adjust Position to place the subject where you want them. For an animated zoom, add Position keyframes alongside the Scale keyframes so the framing moves toward the subject.
Conclusion
Use Scale when the exported video should be closer, Scale keyframes when the shot should move, and = / - when you only need a closer timeline view. Check the final image at its intended export size: a modest crop can improve framing, but a large one cannot replace a well-framed recording.