Basketball Videography Guide: Camera Settings, Angles, and Gear
 Basketball videography requires a different setup depending on what you want to create. For full-game review, place a camera in an elevated position near midcourt and start with 4K30 or 1080p60 so the play remains easy to follow. A basketball videographer filming player highlights can work from an approved sideline or baseline position and use 4K60 or 1080p120 for tighter shots and slow motion. For a livestream, prioritize a stable elevated view, continuous power, reliable network access, and 1080p30 or 1080p60 output.
Whichever approach you choose, test focus, exposure, and light flicker before tip-off. This guide explains the gear, camera settings, angles, and workflow needed to capture sharp, watchable basketball footage.
Essential Basketball Videography Equipment
You do not need every accessory in a professional production kit. Start with equipment that solves a specific problem: stable framing, reliable focus, sufficient reach, clean storage, and enough power to finish the game.
Camera
A suitable basketball camera should offer dependable continuous autofocus, clean performance at moderately high ISO settings, long recording capability, and at least 1080p60 video. 4K recording gives you more room to crop in post, while 60fps or 120fps is useful when you know that a shot will be slowed down.
If you are still comparing bodies and automated sports systems, see our guide to the best cameras for recording basketball games.
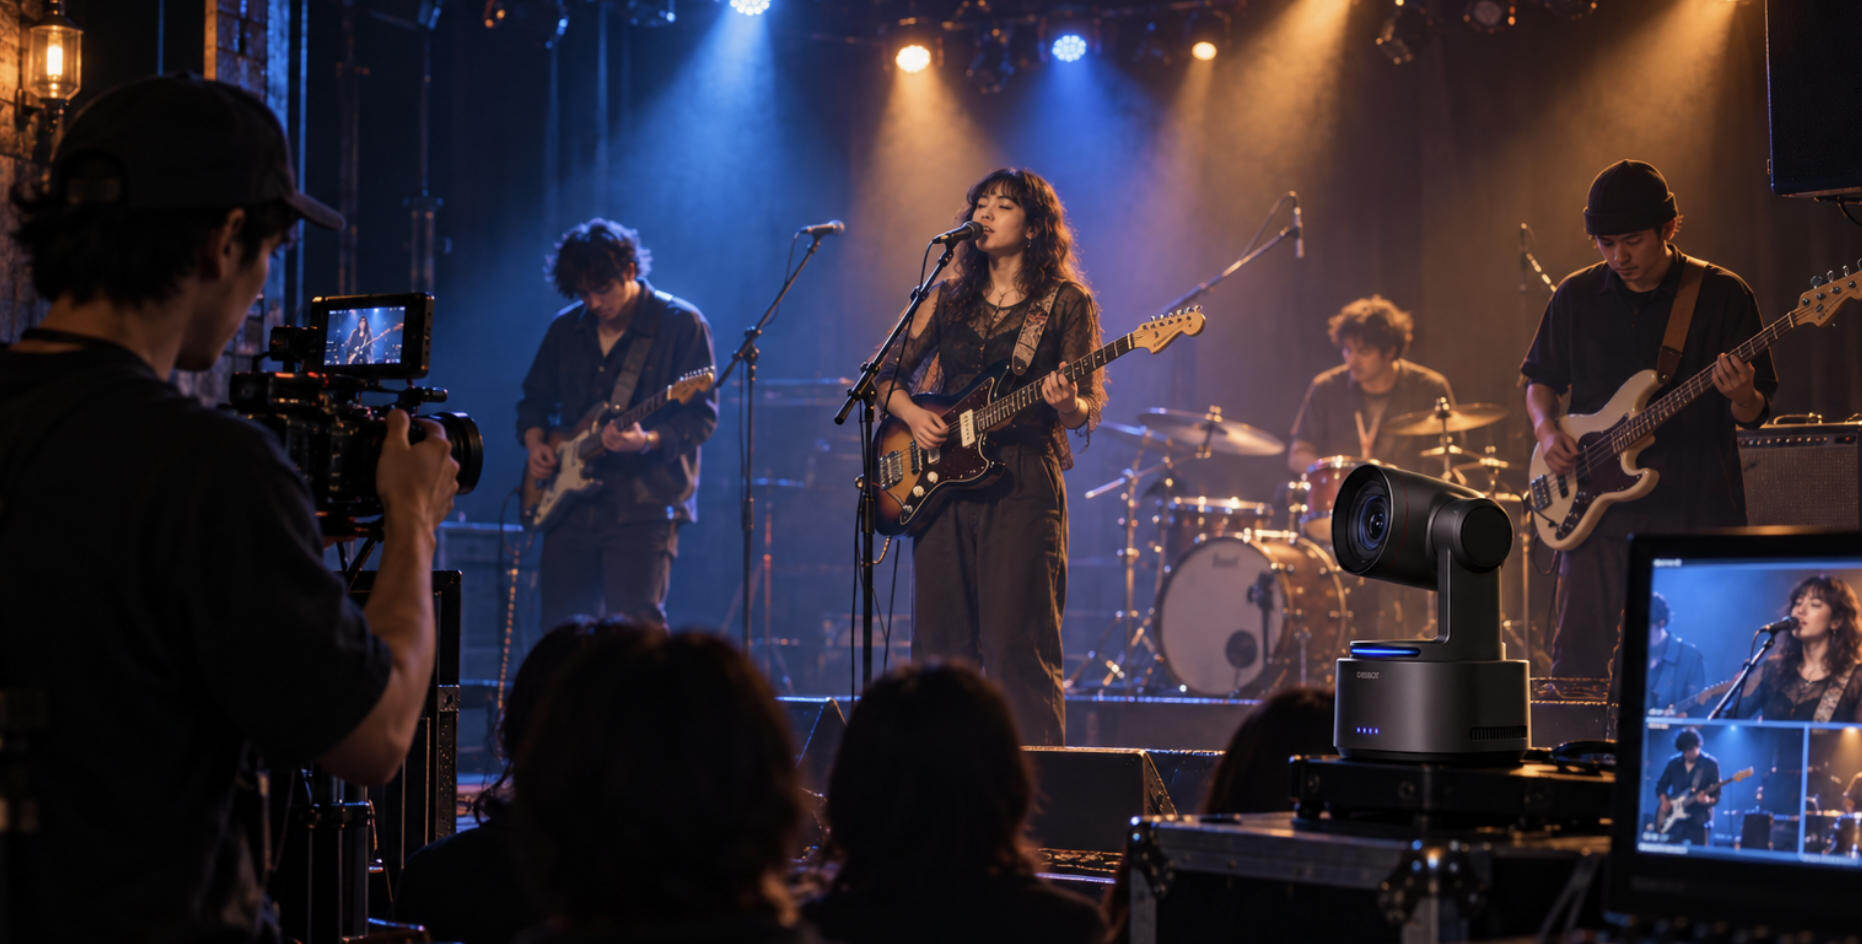
Recommended PTZ Option: OBSBOT Tail 2 Live Production Camera
The OBSBOT Tail 2 is useful for basketball videographers who want remotely adjustable PTZR framing and high-frame-rate recording. It supports up to 4K60 and 1080p120, with 5x optical and 12x hybrid zoom for wide views, and precise close-ups of player movements.
Tail 2 provides AI human and group tracking, which can keep a selected basketball player framed in supported situations.
Where Tail 2 fits best:
- Solo production: Adjust pan, tilt, zoom, and framing remotely.
- High-frame-rate capture: Use 4K60 for smooth action or 1080p120 for selected slow motion.
- Flexible framing: Use optical zoom for closer views instead of relying only on a digital crop.
- Multi-camera coverage: Use it as a wide, close-up, or remotely controlled secondary angle.
- Indoor production: Dual native ISO and low-light processing help in gyms with limited light.
Lenses
Choose a lens based on your access. A 24–70mm-equivalent zoom is flexible near the court, while a 70–200mm-equivalent lens works from the stands or for isolating one player. A constant f/2.8 aperture helps in dim gyms. Full-game coverage may require a wider lens.
Tripod or Monopod
A tripod with a fluid head is the best default for full-game recording because it supports controlled horizontal pans. A monopod is easier to reposition for highlights but requires more operator attention. A gimbal is optional and works best for entrances, warm-ups, training footage, or short courtside sequences. It is rarely the simplest tool for covering an entire game.
Audio
An on-camera shotgun microphone can capture the crowd, whistles, ball impacts, and court sound, but it will not isolate conversations from far away. Use a lavalier or handheld microphone for permitted interviews.
Memory and Power
Use cards that meet the camera manufacturer's speed requirements; the correct V30, V60, or V90 rating depends on the recording format. Bring tested spare media and enough batteries for warm-ups, the game, and overtime. Use a USB-C power bank only if the camera supports external power while recording.
Optional Monitor and Lighting
An external monitor can make focus, exposure, and framing easier to judge, especially from an elevated camera position, but it is not essential for every beginner. Portable LED lights should generally be reserved for interviews, portraits, or controlled practice content. Do not place bright lights near live play unless the venue and event organizer explicitly approve the setup.
Best Camera Settings for Basketball Videography
There is no universal setting that works in every gym. Use the following values as starting points, then test them under the actual lights before the game.
| Setting | Recommended Starting Point | Why It Matters |
|---|---|---|
| Resolution | 4K when storage and lighting allow; otherwise 1080p | 4K provides cropping flexibility, but a clean 1080p image is better than noisy or unreliable 4K footage. |
| Frame rate | 30fps for efficient full-game coverage; 60fps for smooth action; 120fps for planned slow motion | Higher frame rates create more slow-motion options but require more light and storage. |
| Shutter speed | About 1/120 or 1/125 for 60fps; increase only when you need crisper motion | A faster shutter reduces blur but can make footage darker and movement look more abrupt. |
| Aperture | Approximately f/2.8–f/4 when possible | A wider aperture admits more light, but extremely shallow depth of field makes moving players harder to keep sharp. |
| ISO | Auto ISO with a sensible maximum, or manual ISO after a lighting test | This lets you protect shutter speed while preventing uncontrolled noise. |
| White balance | Manual Kelvin value or custom white balance | Locked white balance prevents color from shifting as players move across the court. |
| Autofocus | Continuous AF with a zone or subject-tracking area | A controlled AF area is less likely to jump to spectators, referees, or the background. |
Test for Flicker Before Tip-Off
U.S. gym lighting normally runs on a 60Hz electrical system, but some fixtures can still produce bands or brightness changes. Record a test clip at your intended frame rate and shutter speed. If flicker appears, try the camera's anti-flicker or variable-shutter function and adjust the shutter.
Expose for Players, Not the Scoreboard
Bright scoreboards and dark seating can mislead auto exposure. Check faces and uniforms where most action occurs. Use zebras, a waveform, or the histogram to protect highlights without raising ISO more than necessary.
Best Camera Angles and Setup for Basketball
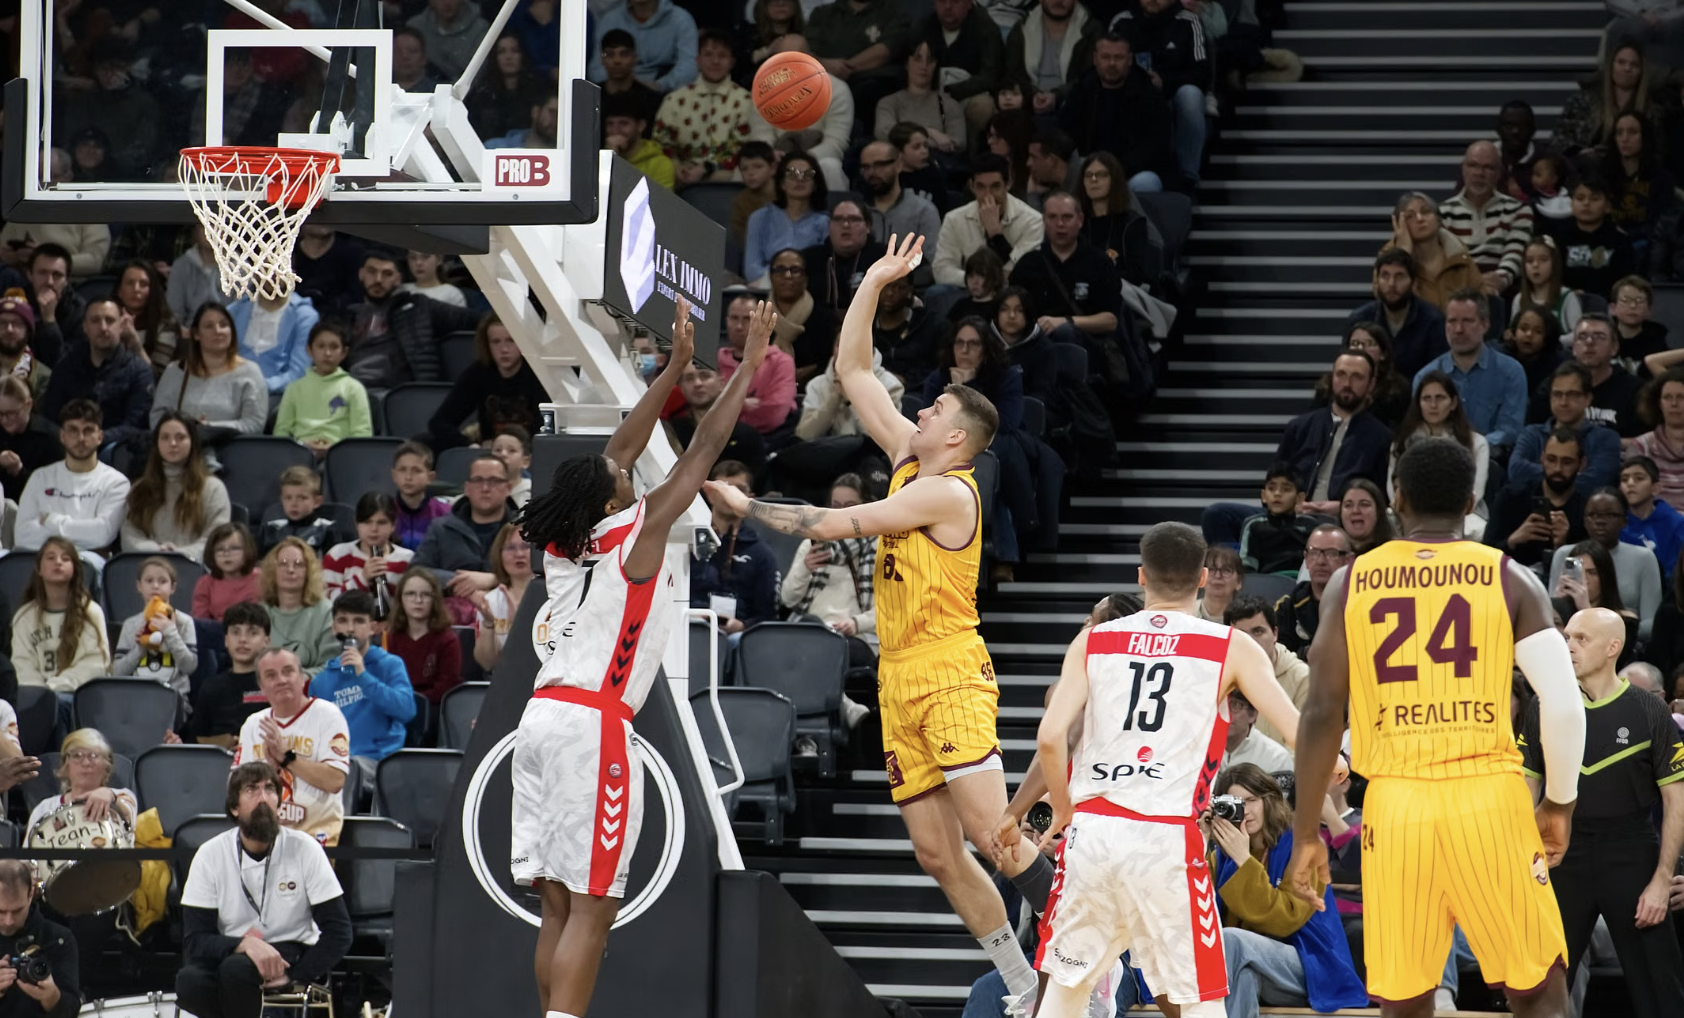
Main Camera: Elevated Near Midcourt
For full-game footage, place the camera near midcourt and high enough to see over players and spectators. Keep both baskets within an easy pan and leave space around the ball handler to show passes and defensive movement.
Secondary Camera: Baseline or Sideline
A baseline camera can capture drives, rebounds, and celebrations, while a sideline position helps follow one athlete. Confirm permitted positions and keep equipment outside run-off areas and walkways.
One-Camera Setup
With one camera, prioritize a dependable wide-to-medium view. Capture close-ups, crowd shots, the scoreboard, and warm-ups before the game or during breaks so you gain variety without missing possessions.
Two-Camera Setup
Use one locked or slowly panned wide camera as safety coverage and operate the second camera for tighter action. Match frame rates and white balance where possible, and label cards or files by camera. If only one person is operating the setup, the wide camera must remain reliable when attention shifts to the close-up angle.
How to Film a Basketball Game Step by Step
- Confirm the deliverable. Decide whether you need a full game, player reel, social clip, or livestream. Confirm resolution, orientation, length, and deadline.
- Get permission and scout the gym. Check filming rules, camera positions, power, internet access, and restrictions on tripods or lights.
- Build a reliable setup. Secure the camera, use tested media and power, and keep cables away from traffic. Add a second camera only if you can monitor it.
- Set exposure and white balance. Use players warming up as realistic moving subjects. Check skin tones, white uniforms, dark corners, and the scoreboard. Lock white balance once the color looks correct.
- Test focus, motion, and flicker. Record players moving across the court and confirm that autofocus does not jump to spectators.
- Start early. For full-game coverage, begin before tip-off and record through short stoppages if storage and heat limits allow.
- Follow the play, not only the ball. Anticipate fast breaks and passes. Begin the pan before the action reaches the edge of the frame and stop smoothly. Keep enough lead room in the direction of movement.
- Capture context during breaks. Record the scoreboard, bench, crowd, permitted huddles, and venue details.
- Back up the footage. Copy media to two locations before formatting cards and organize it by date, team, game, and camera.
Practical Basketball Videography Tips
Learn the Rhythm of the Game
Knowing basketball helps you predict what happens next. Watch the point guard, weak-side movement, and players preparing to rebound instead of reacting only after a shot begins. During free throws and timeouts, look for coach instructions, player reactions, and crowd details.
Pan Smoothly and Avoid Constant Corrections
Small, nervous corrections are more distracting than a slightly wider frame. Balance the camera on a fluid head and let action move within the frame instead of centering the ball every second.
Use Zoom With a Clear Purpose
Do not zoom during every possession. For full games, make gradual changes. For highlights, tighten the frame for predictable moments such as free throws, isolation plays, and reactions.
Do Not Shoot Everything in Slow Motion
High-frame-rate footage is effective for a dunk, block, reaction, or dramatic detail, but it usually records more data, needs more light, and may not capture usable audio in every camera mode. Record essential game coverage at a practical frame rate and reserve 120fps for intentional moments.
Keep the Edit Focused
Open a player reel with a strong clip and make the athlete easy to identify. Use wide shots to explain the play, tighter shots for emotion, and slow motion only when it adds impact. Natural court sound often works better than excessive effects.
How to Get Started as a Basketball Videographer
You do not need professional arena access to begin. Ask a local school, recreational league, AAU team, or individual athlete for permission to film a practice or game. Start with one clear service, such as complete game film, a one-player highlight reel, or short vertical clips for social media.
Build a small portfolio that demonstrates stable full-game coverage, sharp action, clean color, and the ability to tell a short story. Reliability matters as much as cinematic shots: arrive early, bring backups, label files clearly, and deliver when promised. Before accepting paid work, agree on access, player permissions, the number and length of final videos, revision limits, turnaround time, music licensing, and who may publish the footage.
An aspiring basketball videographer should also study the game. The better you understand spacing, substitutions, set plays, and player roles, the easier it becomes to anticipate action instead of chasing it.
Common Basketball Videography Mistakes
- Framing too tightly: Leave room for passes and sudden changes of direction.
- Assuming 4K60 is always best: Balance resolution and frame rate against available light, storage, battery life, and recording reliability.
- Using automatic white balance: Lock the color after testing so it does not shift throughout the game.
- Ignoring light flicker: Review a test clip under the actual gym lights before the game starts.
- Relying on autofocus without testing: Spectators, referees, and high-contrast backgrounds can pull focus away from players.
- Recording without a backup plan: Bring tested media and power, and protect the files immediately after the game.
FAQs About Basketball Videography
1. What are the best camera settings for basketball video?
Start with 1080p60 or 4K60, a shutter near 1/120 or 1/125, continuous autofocus, manual white balance, and approximately f/2.8–f/4. Use 4K30 when detail and recording efficiency matter more than slow motion. Always test for flicker.
2. Where should a camera be placed to record a basketball game?
For full-game coverage, use an elevated position near midcourt so you can follow both ends. For player highlights, add a permitted sideline or baseline angle. Keep equipment away from run-off zones and walkways.
3. What is the best app for recording basketball games?
For smartphone filming, choose an app that can lock exposure, white balance, focus, frame rate, and shutter speed. Veo, XbotGo, and similar products pair apps with a wider system, so compare tracking, subscriptions, editing, sharing, and hardware requirements.
4. Does a Veo camera follow the ball in basketball?
Veo describes its basketball system as using an AI-powered follow-cam to track play automatically. Views and features may depend on the sport, product, and plan, so confirm current basketball capabilities before purchasing.
5. How do I become a basketball videographer?
Learn exposure, autofocus, audio, and editing, then practice at local games with permission. Build a portfolio with full-game coverage and player-focused edits. Understanding basketball and delivering reliably will help you earn trust.
Conclusion
Strong basketball videography begins with a clear purpose, a reliable camera position, and settings tested under the actual gym lights. Start with stable full-game coverage, then add closer angles and slow motion when they support the story. Whether you are recording a team or building a career as a basketball videographer, preparation and anticipation will improve your footage more than adding unnecessary gear.