How to Record a PowerPoint Presentation 2026?
In this article, we'll show you how to record a PowerPoint presentation and share tips for creating a clear, professional video. Whether you're a beginner or experienced, this guide gives you the steps and tools to achieve elite video quality and crystal-clear audio for your recorded PowerPoint presentations efficiently.
Part 1: How to Record your Screen in PowerPoint with Audio and Video for Free?
Step 1: Open PowerPoint and go to the slide where you want the recording.
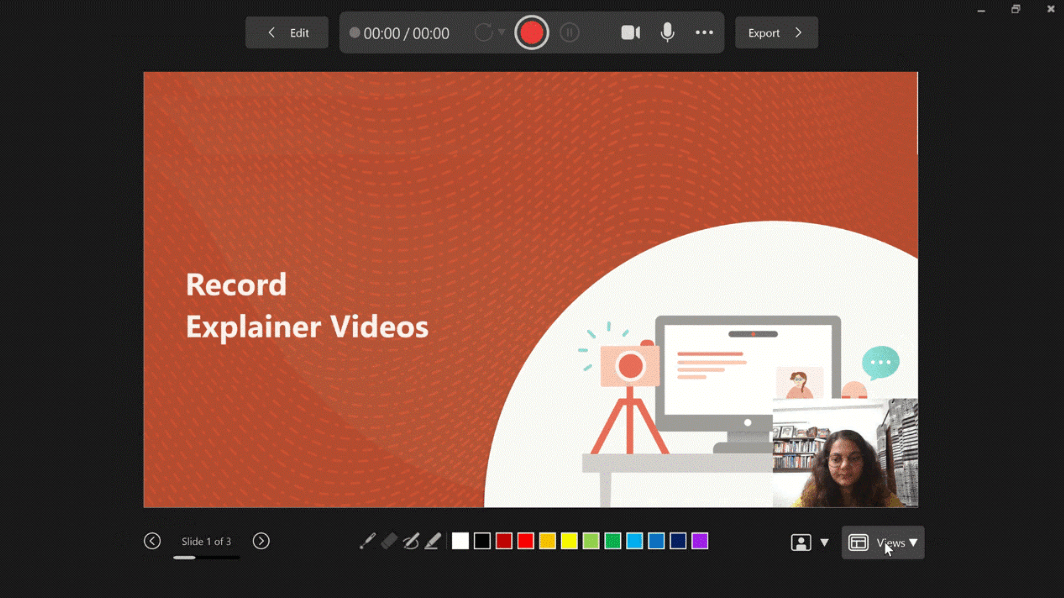
Step 2: Click Insert → Screen Recording on the ribbon to start capturing your screen.

Step 3: Drag to select the screen area to capture (or press Win + Shift + A).
Step 4: Ensure Audio and Record Pointer toggles are on. To ensure the best audio quality, use an external microphone or a high-end AI webcam.
Step 5: Click Record (or Win + Shift + R) and perform your demo.

Step 6: Move to the top center to reveal the dock and click Stop (or Win + Shift + Q).
Step 7: Right-click the recording on your slide, select Save Media As, and choose MP4 to preserve the video quality.
Part 2: How to Video Record Myself Presenting a PowerPoint?
If you want to appear on camera while presenting, using OBS Studio is the professional standard. Combined with a "Titan" power camera, this setup guarantees top-tier video quality.
Step 1: Open PowerPoint and start your presentation.
Step 2: In OBS Studio, click the + in the Sources panel and add Display Capture for your slides.

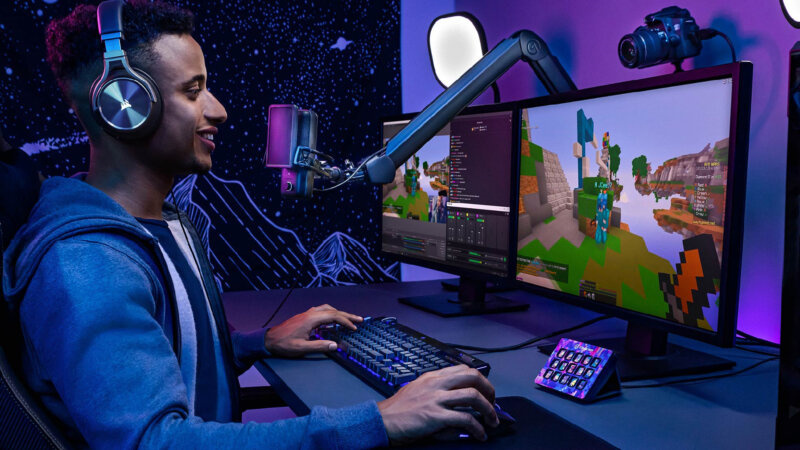
Step 3: Add Video Capture Device to include your webcam. For professional video quality, we recommend the OBSBOT Tiny 3.

Step 4: Click Start Recording. The OBSBOT Tiny 3 will use its AI Tracking 2.0 to keep you centered as you present.

Step 5: Click Stop Recording. Your video will be saved as a high-bitrate file ready for sharing.
Part 3: Tips for Making Better PowerPoint Presentation Videos
Superior video quality and professional audio are the secrets to an engaging presentation. A high-resolution setup like the OBSBOT Tiny 3 4K PTZ Webcam ensures your audience sees every detail on your slides and hears every word clearly.
Why the OBSBOT Tiny 3 is the "Titan" for PowerPoint:
- Cinematic 4K Video Quality: The 1/1.28'' sensor ensures your on-camera presence is as sharp as your digital slides.
- Human & Voice Tracking: AI 2.0 keeps the focus on you even if you move to a physical whiteboard.
- Immersive Stereo Mic System and Five Audio Modes: With one omnidirectional mic and two directional mics, whether capturing a single voice or stereo sound from a whole space, our immersive stereo mic system delivers professional-grade audio with precise directionality.
- Gesture and Voice Control: Adjust zoom or tracking hands-free so you can stay focused on your speech.
- Dual Native ISO: Maintains excellent video quality even if your recording room has inconsistent lighting.
Additional Presentation Tips:
- Simplify your visuals: High-contrast colors and clean fonts improve video quality during compression.
- Voice Clarity: Speak clearly and stay within 3 meters of your AI webcam to maximize its audio performance.
- Do a test recording: Always check your video quality and audio levels before recording the full 30-minute session.
FAQs about How to Record a PowerPoint Presentation
1. How Can I Improve Video Quality When Recording?
The most effective way is to use a 4K external webcam. Built-in laptop cameras often produce grainy video quality. The OBSBOT Tiny 3 provides professional 4K resolution and advanced light correction for a massive upgrade.
2. Can I Record My Screen with High-Quality Audio?
Yes. To achieve professional audio quality, use a webcam with dual noise-cancelling microphones. This ensures your narration is crisp and free from fan noise or keyboard clicks.
3. Why Does My PowerPoint Recording Look Blurry?
This is often due to low-resolution output settings or poor camera sensors. Always export as "Ultra HD (4K)" if using Microsoft 365, and use a dedicated AI webcam for the best visual results.
Conclusion
Learning how to record a PowerPoint presentation is a vital skill for modern professionals. While the built-in tools are a great starting point, the difference between a "good" video and a "professional" one lies in your hardware. Investing in a "Titan" like the OBSBOT Tiny 3 ensures that your video quality and audio performance match the excellence of your ideas.