How to Reverse in TikTok: Step-by-Step Guide
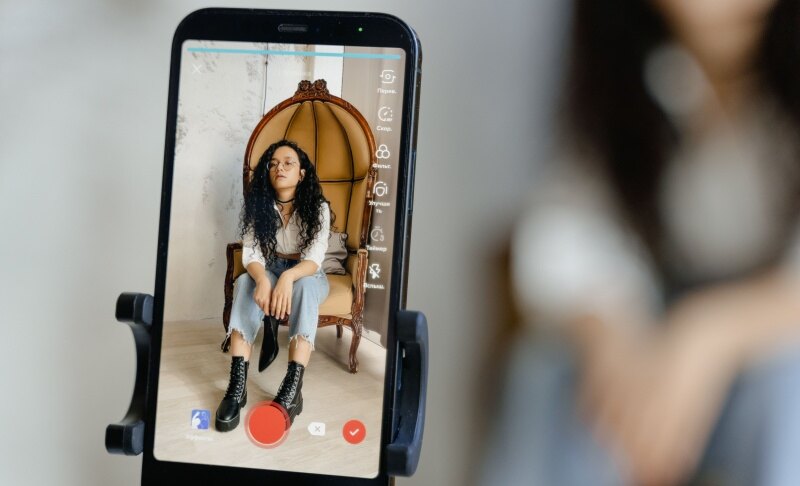
The fastest way to reverse a video TikTok users can do natively is to open the editing screen, tap Effects → Time → Reverse, and preview the result. It takes under a minute. This guide shows how to reverse in TikTok for new recordings, uploaded clips, and videos you saved from others. It also covers how to reverse the sound, which TikTok's built-in tool does not do, and what to try when the option goes missing.
Method 1: Reverse a Video in TikTok Using the Built-In Reverse Effect
This is the quickest method. The Reverse effect flips the video only, so the audio keeps playing forward. It works on both fresh recordings and clips from your gallery, and the steps are nearly the same for each.
Reverse a Newly Recorded Video
If you're wondering how do you reverse a TikTok while filming, follow these steps:
- Open TikTok and tap the "+" button.
- Record one or more clips, then tap the checkmark.
- On the editing screen, tap Effects.
- Open the Time tab, which sits beside tabs like Trending and Beauty.
- Tap Reverse. TikTok processes the clip and plays a preview.
- Tap Save, then Next. Add a caption and hashtags, then post.
Reverse a Video Uploaded from Your Gallery
Here is how to reverse a video in Tik Tok when you filmed it elsewhere:
- Tap "+" → Upload and select your clip.
- Tap Next to reach the editing screen.
- Go to Effects → Time → Reverse.
- Check the preview, then continue to the posting screen.
Tip: Very long clips may not process properly. If Reverse stalls, trim the clip to a shorter length first.
Undo the Reverse Effect
Not happy with the result? Tap the Undo icon on the effects bar before saving, and the clip returns to normal. Once the video is posted, you can't change it. You'll need to edit the original file and upload it again.
Method 2: Reverse Someone Else's TikTok Video (or Your Own Posted One)
TikTok has no Reverse button on posted videos, so you need to save the clip first, then upload it back into the editor. This is how you put a Tik Tok video in reverse when you didn't record it yourself.
- Open the video and tap Share → Save video.
- Tap "+" → Upload and select the saved clip.
- Go to Effects → Time → Reverse.
- Preview, then post it or save it as a draft.
Two things to keep in mind:
- The Save video option only appears if the creator allows downloads. If it's missing, use your own original file instead of someone else's.
- If you reuse another creator's footage, credit or tag them. It's good etiquette and keeps you clear of copyright complaints.
Method 3: Reverse Audio in TikTok with an External Editor
Many people search how to play TikTok videos in reverse and expect the sound to flip too. It doesn't. TikTok's native effect reverses visuals only, so your audio keeps playing forward. You have two ways to handle that.
Keep the Original Audio Forward
This is the default, and it often works well. Voiceovers, trending sounds, and background music usually fit better when they play normally. Reversed visuals with forward audio is also the look many popular reverse trends use.
Reverse Both Video and Sound with an External Editor
If you want the sound backward too, edit the clip outside TikTok first. The workflow is similar in most apps: import the clip, select it, tap Reverse (often under Time or Speed), export, then upload the file to TikTok.
| Tool | Platform | Cost | Reverses Audio? | Best For |
|---|---|---|---|---|
| CapCut | iOS, Android, Desktop | Free (paid extras) | Yes | Closest to TikTok's workflow |
| InShot | iOS, Android | Free (paid extras) | Yes | Quick mobile edits |
| PowerDirector | iOS, Android, Desktop | Free trial, then paid | Yes | Precise control over clips |
| Kapwing / Clideo | Browser | Free tier with limits | Yes | Editing without installing an app |
CapCut is usually the easiest pick because it's made by the same company as TikTok. It also lets you reverse only part of a clip, which the native tool can't do. After exporting, upload the file to TikTok as you would any gallery video.
Creative Ways to Use the Reverse Effect on TikTok
Once you know how to apply it, try these ideas:
- "Un-spill" reveals: Pour, splash, or break something, then play it backward so it reassembles.
- Reverse transitions: Makeup, outfit, cooking, or DIY clips look polished when the "after" appears first.
- Rewind jokes: Reverse a fail or a funny moment to make it a loop.
- Product demos and unboxings: Show a product assembling itself for a quick attention-grabber.
- Ping-pong loops: Join the original clip with its reversed version for a seamless looping effect.
Bonus: Film Smooth, Reverse-Ready Clips with an AI-Tracking Camera - OBSBOT Tail Air Streaming Camera
Reverse effects look best when the original footage is sharp and steady. The OBSBOT Tail Air is a 4K PTZ streaming camera with AI tracking, so it follows you automatically while you pour, move, or demo a product. That gives you clean, well-framed clips to reverse, and it also works for going live on TikTok.
Key Features:
- 4K video: Sharp footage that holds up after reversing and compression.
- AI tracking: Keeps you in frame without a camera operator.
- PTZ control: Pan, tilt, and zoom remotely for smooth, flexible shots.
- Live streaming ready: Built for streaming, so one camera covers both TikTok clips and live sessions.
FAQs About How to Reverse in TikTok
1. Can you reverse a video in TikTok after posting it?
No, a posted video can't be edited. Use your original file or a saved copy, apply the Reverse effect, and upload it again.
2. Does TikTok's Reverse effect also reverse the sound?
No, it only reverses the visuals. To flip the audio too, use an external editor such as CapCut or InShot before uploading.
3. Can I reverse only part of a TikTok video?
Not with the native tool, because it reverses the whole clip. Trim the clip to the section you want, or use an external editor that supports segment reversing.
4. Is the process different on iPhone and Android?
No. The steps are the same on both. Only small interface details, like icon placement, may differ.
5. Can I reverse a video that's longer than TikTok's limit?
Yes. Reverse it in an external editor, trim it to fit TikTok's allowed length, then upload it.
6. Why does my reversed TikTok look glitchy or low quality?
Usually it's caused by compression during processing. Export from your editor at the highest quality setting and upload on a stable Wi-Fi connection.
Conclusion
Knowing how to reverse in TikTok comes down to one path: Effects → Time → Reverse. The same steps work for new recordings, gallery uploads, and clips you saved from other creators. Remember that the native tool reverses visuals only, so use an external editor like CapCut when you need the sound reversed too. Test the effect on a short clip first, check the preview, and then post.