OBS Multicam Setup: How to Use 2 Webcams for Streaming

An OBS multicam setup lets you use two webcams or cameras in the same livestream or recording. You can show both angles in one layout, such as side-by-side or picture-in-picture (PiP), or create separate scenes and switch between them live.
For most streamers, the simplest setup is to add each camera as a separate video capture device source in OBS. You can then build scenes for a wide shot, host close-up, guest angle, or product demonstration. If you need separate files from each camera for editing, you can also record multiple scenes separately with a plugin-based workflow.
What Is an OBS Multicam Setup?
A multicam setup in OBS uses two or more camera feeds to make a livestream more dynamic and easier to follow. Rather than staying on one static shot, you can change angles, show a product close-up, include a co-host, or keep your face visible while presenting gameplay or screen content.
OBS can display multiple cameras at once, but its standard recording function captures the active program output: the scene currently being streamed or recorded. This is ideal for live production because you can create the finished video as you go.
Common OBS multicam layouts include:
- Wide shot: A full view of the host, desk, room, or both speakers.
- Host shot: A tighter primary camera angle for speaking to viewers.
- Guest shot: A dedicated angle for an interview guest or co-host.
- Two-shot: Both people on screen in one scene.
- Picture-in-picture: A small face camera over gameplay, slides, screen capture, or a product close-up.

What You Need for a OBS Multicam Setup
Basically, you just need cameras, USB or HDMI capture, audios, and OBS studio.
Cameras
Two USB webcams are the easiest way to start. You can also combine USB webcams with HDMI cameras, camcorders, or PTZ cameras.
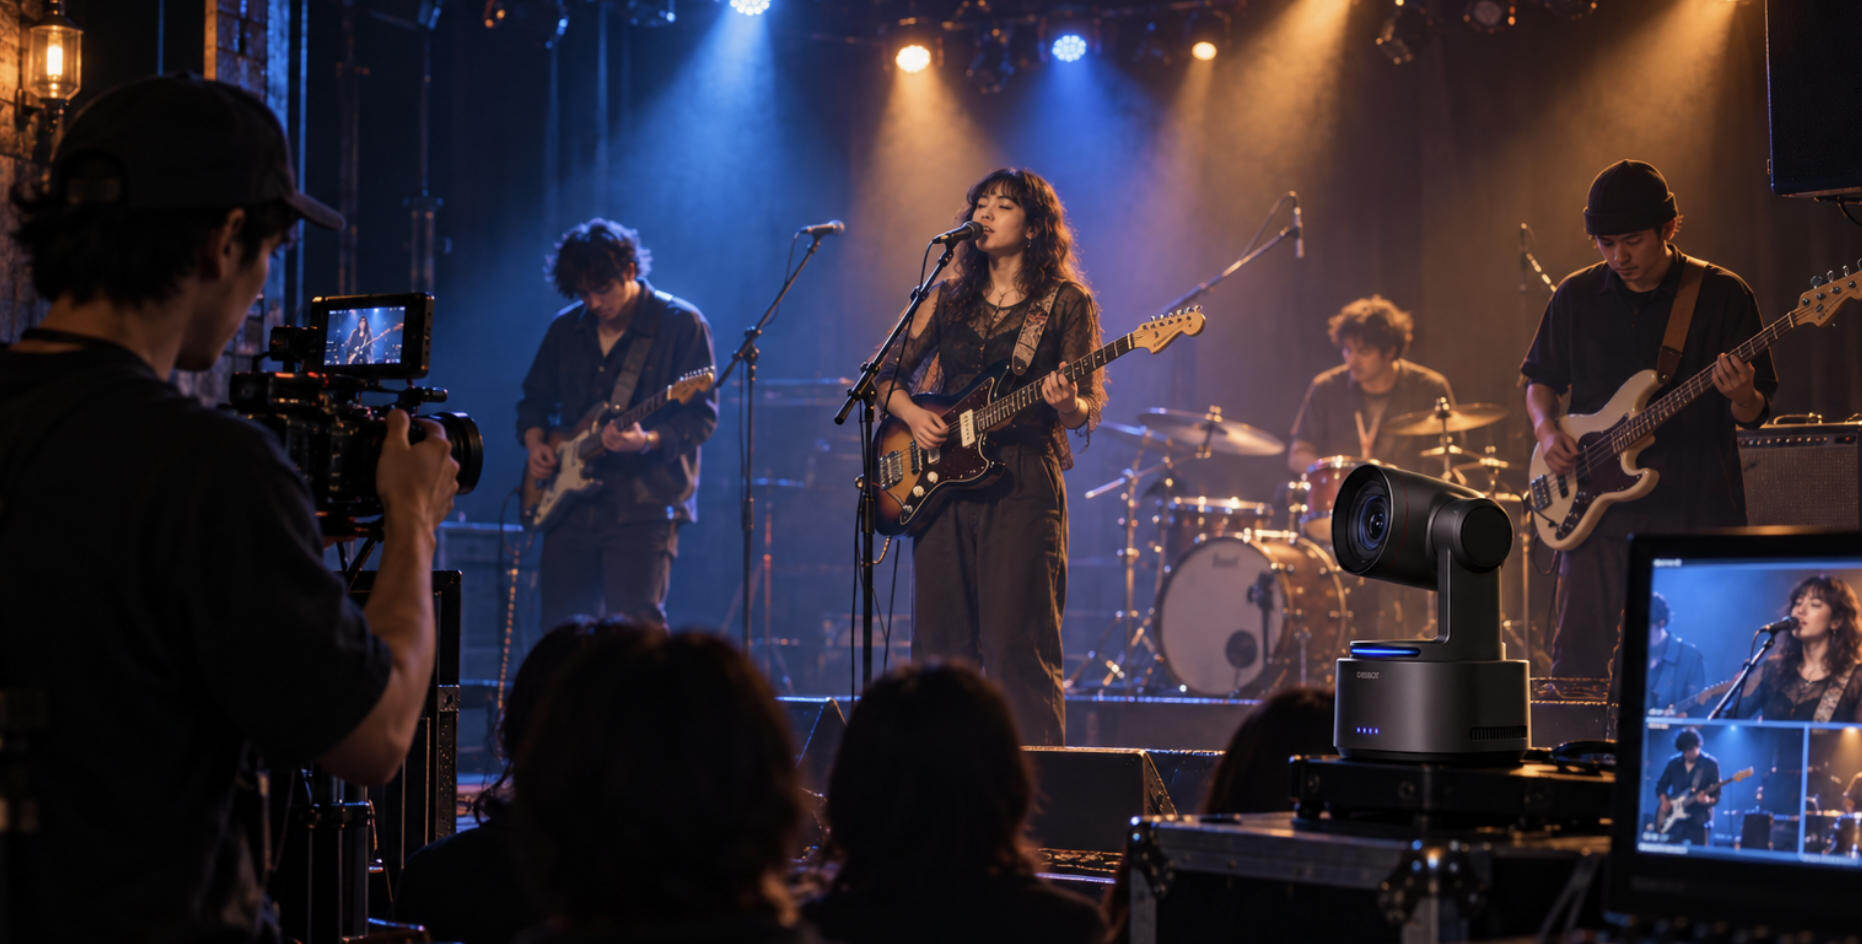
For a simple plug-and-play workflow, cameras such as the OBSBOT Tiny 2 Lite can be added directly to OBS as webcam sources. A movable camera such as the OBSBOT Tail 2 can work well as a main, wide, or close-up angle for live productions.
USB or HDMI capture
USB webcams connect directly to your computer. HDMI cameras normally require a capture card for each camera input. Make sure that the capture card supports the resolution and frame rate you actually plan to use. 1080p60 is better if you want smoother motion.
If you use two high-resolution webcams, do not assume front and rear USB ports use separate bandwidth. They may still share the same internal USB controller. Whenever possible, connect cameras directly to the computer or to separate USB controllers, and avoid low-quality unpowered hubs.
For a first test, set all cameras to 1080p at 30 fps. Once the setup is stable, you can test 1080p60 or 4K based on your computer, USB bandwidth, and capture hardware.
Computer
Your computer must process multiple video feeds while also rendering OBS scenes, encoding the livestream, and possibly recording locally. A more powerful CPU/GPU helps, especially when using 60 fps, 4K cameras, filters, browser sources, or separate camera recordings.
Before a real stream, make a 5–10 minute local test recording. Check for frozen cameras, dropped frames, delayed video, or encoder overload.
OBS Studio
Download the latest version of OBS Studio, then allow camera permissions if your operating system requests them. Before adding cameras, close Zoom, Teams, Discord, browser tabs, or camera-control software that may already be using a webcam.
Audio
Use one dedicated microphone as the main audio source whenever possible. Leaving the microphones from both cameras active can create echo, phase issues, and uneven audio.
In OBS, mute unnecessary camera audio in the Audio Mixer and add your external USB, XLR, or wireless microphone as the primary source. If you plan to edit after the stream, use Advanced Output settings to record separate audio tracks for your microphone, desktop audio, music, and other sources.
The Best Camera for OBS Recording: OBSBOT Tail 2 Live Production Camera
If you are going to juggle multiple angles in OBS, you need gear that plays nice with the software. The OBSBOT Tail 2 is a beast here. It's designed specifically for live production, meaning it integrates smoothly and, crucially, handles AI tracking so you don't need a cameraman for either angle.
Why it works for Multicam:
- NDI & Wireless Support: You aren't tied down by short HDMI cables. Connect via NDI or Ethernet for a cleaner OBS setup.
- AI Auto-Tracking: You can move around, and the camera follows. Essential if you are managing the OBS stream by yourself.
- Remote Control: Control both cameras from one spot without running back and forth.
- 4K Clarity: Because if you're going through the trouble of a dual-cam setup, the footage better look crisp.
It essentially removes the headache of "technical difficulties" so you can focus on the recording.
How to Use Two Cameras at the Same Time in OBS
Ready to set this up? It's straightforward, but there are a few technical gotchas you should watch out for. Here is the workflow.
Step 1: Install and Launch OBS Studio
- Grab the latest version from the official OBS website.
- Install it and open it up. (Make sure you allow it access to your cameras if your OS asks).
Step 2: Connect the Cameras (The Tricky Part)
- Connect your first camera via USB or HDMI (with a capture card).
- Connect the second camera using the same method.
- Important Warning: Try to plug them into different USB controllers (e.g., one in the front of the PC, one in the back). If you plug two high-res webcams into the same cheap USB hub, the bandwidth will choke, and one camera might freeze or not show up.
Step 3: Add Video Capture Sources
This is where the magic happens:
- Look at the Sources box at the bottom. Click the "+" icon.
- Select "Video Capture Device". Name it clearly, like "Main Camera".
- Choose your device from the list and hit OK.
- Repeat this process for the second camera. Click "+" again, select "Video Capture Device", name it "Side Camera", and select your second device.

Step 4: Arrange Your Scene
If both sources use the full canvas, one may completely cover the other. You can change their size and position directly in the preview.
- Resize: Click the red corners of the camera source in the preview window to shrink or expand them.
- Layer: In the Sources box, whatever is at the top of the list is "on top" visually. Drag your PiP camera above your background camera.
- Crop: Hold the Alt key (Option on Mac) while dragging a handle to crop the video if you need to cut out messy room edges.
Step 5: Don't Forget Audio
- You likely don't want audio from both cameras, as it will cause a weird echo.
- In the Audio Mixer, mute the camera audio you don't need. Ideally, use one dedicated USB, XLR, or wireless microphone as your main audio source to have cleaner recording.
- Speak for a few seconds to check everything goes well.

Step 6: Settings & Go
- Check Settings > Video. Ensure your Canvas Resolution matches your desired output (usually 1920x1080).
- Hit Start Recording.

Pro Tip: detailed settings guide can be found here: the best OBS setting for recording.
Build Your OBS Multicam Scenes
Adding both cameras to one scene is useful, but live streamers should also create dedicated scenes for each camera angle, which lets you switch shots naturally.
For a broader workflow covering camera setup, switching, and production, see our guide to multi-camera live streaming.
A practical two-camera OBS scene collection could include:
| Scene | What viewers see | When to use it |
|---|---|---|
| Wide | Full desk, room, or both speakers | Introductions, demonstrations, interviews |
| Host | Your main close-up camera | Talking to viewers |
| Guest | A dedicated co-host or guest angle | Interviews and conversations |
| Two-shot | Both people visible together | Reactions, discussion, introductions |
| PiP | Screen/gameplay/product as the main view with a small camera overlay | Tutorials, gaming, presentations |
You can reuse the same camera sources across multiple scenes instead of creating a new source for every angle.
Studio Mode lets you preview the next scene before switching it live. This is useful for checking framing and source placement, especially when you're streaming alone.
Keep your scene names simple and consistent. For example: "CAM 1 Host," "CAM 2 Wide," "PiP Screen," and "BRB." Clear labels help you make faster decisions during a live broadcast.
Live Switching vs. ISO Recording
Before building your setup, decide whether you need a finished livestream recording or separate files from each camera.
| Workflow | What you get | Best for | Considerations |
|---|---|---|---|
| Live switching | One recording of the OBS Program output | Livestreams, tutorials, interviews | Camera switches must be made during the recording |
| Two-camera layout | Both cameras in one combined frame | Simple interviews and tutorials | Angles cannot be reframed separately later |
| ISO recording | Separate files for individual cameras | Professional editing and multi-angle productions | More storage and system resources |
For most solo streamers, live switching is the simplest option. Set up several scenes and use hotkeys or Studio Mode to switch between angles.
If you need to change camera angles during editing, use an ISO recording workflow. Standard OBS recording normally captures the Program Output, so separate camera files require an additional plugin, recording solution, or external hardware.
ISO recording also increases encoder, storage, and potentially USB bandwidth requirements, so test it before an important stream.

Common OBS Multiple Webcams Problems
The second camera does not appear in OBS
To fix the second camera does not show in OBS, try move one of the cameras to a different USB port. If problem still exits, refresh the video device or fix the camera conflicts.
One camera freezes or displays a black screen
From most answers mentioned in Reddit, this is often caused by USB bandwidth limitations, try to move the camera to a different USB port.
Both OBS sources show the same camera
You may have duplicated the first camera source rather than creating a new Video Capture Device source. Add a new source and select the second physical camera from the device list.
The stream becomes laggy after adding a second camera
Reduce camera resolution or frame rate, remove unnecessary filters, and use a hardware encoder if available. Check OBS statistics for dropped frames, rendering lag, and encoding lag. If you are recording separate camera files, consider lowering their recording resolution or using a simpler combined layout instead.
FAQs
1. Can OBS record multiple cameras at once?
Yes. Add each camera as a separate Video Capture Device source, then show both in one scene or switch between separate camera scenes during the stream.
2. Do I need a capture card for two cameras in OBS?
Not if both cameras are USB webcams. HDMI cameras, mirrorless cameras, and many camcorders usually require a capture card for each video input.
3. Can OBS record each camera as a separate video file?
Not by default. OBS normally records the active program output. To create separate camera files, you need a plugin-based ISO recording workflow or external recording hardware. For most livestreams, recording the final switched program output is simpler and more reliable.
4. How do I keep two cameras in sync in OBS?
Set both cameras to the same resolution and frame rate first, such as 1080p at 30 fps. Then make a test recording using a clap or quick hand movement to identify delay. If one source remains late, measure the difference and apply a sync offset in OBS.
Conclusion
A good OBS multicam setup does more than put two webcams on screen. It gives you clear camera angles, easy scene switching, and a backup recording workflow that you can trust during a live stream.
Start simple to record multiple cameras on obs studio: use two cameras at 1080p/30 fps, one dedicated microphone, and a few core scenes for your host angle, wide shot, and picture-in-picture view. Once your system is stable, you can add more advanced scene switching, tracking cameras, separate audio tracks, and ISO recordings.