

Multi-Camera Live Streaming: Setup, Equipment, and Switching
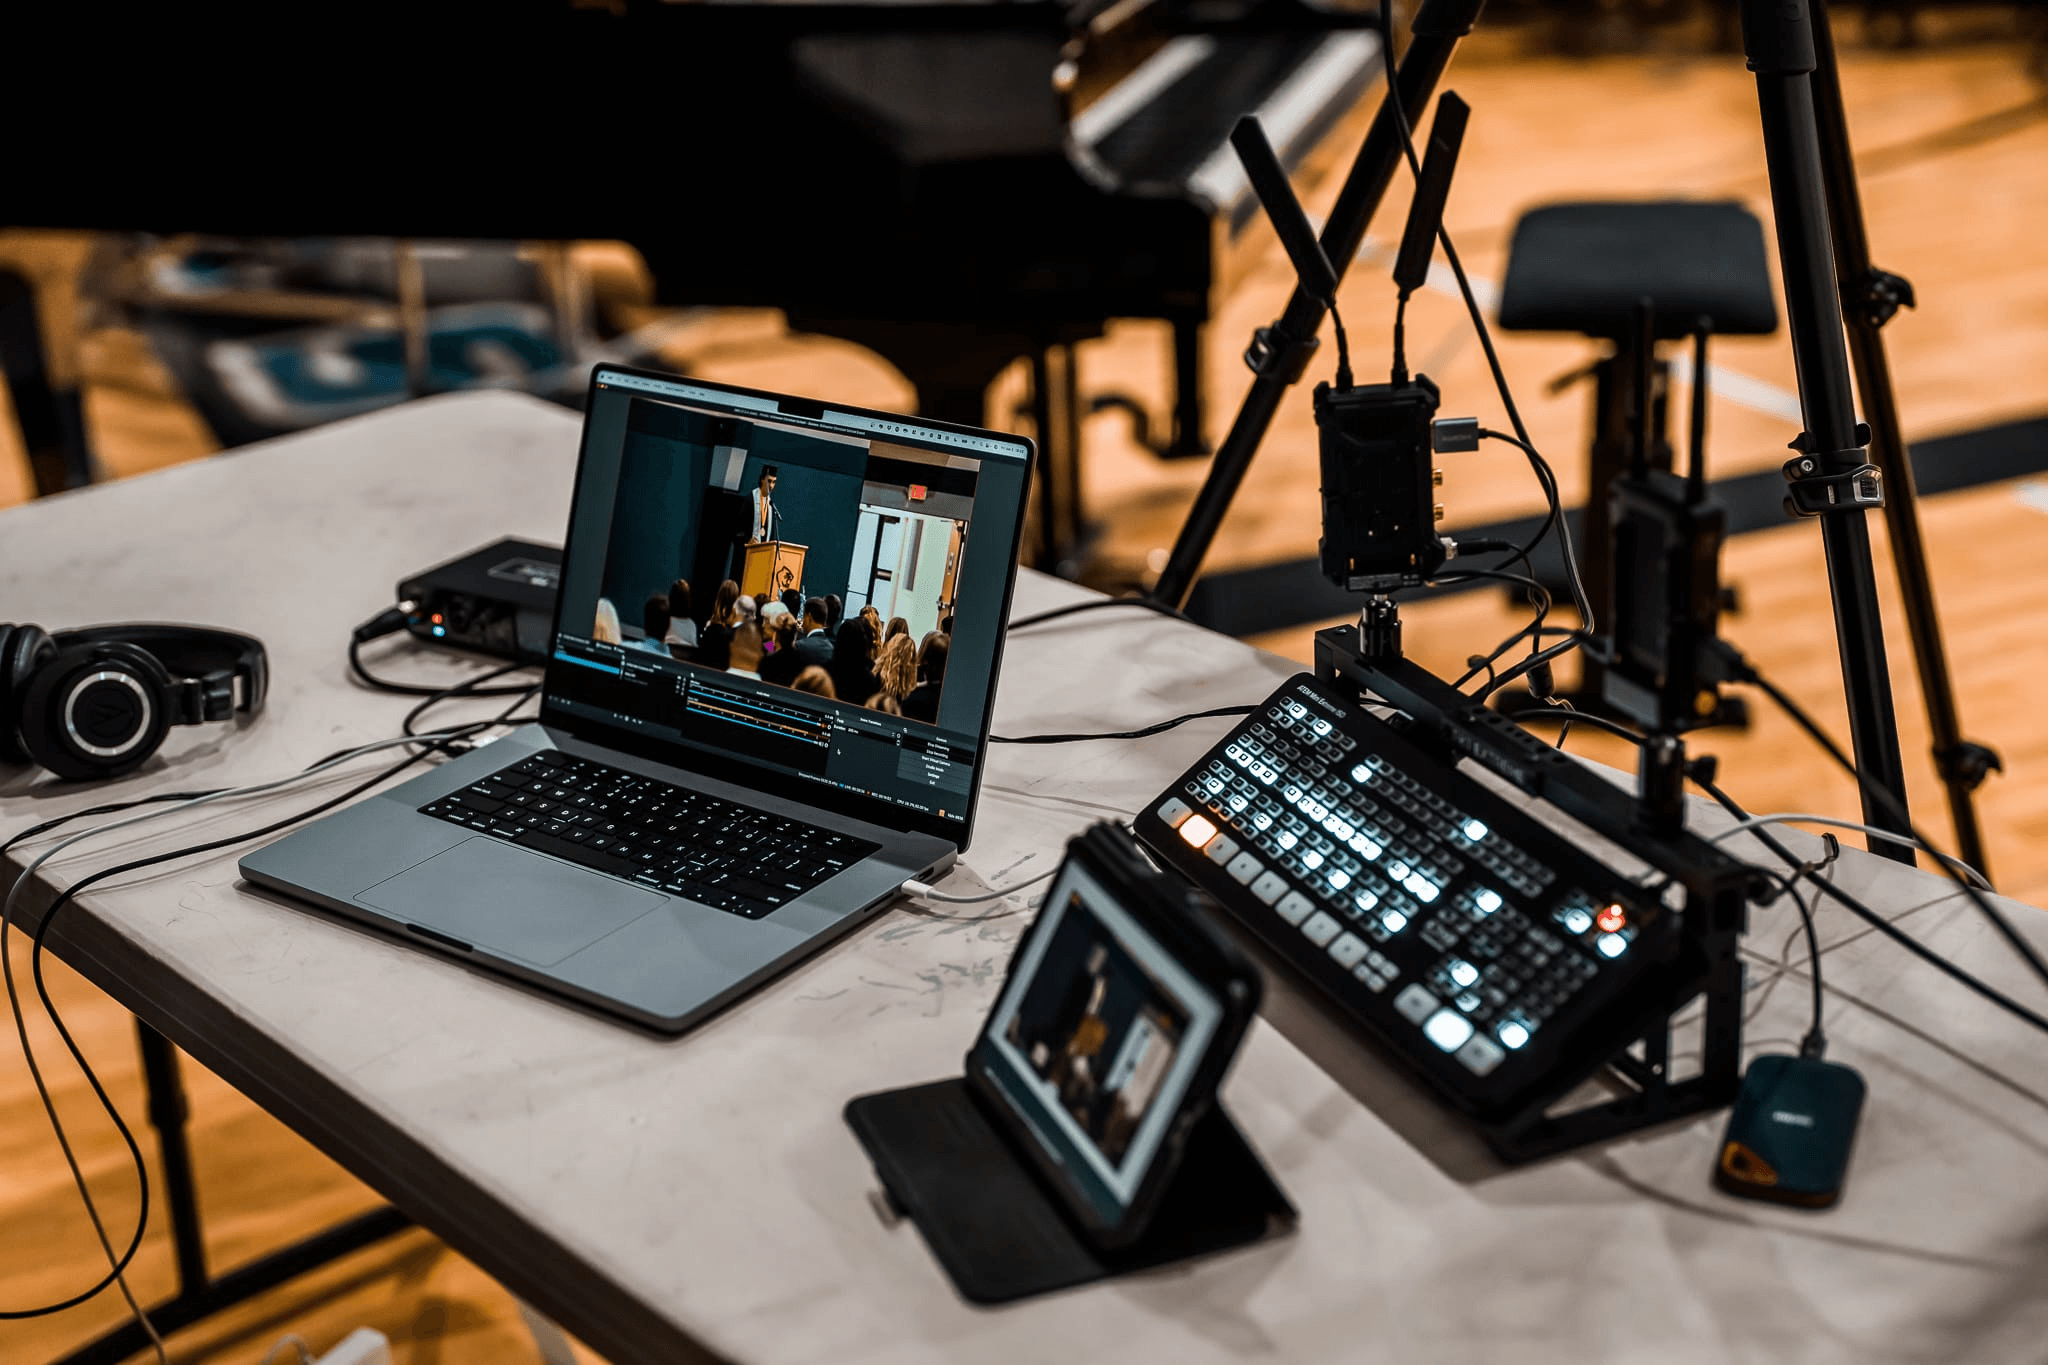
A multi-camera live streaming setup requires at least two cameras, a connection or capture method, a switching/encoding tool, a primary audio source, and a stable network connection.
To build one, you can use any of these three common approaches: USB cameras with software, HDMI cameras with a hardware switcher, or wireless/NDI cameras.
This guide will help you choose the best setup depending on how many cameras you need, where you are streaming, and how many people are operating the production. It will also walk you through the full production process, angle by angle.
Three Ways to Set Up Multi-Camera Live Streaming
As already mentioned, there are three different methods you can explore when setting up a multi-camera live stream.
Here's a closer look at how each approach compares with the others:
| Multi-camera setup | Best for | How it works | Switching method | What to consider |
|---|---|---|---|---|
| USB + streaming software | Podcasts, online classes, tutorials, and small studios | Cameras feed directly into a computer and are switched inside software. | OBS scenes or studio mode | Multiple cameras can put pressure on USB bandwidth and computer resources. |
| HDMI + video switcher | Conferences, live events, churches, and stage productions | Each camera sends video to a dedicated switcher, which selects the feed sent to the stream. | Hardware switcher | Requires additional hardware, cables, and setup time. |
| Wireless/NDI cameras | Flexible studio layouts, mobile productions, and teams with network infrastructure | Cameras transmit video through a local network to compatible software or production hardware. | App, OBS, or production system | Network performance can affect video reliability. |
Which should you choose?
For a simple desk-based production, USB cameras and software are usually the easiest starting point. HDMI is more suitable when you need dedicated hardware switching, while NDI can come in handy when you need to reduce cabling.
What Equipment Do You Need for Multi-Camera Live Streaming?
The hardware you need for a multi camera live stream setup also depends on the number of cameras and the way you plan to switch between them. Let's look at the complete multicam setup equipment.
Cameras and Mounting
For a general setup, you can start with:
- Two or more cameras for multiple shot angles
- Tripods, wall mounts or other fixed mounts
- Continuous power or sufficiently large batteries
- USB, HDMI or network video output
- Matching or compatible resolution and frame-rate settings
- Consistent exposure and white balance
A PTZ camera such as the OBSBOT Tail Air can be particularly useful for multi-camera workflows because of its pan, tilt and zoom functions. This means you can easily change framing without physically moving the camera.
Other features of this camera include:
- 4K video: Delivers sharp, consistent image quality during multi-camera streaming.
- AI tracking: Automatically keeps the presenter or subject in frame, helping maintain consistent shots when multiple cameras are covering the same production.
- NDI: Sends video over the network, making it easier to bring multiple cameras into the same streaming workflow without running a separate video cable from each camera.
- Wireless connectivity and Ethernet connectivity: Lets you go fully cable-free or fall back to a stable wired link when necessary.
- Optional adapter: Provides additional connection options, such as Ethernet, for integrating Tail Air into a wired multi-camera production.
- Micro HDMI output and USB-C connectivity: Lets you connect Tail Air to a hardware switcher or computer, giving you more ways to combine its feed with other cameras during a live stream.
Switching and Encoding
You'll also need a way to choose which camera is live and send that feed to your platform. A multiview monitor is a great starting point, but that's not all you'll need.
- For a software-based workflow, a computer running OBS or the OBSBOT Talent can switch between camera sources.
- For HDMI cameras, however, you can use capture cards or a hardware video switcher such as the Elgato Cam Link 4K or Blackmagic ATEM Mini Pro.
Audio and Network
Your video quality means little if the sound is unclear or the connection drops. Plan for:
- One clear primary audio source (a mixer, USB microphone, or lavalier mic).
- A wired internet connection where possible, or a strong, uncongested Wi-Fi network.
- Enough upload bandwidth for your target stream resolution and bitrate, with some headroom to spare.
How to Set Up Multi Camera Live Streaming Step by Step
Now that you probably have your gear in place, here's how to live stream with multiple cameras starting from the planning stage.
Step 1: Assign a Role to Each Camera
Each camera should serve a distinct purpose. For example, in a three-camera setup:
- Camera 1: This can be for a fixed wide shot or safety shot. It should show enough of the scene to remain useful if another camera fails.
- Camera 2: Medium shot of the main speaker, presenter, or subject.
- Camera 3: Close-up or detail shots for demonstrations, products, audience reactions or other details.
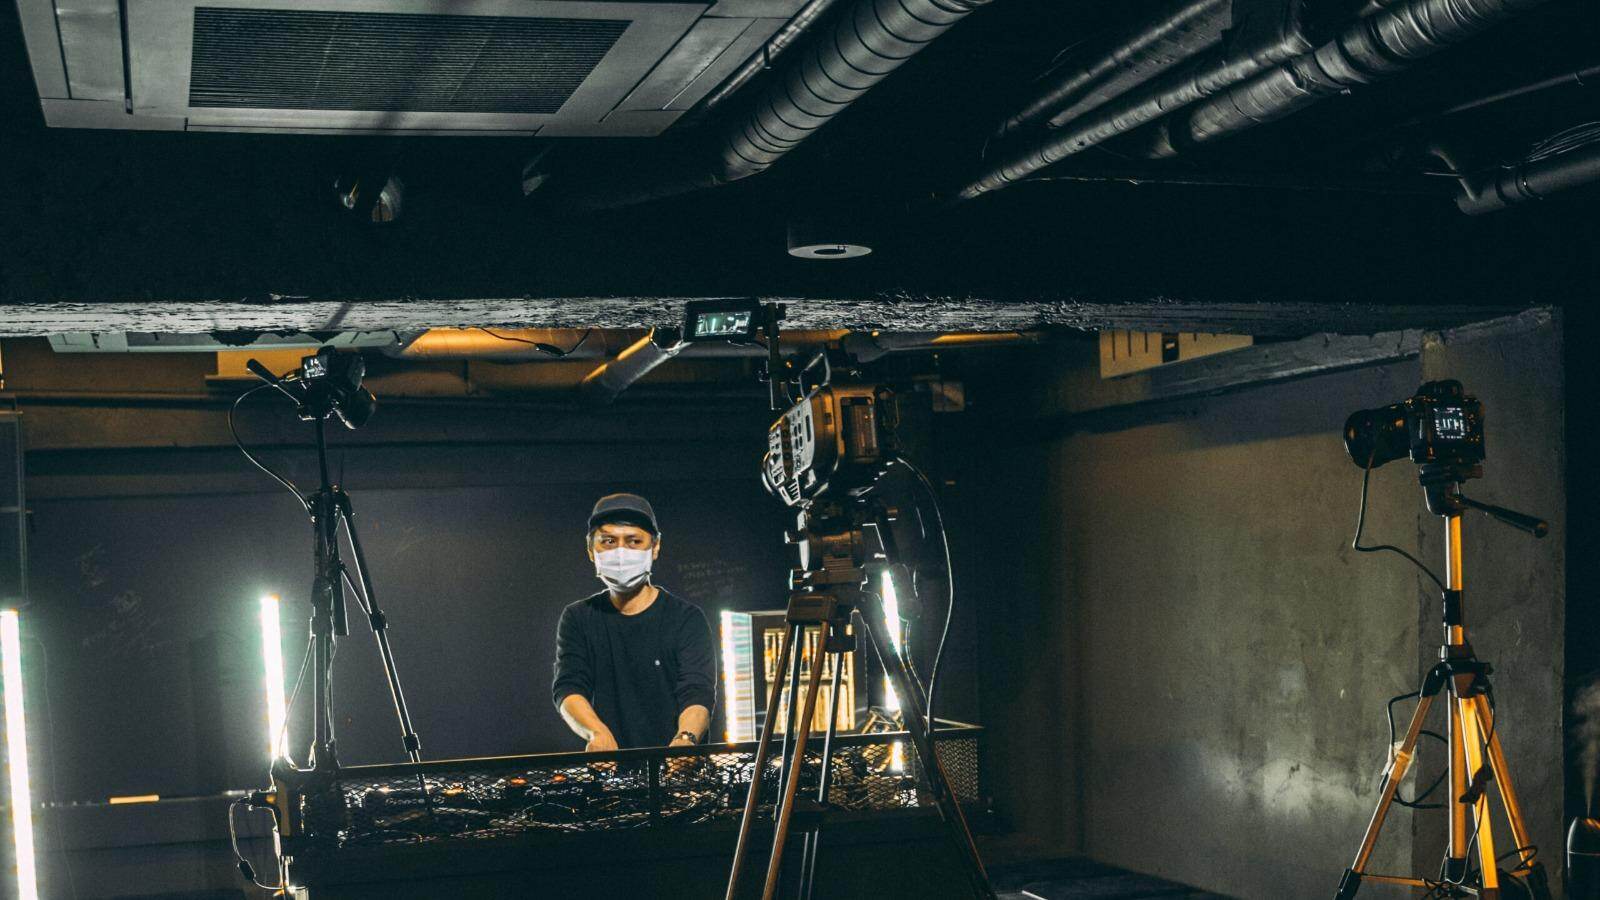
When positioning your cameras, ensure that each one adds something different to the broadcast. Avoid positioning cameras in a way that two or three angles look almost identical.
Step 2: Match Resolution, Frame Rate, and Color
The cameras do not necessarily need to record at their highest possible resolution. For example, if your final stream is 1080p, recording every camera at 4K is not required just to keep the cameras consistent.
Instead, focus on consistency:
- Use the same output frame rate whenever possible.
- Match resolution where practical.
- Set consistent white balance.
- Keep exposure levels reasonably similar.
- Avoid automatic white balance that keeps changing during the broadcast.
- Check that cameras use the same aspect ratio.
Step 3: Connect the Cameras
Once again, there are three common connection methods for a multi camera streaming setup.
- USB: Connect USB cameras directly to the computer and add them as video sources in your streaming software.
- HDMI: Connect HDMI cameras to capture cards or a hardware video switcher before sending the video to your production system.
- NDI/IP: Connect network-compatible cameras to the same local area network (LAN) and add their feeds to compatible production software.
However, bandwidth issues are common with multi-camera USB setups. Several USB cameras can share the same USB controller even when they are plugged into different physical ports, which forces them to compete for the same limited bandwidth.
This can become a common point of failure in multi-camera live streaming.
Step 4: Add and Preview Every Camera Feed
After connecting the cameras:
- Add each camera to your software or hardware switcher.
- Give every source a clear, descriptive name (Wide, Medium, Close).
- Check the picture from each source before going live.
- Enable Multiview or a Preview/Program layout so you can see the next shot before it's on air.
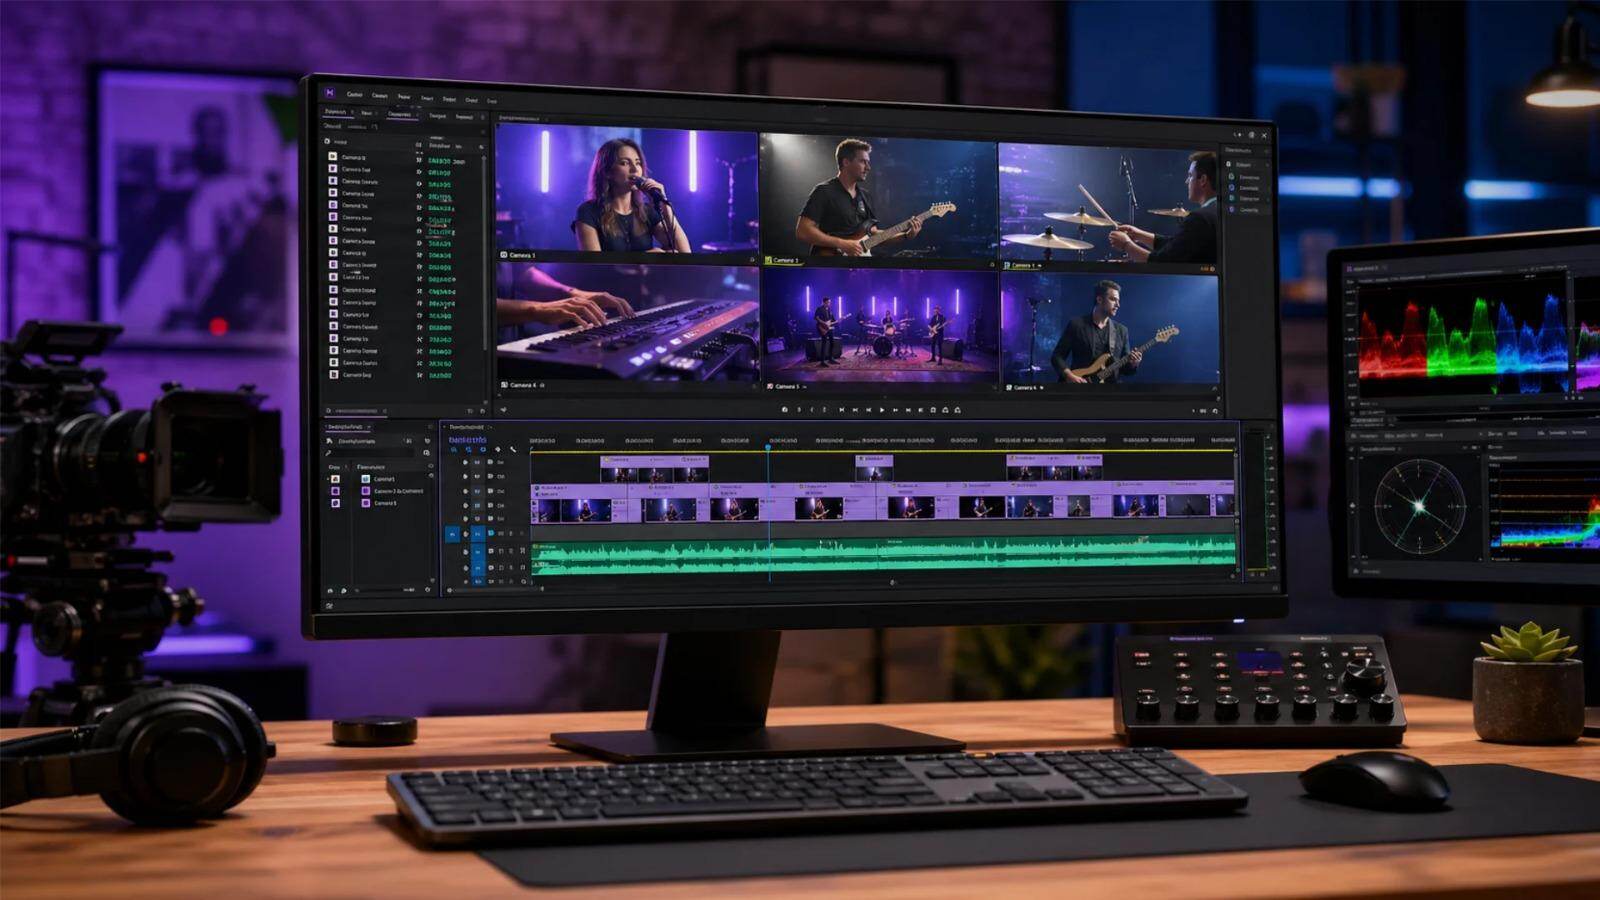
- Confirm the upcoming angle looks right before switching to it.
If you're using OBS Studio specifically, the process of adding and syncing several camera sources has its own set of settings. For a detailed walkthrough, see our guide on how to add and record multiple cameras in OBS.
Step 5: Set Up Scenes and Camera Switching
Create scenes based on how you want the broadcast to look. The most common layouts for multi camera setups include:
- Full-screen camera: One camera fills the entire output.
- Picture-in-picture: One camera appears inside another shot.
- Split-screen: Two or more camera feeds appear simultaneously.
- Wide-to-close transition: Move from the safety shot to a closer angle when more detail is useful.
You can switch manually using your mouse, keyboard hotkeys, Stream Deck or a dedicated remote control. For productions using dedicated hardware, you can also compare the best video switchers for live streaming when choosing a suitable switching system.
Step 6: Choose One Main Audio Source
Do not automatically mix the microphones from every camera. Instead:
- Select one primary microphone or mixer input as your main audio source.
- Disable audio capture on any camera you're not using for sound.
- Check for video latency between cameras and apply an audio sync offset if needed.
- Run a quick clap test (Clap once in front of the camera and confirm the sound lines up with the visual across every angle).
Step 7: Configure and Test the Live Output
Choose your streaming destination, such as YouTube, Facebook Live, Twitch or a custom RTMP server. Then before the actual broadcast:
- Set the stream title and privacy settings.
- Enter the required stream key or account connection.
- Start a private or unlisted test stream.
- Watch for dropped frames.
- Check audio levels and synchronization.
- Test every camera transition.
- Confirm that the wide camera can be used as a fallback.
How to Build a Wireless Multi-Camera Stream with OBSBOT Tail Air Streaming Camera
For small teams and mobile productions, the biggest challenges are often cabling and camera operation rather than image quality. A wireless workflow can reduce the number of physical connections while giving the operator more freedom over camera placement.
OBSBOT Tail Air supports wireless and Ethernet NDI connections, as well as HDMI and USB-C workflows. Let's explore each of them.
Option 1: Tail Air + Obsbot Live
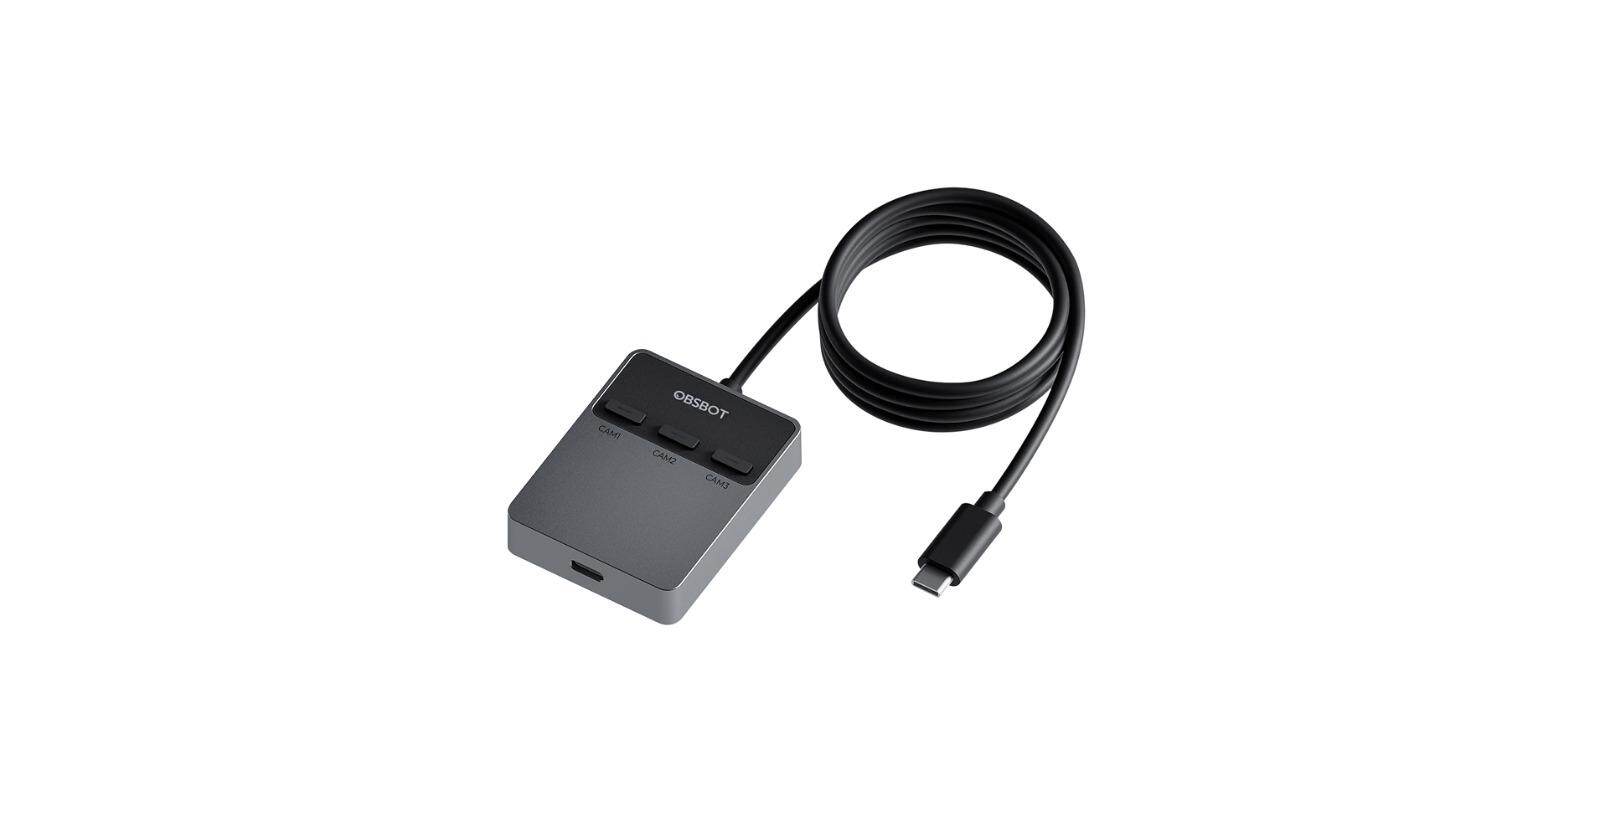
The Obsbot Live app turns your phone or tablet into a mobile multi-camera streaming studio. To get started:
- Connect up to three Tail Air units to the app.
- Then select each camera as a live source.
- Switch between them directly from the screen.
- Put the app in pairing mode, then triple-click the power button on each Tail Air until it connects.
For the full setup walkthrough, see the OBSBOT wireless multi-cam connector tutorial.
Option 2: Tail Air + NDI + OBS
For a computer-based multiple camera live streaming workflow with NDI streaming:
- Connect each Tail Air to the same network.
- Enable NDI output on the camera and add it as an NDI source inside OBS.
- Repeat for each additional Tail Air you're running.
- Once all feeds appear in OBS, arrange them into scenes and switch between them as normal.
This removes the need to run a separate HDMI cable from every camera to the computer. Wired Ethernet can also provide a more stable network connection when the environment allows it.
Option 3. Tail Air + HDMI Switcher
The Tail Air can also output video through its Micro HDMI port. This makes it possible to integrate the camera into a traditional HDMI production workflow. To do this:
- Connect each Tail Air's Micro HDMI output to its own input on the switcher.
- Confirm every camera appears correctly on the switcher's monitor outputs.
- Then use the switcher's controls to select which feed goes live as the program output.
- Repeat this wiring for each additional camera you're adding to the rig.
This option is useful when you already have an HDMI-based production system and want to add compact PTZ cameras without changing the entire workflow.
FAQs About Multi-Camera Live Streaming
A few questions usually come up when individuals and teams plan their first multiple camera live streaming setup. Here are quick answers to the most common ones.
Can I live stream with two cameras?
Yes. Two cameras are enough to create a basic multi-camera production. You can use two USB cameras with software such as OBS, two HDMI cameras with capture devices or a switcher, or network-compatible cameras using an IP or NDI workflow.
But remember to start with a wide shot and a secondary angle so you always have a reliable fallback.
Do I need a video switcher for multi-camera streaming?
No. A hardware switcher is not always necessary. You can connect two USB cameras directly to a computer and switch between them in software such as OBS.
Hardware switchers become more useful when working with several HDMI cameras, professional events, dedicated operators or productions that need fast physical switching and monitoring.
Can OBS handle multiple cameras?
Yes. OBS can receive multiple camera sources and let you build scenes around them. You can create separate scenes for wide, medium and close-up shots, then switch between them during the broadcast.
However, ensure that your computer has enough processing and USB bandwidth to handle the number of active camera sources.
Can multi-camera live streaming be wireless?
Yes. Network-based cameras can send video wirelessly when they support a suitable protocol such as NDI. The OBSBOT Tail Air, for example, supports NDI over wireless and Ethernet connections.
While wireless setups reduce cabling, you still need to consider network stability in the production.
Can I record each camera separately while streaming?
Yes, you can. However, this depends on your cameras and production system. You can stream a switched program feed while recording individual camera feeds separately when the cameras or software support independent recording.
If you are using OBS, this guide on how to record multiple OBS scenes separately provides more detail on handling separate recordings.
Conclusion
A successful multi-camera live streaming setup comes down to choosing the right connection method, giving each camera a clear role, and testing video, audio, and network stability before going live. Whether you use USB, HDMI, or NDI, careful planning will help you deliver smoother transitions, and a more professional broadcast.
















