How to Use NDI in OBS: DistroAV Setup, Sources, and Troubleshooting
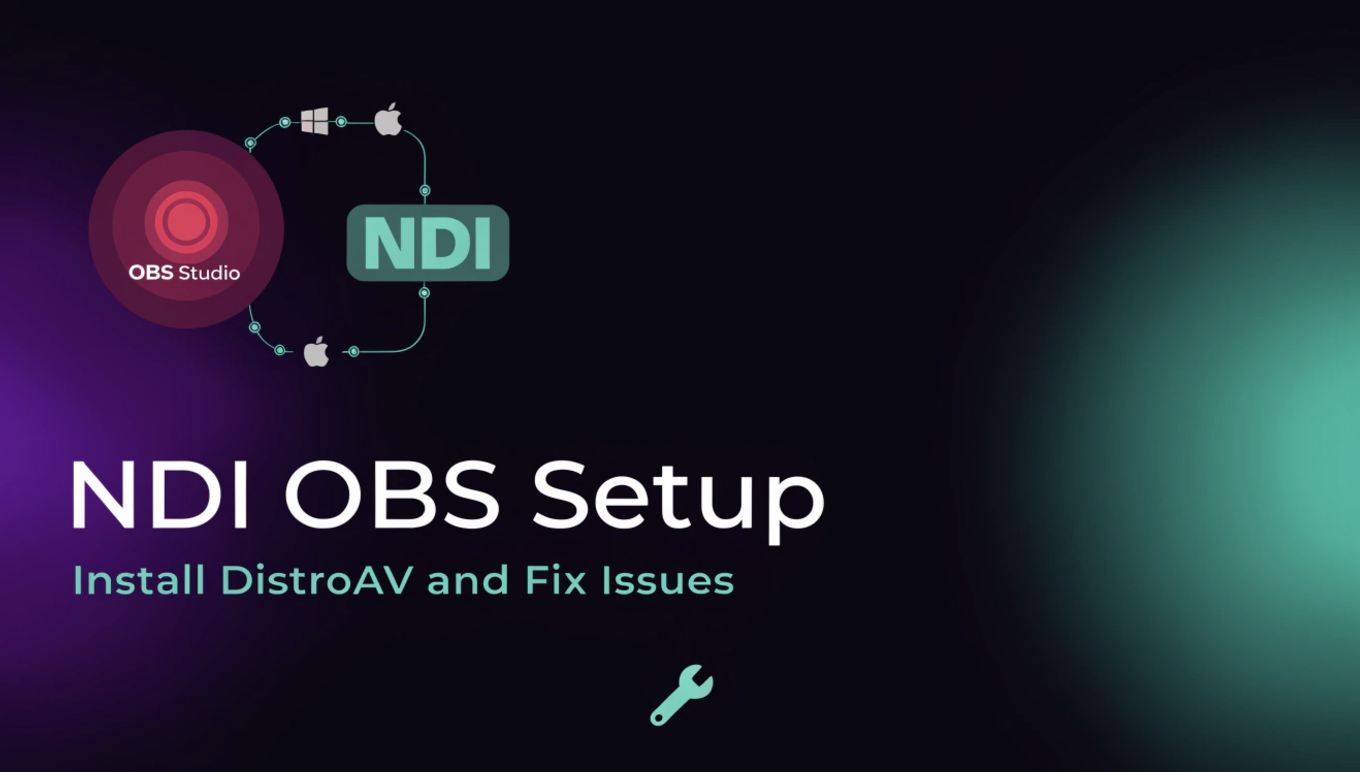
An older NDI OBS tutorial may tell you to install OBS-NDI. The current plugin is called DistroAV, and it needs a compatible NDI Runtime before OBS can see network video sources. That naming change is only one reason setup guides can feel confusing. This guide shows you what to install, how to receive or send an NDI feed, and what to check when the source list is empty, the picture is black, or the video stutters.
Choose the NDI Workflow You Need in OBS
DistroAV gives OBS three main NDI functions: receive an NDI source, send the complete OBS output, or send one selected source or scene. Choose the function that matches your goal before changing network or video settings.
| What You Want to Do | DistroAV Feature | What You Do in OBS |
|---|---|---|
| Add an NDI camera or another computer | NDI Source | Add an NDI Source in the Sources panel |
| Send the live OBS program | Main Output | Enable Main Output in DistroAV settings |
| Send the OBS preview | Preview Output | Enable Preview Output |
| Send one source or scene | NDI Filter | Add a dedicated NDI output filter |
DistroAV was previously named OBS-NDI. It is a third-party OBS plugin rather than a built-in OBS feature. The plugin provides the controls inside OBS, while the NDI Runtime supplies the system libraries it needs. NDI Tools is a separate, optional package containing useful applications such as Studio Monitor and Screen Capture.
If you need a plain-language explanation of NDI High Bandwidth, NDI HX2, NDI HX3, cameras, and network-based video, read this guide to NDI cameras. For this setup, the important point is simpler: the sender and OBS receiver must support compatible NDI formats and be reachable across the network.
How to Install DistroAV and NDI Runtime
Install OBS first, DistroAV second, and the required NDI Runtime before testing. Close OBS during installation, remove the old OBS-NDI plugin, and use versions listed as compatible by the current DistroAV release.
Before You Install
- Update OBS Studio to a version supported by the DistroAV release you plan to install.
- Remove older OBS-NDI files. OBS-NDI and DistroAV are separate plugins and should not run together.
- Choose the normal installer for your operating system unless you intentionally run OBS in portable mode.
- Plan to restart OBS after installing both the plugin and Runtime.
Install DistroAV on Windows
- Close OBS Studio.
- Open Windows Installed Apps and uninstall an older OBS-NDI or DistroAV version if the release notes tell you to remove it.
- Download the current Windows x64 installer from the official DistroAV download page.
- Run the installer. Use the portable ZIP only if your OBS installation is also portable.
- Install the supported NDI Runtime using the link in the DistroAV installation guide.
- Restart OBS. If the plugin still does not appear, restart Windows once.
- In OBS, click Sources > + and look for NDI Source. Then open Tools and confirm that the DistroAV NDI settings are present.
Windows Package Manager is an alternative for users comfortable with a terminal. The official commands are winget install --exact --id DistroAV.DistroAV for the plugin and winget install --exact --id NDI.NDIRuntime for the Runtime.
Install DistroAV on macOS
- Close OBS and remove an older OBS-NDI plugin before migrating.
- Download the current macOS universal
.pkgfrom the DistroAV release page. - Run the package. If macOS blocks it, open System Settings > Privacy & Security and allow the signed installer.
- Install the supported macOS NDI Runtime or libNDI package.
- Restart OBS and verify that NDI Source appears in the Sources menu.
- Open System Settings > Privacy & Security > Local Network and allow OBS to access the local network.
On Linux, installation depends on how OBS was installed. Flatpak users should install the matching DistroAV Flatpak and allow Avahi access. Debian or Ubuntu users can use the current .deb package. NDI HX decoding on Linux also requires FFmpeg 7 or newer, so follow the current Linux notes instead of copying Windows commands.
How to Add and Send NDI Sources in OBS
Start with one source at 1080p before building a multicamera production. A small test makes it much easier to separate plugin problems from network congestion or computer performance limits.
Add an NDI Camera or Computer as a Source
- Turn on the NDI camera, application, or source computer.
- Confirm that the sender and OBS computer are connected to the same production network.
- On the receiving computer, open OBS and go to the Sources panel.
- Click +, choose NDI Source, and create a new source.
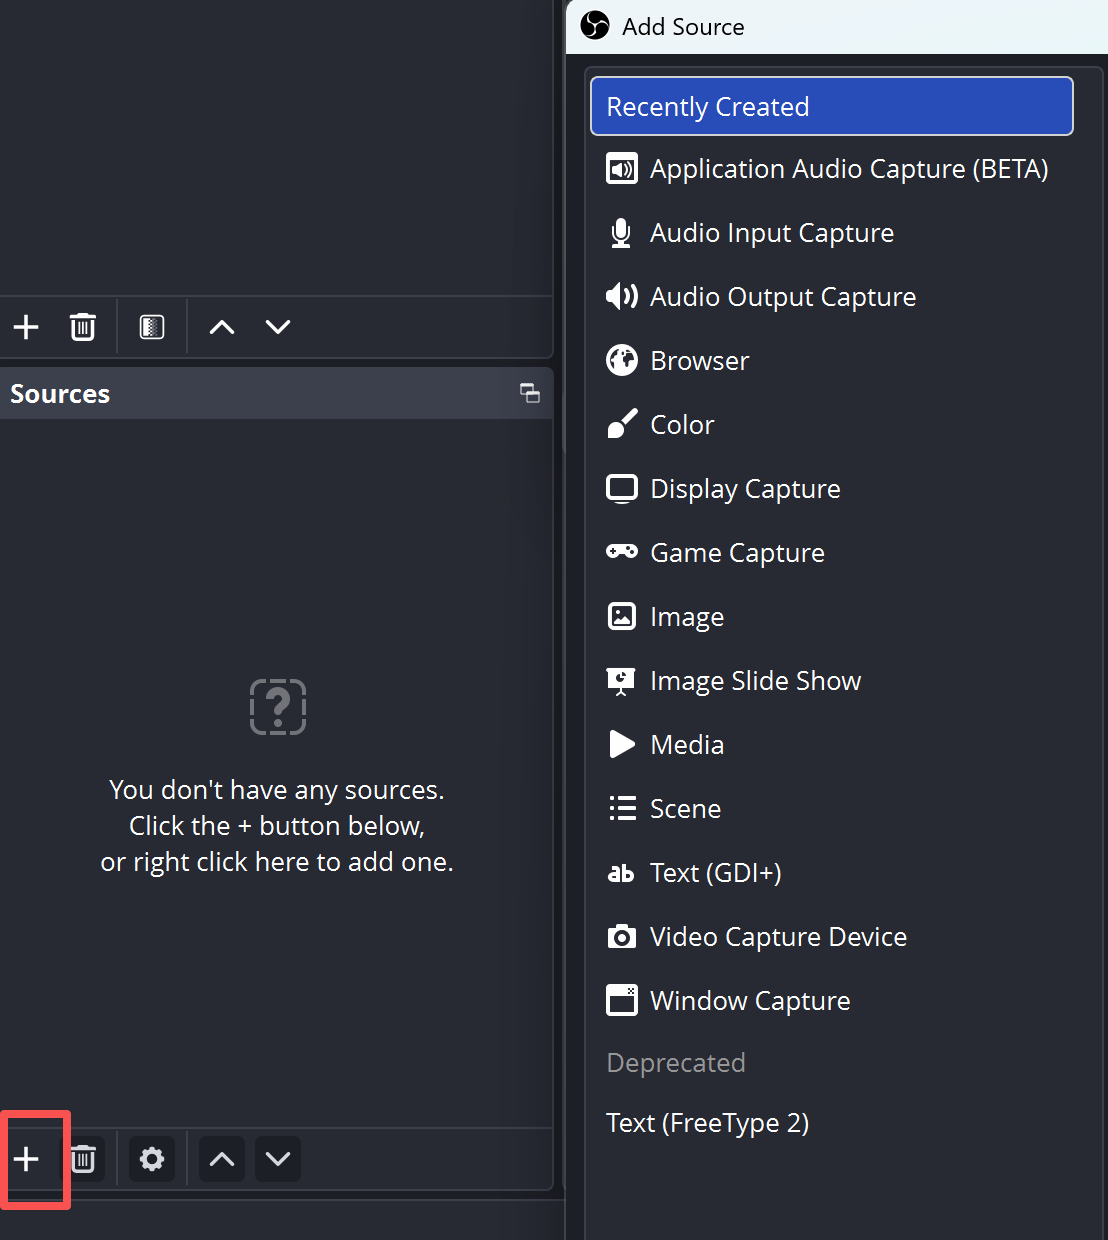
5. Open the Source Name menu and choose the device or application you want to receive.
6. Confirm that picture and audio arrive, then resize the source inside the OBS canvas.
If the sender does not appear, open NDI Studio Monitor on Windows or the equivalent NDI video monitor on macOS. If the monitor cannot see the source either, troubleshoot discovery, permissions, or the network before changing OBS scenes.
Use an NDI-Enabled OBSBOT Tail 2 with OBS
An NDI-enabled OBSBOT Tail 2 can send 4K video to OBS across the production network while its AI tracking follows a presenter, performer, teacher, or speaker. Its PTZR design also supports horizontal or vertical production, and PoE+ can simplify permanent Ethernet installations. In OBS, you add it through DistroAV just like another NDI Source, then combine it with graphics, media, audio, and other cameras. Confirm that your camera is an NDI Edition or has eligible NDI activation; OBSBOT changed its NDI availability model in 2026.
Send the Full OBS Program to Another Computer
- On the sending computer, open Tools > DistroAV NDI Settings.
- Enable Main Output.
- Give the output a short, unique name such as
Studio-Program. - On the receiving computer, add a new NDI Source and select that output name.
- Switch scenes on the sending computer and verify that the receiving feed follows the Program output.
Main Output sends what viewers would normally see. Preview Output sends the scene prepared in OBS Studio Mode before it goes live. Use different names so an operator does not select the wrong feed.
Send Only One Scene or Source
Use an NDI Filter when another computer needs one camera, graphic, media source, or scene instead of the complete program. Right-click the source or scene, open Filters, add the DistroAV NDI output filter, and give it a clear network name. This is useful for confidence monitors, overflow rooms, isolated recordings, or a second production computer that needs a clean camera feed.
Set Up Your Network for Stable NDI Video
Use wired Gigabit Ethernet for production whenever possible. NDI is video moving across a data network, so a connection that feels fast for web browsing can still become unstable when several live video streams run at once.
- Connect senders, receivers, and the network switch at 1 Gbps or faster.
- Keep the devices on the same subnet for the simplest automatic discovery.
- Avoid guest Wi-Fi, client isolation, and networks that prevent devices from seeing each other.
- On Windows, mark the production network as Private and allow OBS through the firewall.
- On macOS, allow incoming connections and Local Network access for OBS.
- Disable VPN software during a local test because it may send discovery traffic through the wrong adapter.
- Use short, unique NDI names so operators can distinguish cameras, computers, previews, and program feeds.
The official NDI bandwidth guidance says a typical 1080p60 NDI High Bandwidth stream can use up to about 150 Mbps. Several sources, previews, and receivers can therefore consume a meaningful share of a 1 Gbps link. NDI HX uses more compression, but it still needs a stable network and sufficient decoding performance. Review the current NDI bandwidth guidance when planning a larger system.
| Connection | Suitable Use | Main Limitation |
|---|---|---|
| Wired Gigabit Ethernet | Shows and multicamera production | Requires cable planning |
| Wi-Fi | Testing and light mobile setups | Variable latency and packet loss |
| Public Internet | Remote workflows using NDI Bridge or another WAN method | Normal LAN discovery is not enough |
If you are expanding beyond one network camera, map the cameras, switch, audio, graphics, recordings, and program destinations before adding more sources. This multicamera live streaming guide provides a wider production checklist.
Fix Common NDI OBS Problems
Troubleshoot in layers: plugin, source, network, and performance. Do not reinstall everything before identifying which layer has failed.
| Problem | Likely Cause | Check First |
|---|---|---|
| NDI Source is missing | Plugin did not load | OBS, DistroAV, and Runtime versions |
| Source list is empty | Discovery is blocked | NDI Monitor, subnet, firewall, and VPN |
| Source appears but video is black | Sender, decoder, or format issue | Open the source in NDI Monitor |
| Runtime not found | Runtime is absent or incompatible | Install the Runtime required by your plugin release |
| Plugin fails after migration | Old OBS-NDI conflict | Remove all old plugin files |
| Video stutters or freezes | Network or decoding overload | Test wired 1080p with one source |
| Video works but audio is missing | Sender or OBS audio routing | OBS Audio Mixer and source properties |
Use This Diagnostic Order
- Verify the plugin loaded. If NDI Source and DistroAV settings are absent, check software versions and the NDI Runtime.
- Remove old OBS-NDI files. DistroAV reports a conflict when it detects the previous plugin.
- Test the sender in NDI Monitor. If it is missing there, the problem is not your OBS scene.
- Check network permissions. Allow OBS through the Windows firewall or macOS Local Network settings.
- Disable VPN and unnecessary adapters. A VPN or extra virtual network adapter can interfere with discovery.
- Reduce the test. Use one wired 1080p source before adding 4K, Wi-Fi, multiple receivers, or several cameras.
- Read the OBS log. Open Help > Log Files > View Current Log and search for DistroAV error codes.
FAQs About NDI and OBS
Is DistroAV free?
Yes. DistroAV is an open-source OBS plugin. You can download it from the official GitHub release page without purchasing the plugin, although some cameras or applications may require a separate NDI license for their own NDI output.
Do I need NDI Tools or only the NDI Runtime?
DistroAV requires the compatible NDI Runtime. The full NDI Tools package is optional, but Studio Monitor, Screen Capture, Access Manager, and Bridge can be useful for testing and advanced workflows.
Can OBS send and receive NDI at the same time?
Yes. OBS can receive NDI sources while DistroAV sends Main Output, Preview Output, or filtered sources. Watch CPU, GPU, and network usage because each extra encode, decode, sender, and receiver adds load.
Does NDI carry audio as well as video?
Yes. NDI can carry video and audio across the same network connection. If the picture arrives without sound, check that the sender includes audio and confirm that the NDI source appears in the OBS Audio Mixer.
Can NDI work over the internet?
Normal NDI discovery is designed around networked production environments and is simplest on a local network. For remote sites, use a purpose-built method such as NDI Bridge, or use another WAN contribution protocol rather than expecting a local NDI Source menu to discover a device across the public internet.
Conclusion
A reliable NDI OBS setup starts with matching OBS, DistroAV, and NDI Runtime versions. Install them in that order, prove one source works in NDI Monitor and OBS, then add outputs, cameras, or additional computers. If something fails, check the plugin before the source, the source before the network, and the network before performance tuning. That order solves problems faster than repeatedly reinstalling every component.