Church Live Streaming Equipment Guide: Gear, Setups, and Costs
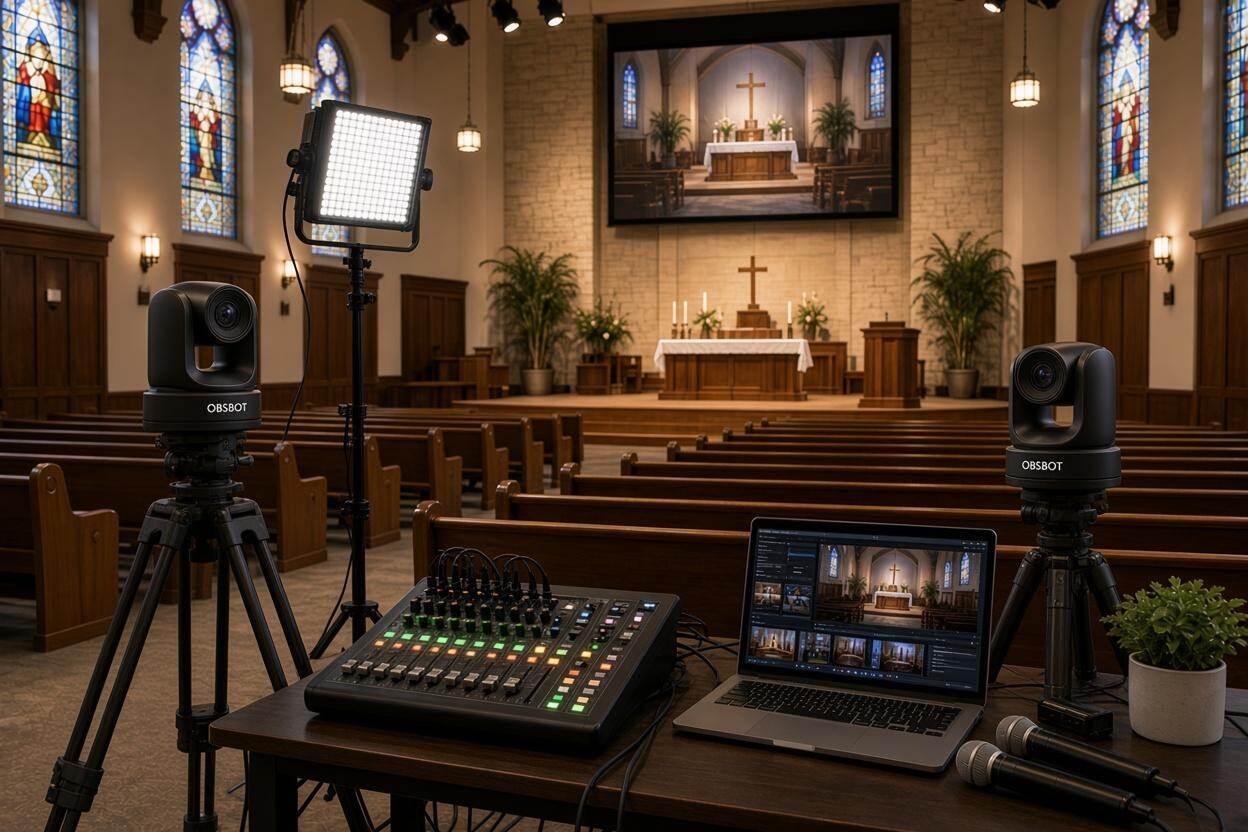
A reliable church live stream needs more than a camera. Your church live streaming equipment should cover video, audio, switching, encoding, internet, lighting, power, monitoring, and a streaming platform.
In this guide, we will explore what each component does and walk through three practical live streaming setups for small churches, small-to-midsize sanctuaries, and larger worship productions.
Church Live Streaming Equipment Checklist
Your sanctuary, production goals, and the number of people available to operate the stream all determine the right equipment for you. Start with the essentials, then add equipment as your production becomes more demanding.
| Component | Price Range | What It Does | Starter Choice | When to Upgrade |
|---|---|---|---|---|
| Camera | $250-$1200+ | Captures the stage, pulpit, or worship team | One fixed wide-angle camera | Add a PTZ camera for multiple angles |
| Microphones + mixer feed | $0-$300+ | Provides sermon and worship audio | Existing church mixer | Add dedicated streaming mix |
| Audio interface | $50-$150 | Sends mixer audio to computer | Basic USB interface | Upgrade for more inputs/control |
| Capture device/switcher | $20-$500+ | Selects which camera feed is live and gets it into your software or hardware chain | Single HDMI capture device | Hardware switcher once you run 2+ cameras |
| Computer/encoder | $500-$1500+ | Encodes and sends the stream to your platform | A recent laptop running OBS | Dedicated encoder or production system |
| Wired network | $20-$150+ | Sends the stream online | Ethernet connection to the router | Upgrade network capacity/redundancy |
| Streaming software/platform | $0-$50+ / month | Manages and publishes the stream | OBS + YouTube/Facebook | Add production or multistream tools |
| Lighting | $0-$500+ | Improves exposure and faces | Existing sanctuary lighting | Supplemental LED panels or fixtures |
| Cables/adapters | $30-$200+ | Connects equipment | Correct HDMI/USB/Ethernet cables | Long-run SDI/network cabling |
Essential Church Video Equipment, Explained
Every successful church live stream setup consists of pieces of equipment working together. Here's what actually matters when you're choosing gear for a sanctuary, not a studio.
Cameras
The quality of your final stream is determined by the camera you're using. However, you need to consider more than just its resolution when making a choice.
When comparing options, look for:
- Low-light performance: During a dimly lit worship session or evening service, a camera with good low-light performance should keep the pastor or worship team visible without excessive noise, muddy details, or an overly dark image.
- Dynamic range: The camera should handle bright stage lighting without losing too much detail in darker areas.
- Zoom and focal length: For a camera at the back of a sanctuary, 5x optical zoom or more can provide useful reach for clear sermon close-ups. Larger sanctuaries may need longer zoom ranges.
- Clean output: HDMI, SDI, USB, or network output makes integration easier.
- Continuous operation: Check power options, heat management, and recording or streaming limits.
- Control: Presets, remote control, tracking, and PTZ functions can reduce the need for a dedicated operator.
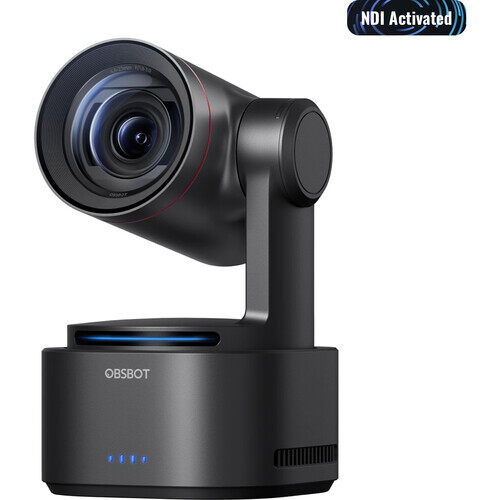
One wide camera is usually enough for a small church that simply wants to show its entire live service. Once your live stream church service includes a worship team, a stage that spans 20+ feet, or a pastor who moves around, two or three angles become more useful.
For a small-to-midsize church, the OBSBOT Tail 2 is one option to consider. Currently listed at US$1,199, it combines 4K up to 60fps, 5x optical zoom, AI Tracking 2.0, low-light technology, tally, and HDMI, SDI, USB, Ethernet, and NDI connectivity.
The OBSBOT Tail 2 AI tracking can follow a speaker without needing someone to continuously operate the camera, which can be useful when volunteers are handling other parts of the church video production workflow.
If you're still deciding which camera to use, check out the best cameras for church live streaming for different church setups.
Audio
If something has to be done very right in a livestream, it is the audio. Your church may already have the necessary audio systems such as microphones and mixing consoles, which are often used for in-person services.
Typical church audio video systems include:
- Microphones for capturing voices of the pastor, singers, or other speakers.
- The church mixer that combines and balances those sources.
- An audio output from the mixer to feed the streaming system.
- The computer, switcher, or encoder that combines that audio with the video.
- Headphones for the operator to check the final mix.
However, do not simply assume that a mix will work online because it works for the room. The congregation's room sound and the livestream need different priorities.
For clear speech, keep the pastor's microphone loud enough to stay above the music without clipping or distortion. Keep music levels balanced rather than letting instruments overpower vocals, and use headphones to check how the mix sounds to online viewers.
Switching, Capture, Encoding, and the Computer
Your production system determines how camera feeds, slides, graphics, and audio become one livestream. There are two practical approaches.
Software-first
A computer runs OBS Studio or another production application. HDMI cameras can connect through capture devices, while compatible network cameras can send feeds over NDI.
This approach works well when you want to switch between:
- Sermon close-up
- Worship wide shot
- Scripture slides
- Announcement videos
- Lower-thirds
- Pre-service graphics
Note that OBS Studio's requirements vary with resolution, frame rate, encoder, and scene complexity, so avoid assuming that any computer of a particular age will work. OBS recommends using its Auto-Configuration Wizard to determine suitable settings for your hardware.
You can also refer to this guide on OBS settings for streaming when configuring your stream.
Hardware-first
In this workflow, a video switcher is used to produce one program feed from multiple HDMI or SDI sources. A dedicated hardware encoder then sends that program to the streaming platform.
This can reduce the number of tasks handled by the computer. It is useful for churches that want a dedicated production position with repeatable controls.
Network and Streaming Destination
Another thing you shouldn't compromise on when choosing church live streaming equipment is internet connection. For your primary streaming computer or encoder, use a wired Ethernet connection whenever possible. Wi-Fi can be useful as a backup or for control devices.
Before a service:
- Test the upload connection.
- Run a private stream that only you can view.
- Then check the audio and video.
- Watch the platform's stream-health indicators.
- Confirm that the stream remains stable for several minutes.
You can stream to platforms such as YouTube Live, Facebook Live, Instagram Live or Twitch, depending on where your congregation already watches services.
Lighting, Mounts, Cabling, Power, and Monitoring
People often overlook supporting gear until it fails in the middle of a church livestream. This includes:
- Lighting: Even, consistent light on the platform reduces how hard the camera has to work in low light. Place lights in front of the pastor or worship team, slightly above eye level and angled toward the stage, while avoiding direct light behind them that can create silhouettes.
- Mounts: A tripod works for a single fixed camera; PTZ units are often better mounted on a wall or ceiling so they're out of the walking path and always ready.
- Cabling: HDMI is fine for short runs; SDI holds up better over long cable distances common in larger sanctuaries.
- Power protection: Consider a UPS to provide backup power for the computer, network equipment, and encoder. A basic surge protector also prevents one bad outlet from destroying your setup.
- Monitoring: Having a spare laptop that shows the program output helps a volunteer operator catch problems before viewers do.
Three Church Live Stream Setups by Budget and Team Size
You won't find two churches using the same setups for their Sunday livestreams. It usually depends on their budget and the number of volunteers available.
These three levels reflect how most churches actually grow their audio visual equipment for churches over time.
Starter Setup: Best for a Small Church
For a small church live stream setup, you can start with:
- One camera
- An existing microphone and mixer system
- A capture device
- A computer running OBS Studio
- Wired internet
- A tripod
- Headphones
- A streaming platform
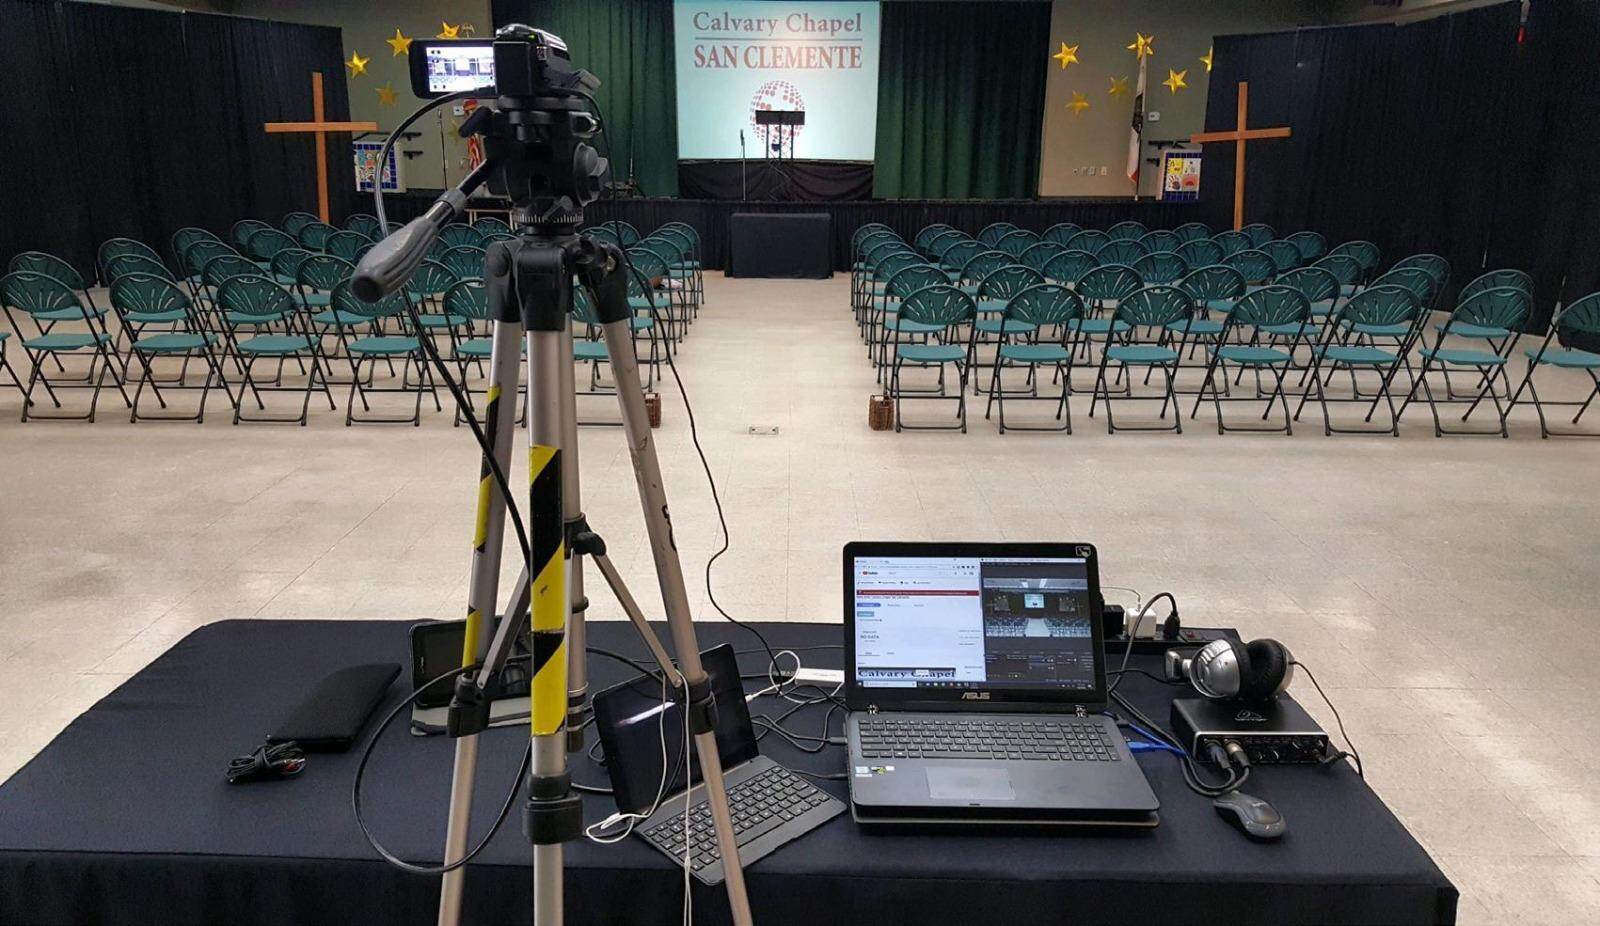
The main advantage of this setup is simplicity. One person can conveniently monitor the stream without managing several cameras. However, a single camera cannot simultaneously provide a wide worship shot and a tight sermon angle.
If the church already owns a suitable camera and computer, you may only need to upgrade the audio connection and internet reliability instead of replacing all the equipment.
One PTZ Camera: Best for a Small-to-Midsize Sanctuary
A single PTZR camera such as the OBSBOT Tail 2 live production camera can make a valuable addition to a basic church video streaming setup. For a midsize church, your setup can include:
- An existing audio system
- A computer or compatible hardware production device
- A tripod or permanent mount
- Wired Ethernet
- A streaming platform
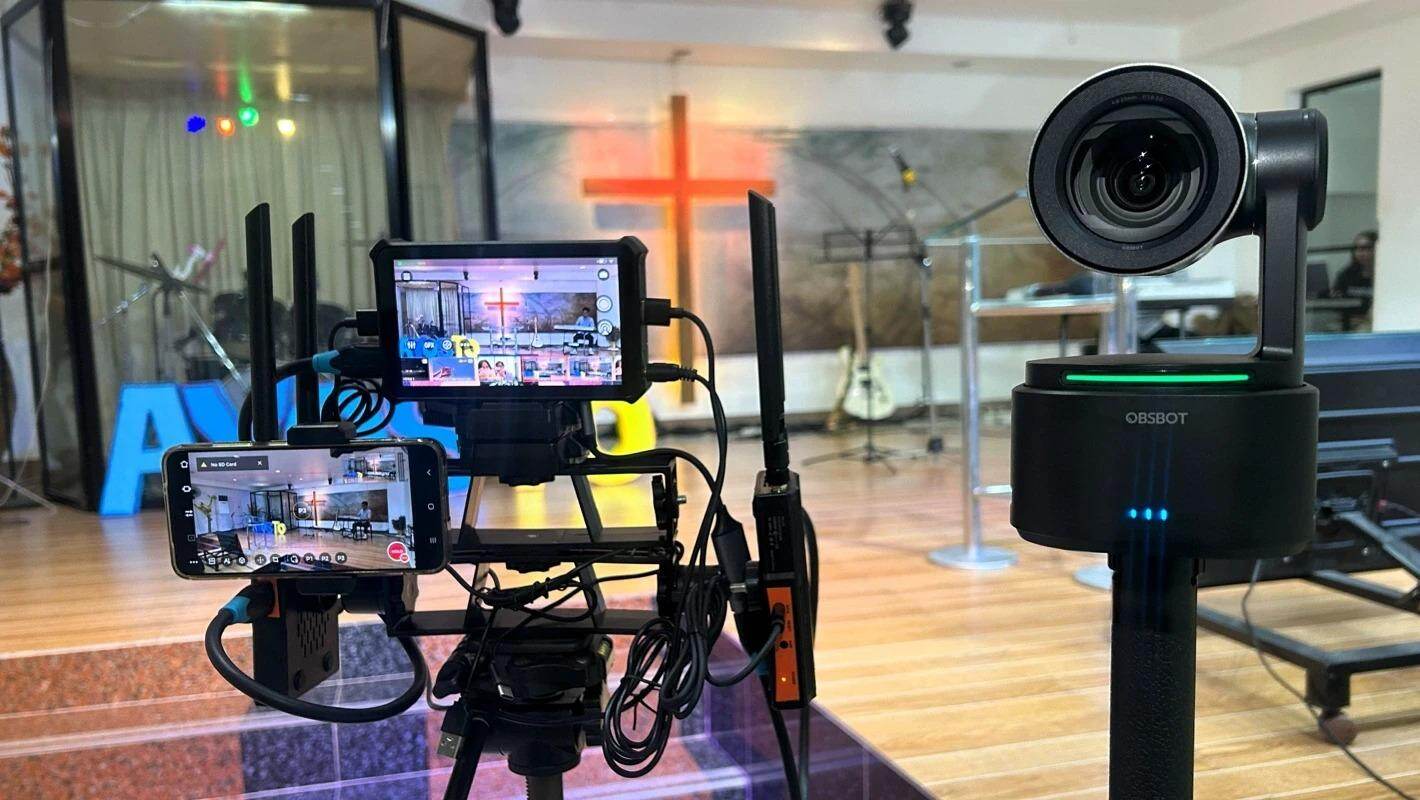
The Tail 2 is particularly useful for churches that want a more automated camera workflow without adding another camera operator.
This setup reduces manual camera work, allowing the volunteer to prepare tracking and framing before the service begins. But there's a tradeoff. One camera can only give you one visual source at a time.
If you need simultaneous wide, close, and audience coverage, you will need to add another camera to the setup.
Multi-Camera Production Setup: For Larger Sanctuary or Worship Team
For a larger church, you may need to combine:
- Two or three cameras
- A video switcher or software production system
- A dedicated streaming computer or encoder
- The church's audio mixer
- Presentation graphics
- Monitoring displays
- Wired networking
- Appropriate cabling
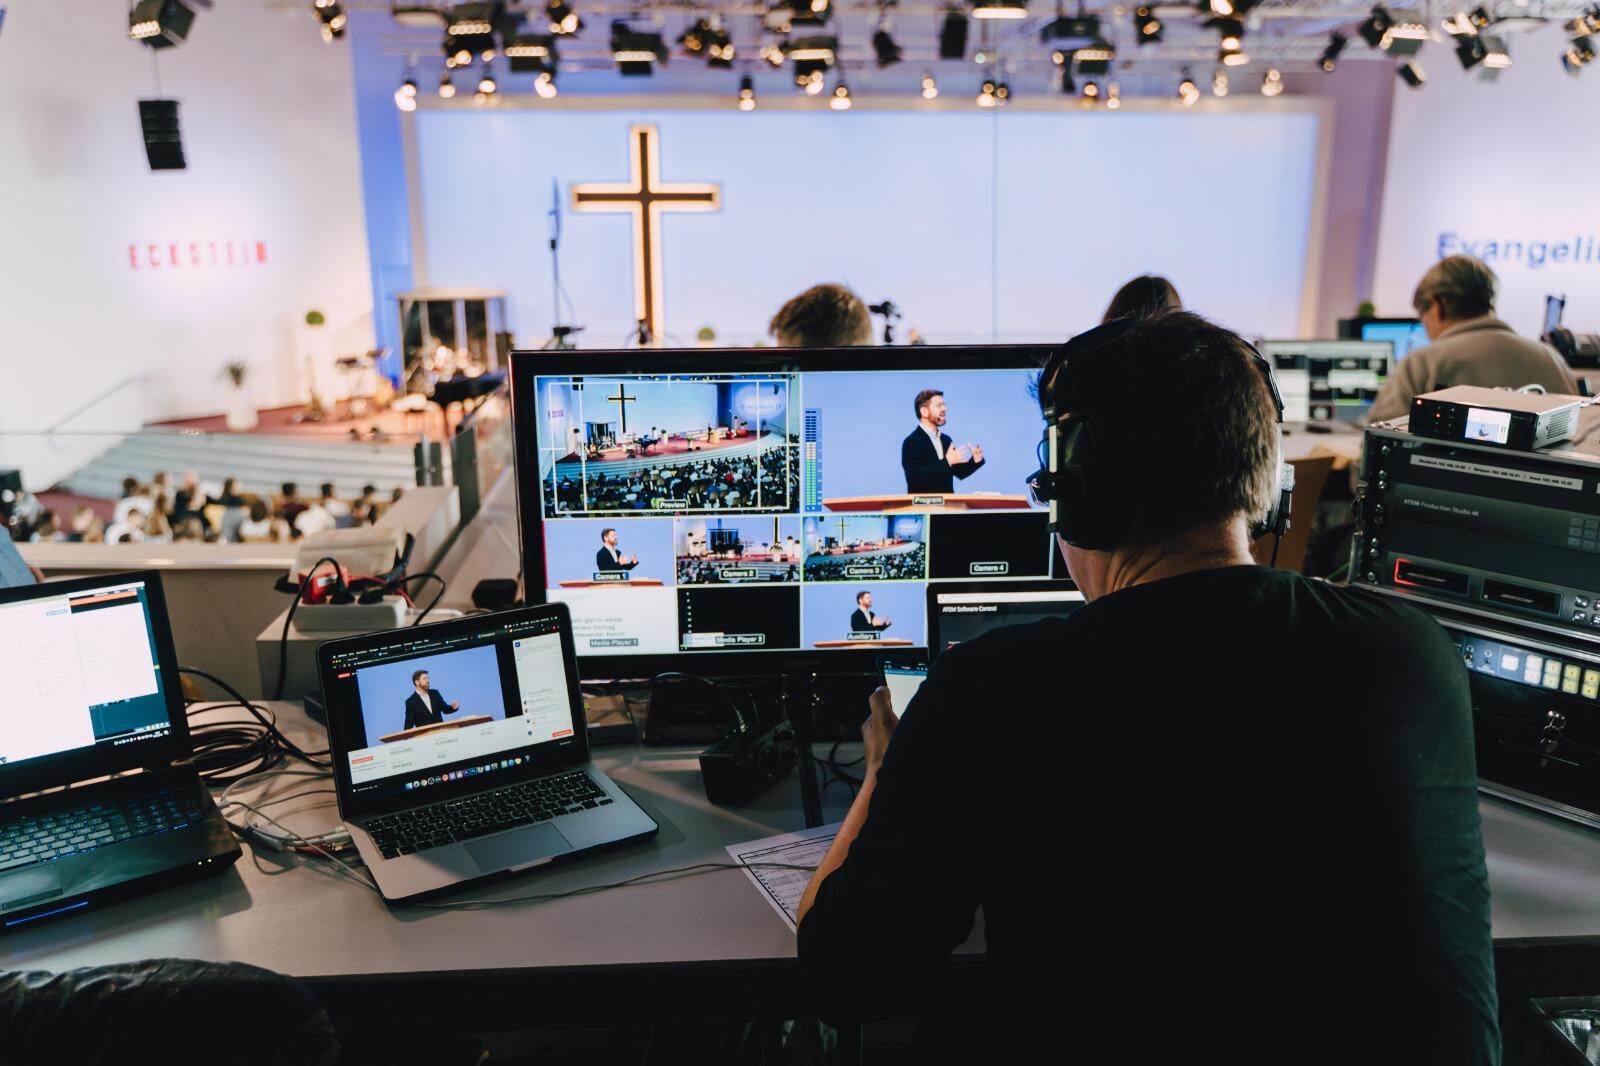
With a setup like this, the operator gets more creative control where they can change shots as the service progresses. That way, they don't have to rely on a fixed composition. But it can be a bit complex too. More cameras mean more cables, configuration, and monitoring.
For a detailed look at camera connections, switching, and multi-camera workflows, see OBSBOT's guide to multi-camera live streaming.
How to Set Up Church Live Streaming Equipment
After assembling your church video recording equipment, the live stream setup generally follows the same order every time.
Set up the camera
Place the camera on a stable tripod with a clear view of the pulpit and worship area. Position it around eye level or slightly above the audience.
Adjust framing, focus, white balance, and exposure. For PTZ cameras, save presets for the pulpit, worship team, and wide stage.
Connect the audio
Connect an output from the church mixer to your audio interface, capture device, switcher, or computer. If possible, use a separate auxiliary output for the livestream. Adjust the pastor's microphone and music levels, then monitor the final mix with headphones.
Connect video
For one HDMI camera, connect it to a capture device, then connect the capture device to the computer via USB. For multiple cameras, connect each source to your switcher or production software and label them clearly for easy switching.
Add presentation sources
Prepare scripture slides, lyrics, announcement videos, and lower-thirds before the service. Add them as separate sources or scenes in your production software. Create scenes for common parts of the service so the operator can switch between them quickly.
Configure the encoder and stream
Select your video and audio sources in the streaming software or encoder. Set the resolution, frame rate, and bitrate according to your equipment, internet connection, and platform.
Connect your streaming account and run a private or unlisted test stream if available.
Test the complete setup
Run a short section of the service through:
Camera → Audio → Production → Encoding → Internet → Streaming Platform.
Check the stream from another device for clear audio, correct framing, stable video, and working graphics. Test the internet connection before going live.
Save the setup
Document camera positions, cable connections, audio levels, OBS scenes, and encoder settings. Label cables and inputs clearly. Save your production scenes so volunteers do not have to rebuild the setup each week.
FAQs About Church Live Streaming Equipment
Here are quick answers to common questions about audio visual equipment for churches.
How a Church Live Stream Setup Works?
In a church livestream:
- A camera captures the service while the church's audio system provides sound.
- A switcher or computer combines video, audio, graphics, and other sources.
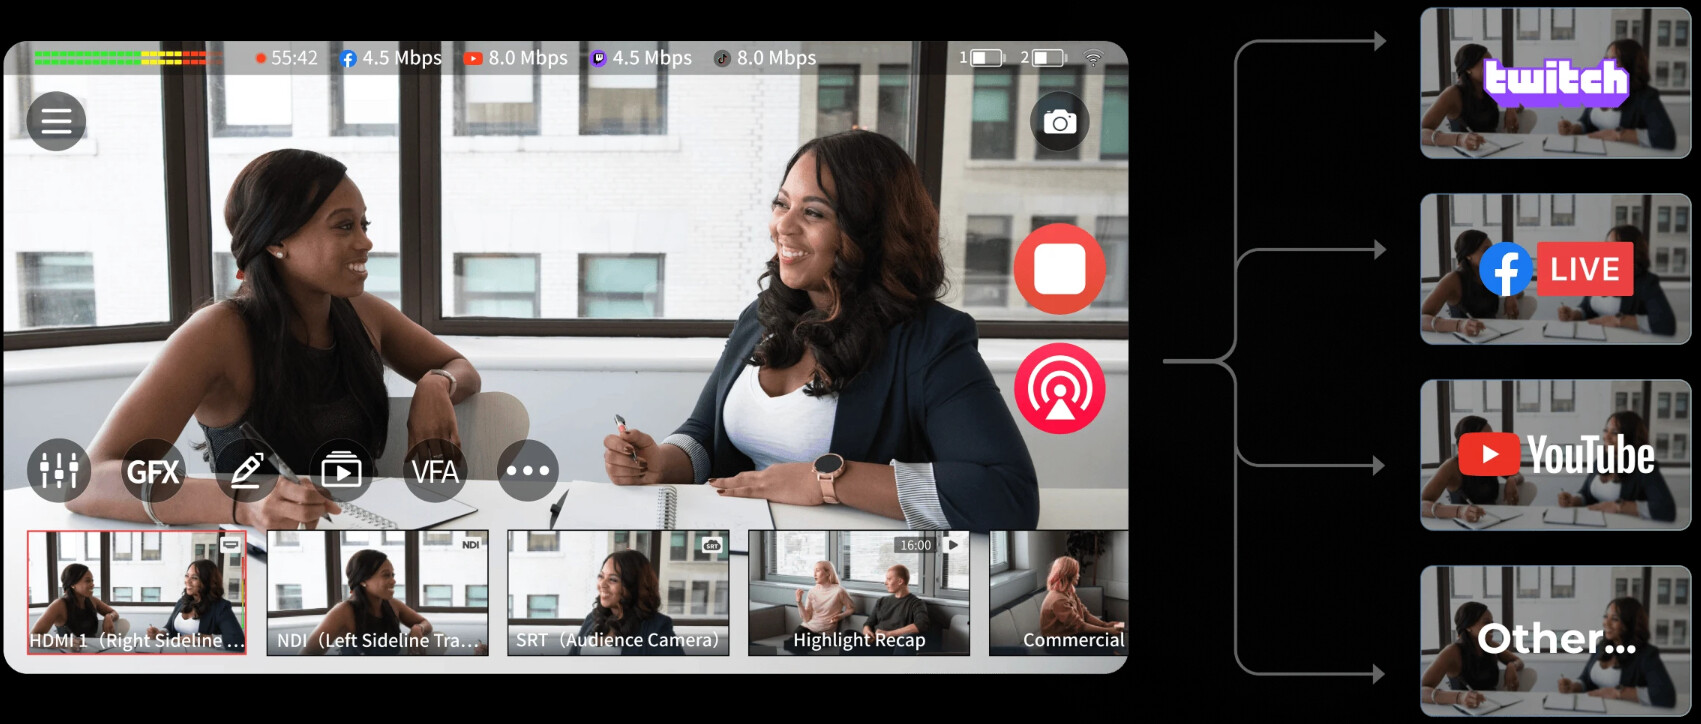
- An encoder compresses the final program and sends it through the internet to a platform such as YouTube Live or Facebook Live.
Is HDMI, SDI, or NDI better for a church?
The right connection depends on your setup and cable distances. HDMI is convenient for shorter connections, while SDI is better suited to longer cable runs and professional video systems. NDI, on the other hand, sends video over a network, making it useful for IP-based setups.
If you're comparing any of these connections for your church, you may want to explore more differences between HDMI, SDI, and NDI first.
How much does a church live stream setup cost?
The cost depends on the size and complexity of the church live stream setup. As a rough equipment budget:
- Starter setup ($300–$1,000): One camera, existing audio equipment, capture device, computer, tripod, and basic accessories.
- One PTZ camera setup ($1,500–$3,000): Depending on the camera, computer or encoder, mounting, audio connections, and accessories.
- Multi-camera setup ($3,000–$10,000+): Depending on the number of cameras, switcher, computer or encoder, cabling, monitoring, and other production equipment.
These are approximate ranges and can be lower if the church already owns equipment such as cameras, computers, mixers, or microphones.
Can a church use its existing sound system for a live stream?
Yes. In many cases, the existing mixer can provide an audio feed for streaming. However, the online mix may need separate adjustment because room sound and livestream audio have different requirements. Also remember to monitor the streaming feed with headphones before going live.
What kind of computer do I need for church live streaming?
There isn't a universal specification or configuration for a church live streaming computer. Your choice should depend on resolution, frame rate, encoder, number of cameras, scene complexity, and the software you're running.
Conclusion
The right church live streaming equipment can make your services easier to broadcast and manage.
When choosing equipment, prioritize your church size, budget, sanctuary, and the media team you have at your disposal.
Start with a simple setup, test every part before going live, and add cameras, better audio, or production tools as your streaming needs grow.