Small Church Setup: Equipment, Setup Guide, and Budget Streaming
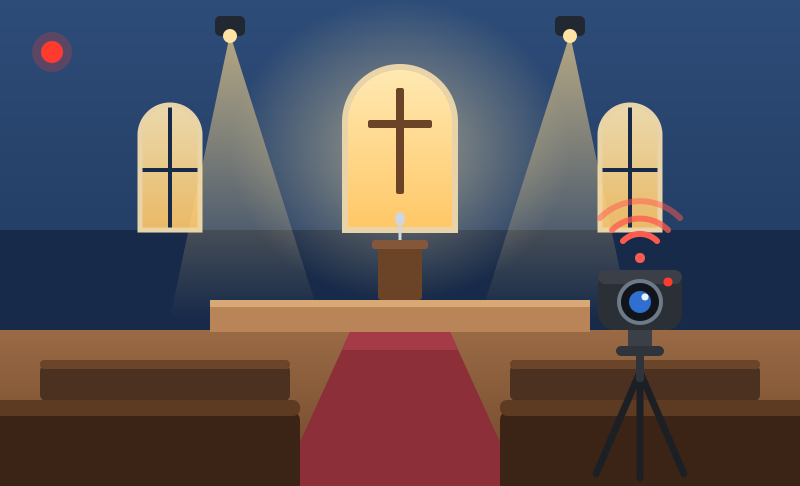
A good small church setup needs four things: clear audio, one reliable camera, simple lighting, and a computer to run it all. You can build it for under $1,000 and run it with one trained volunteer. This guide covers the gear, three budget tiers, and seven steps to get your small church live stream setup ready by Sunday.
Part 1: What Does a Small Church Setup Need? Core Equipment Checklist
Spend in this order: audio first, then video, then lighting. People will forgive average video, but they will not stay for a sermon they can't hear.
Sound System (Mics, Mixer, Speakers)
Audio is the foundation of any small church streaming setup, because the same sound feeds both the room and the stream.
- Microphones: a wireless handheld or headset mic for the speaker, plus one for the lectern or choir.
- Mixer: a 4–12 channel analog or digital mixer is enough for most rooms.
- Speakers: powered speakers are simpler and cheaper than a full PA for 50–250 seats.
- Room acoustics: curtains, rugs, and padded seating cut echo in bare rooms.
Place speakers in front of the microphones, never beside or behind them. This one rule prevents most feedback.
Camera and Video Gear
For small church live streaming equipment, one well-placed camera is enough to start. Choose by room size and operator skill.
| Camera type | Best for | Main trade-off |
|---|---|---|
| PTZ camera | Remote control, one operator | Higher upfront cost |
| Camcorder | Reliable zoom, long services | Needs manual operation |
| Mirrorless/DSLR | Best image quality | Overheating and recording limits on some models |
| Webcam | Tiny budgets, short rooms | Weak low-light performance |
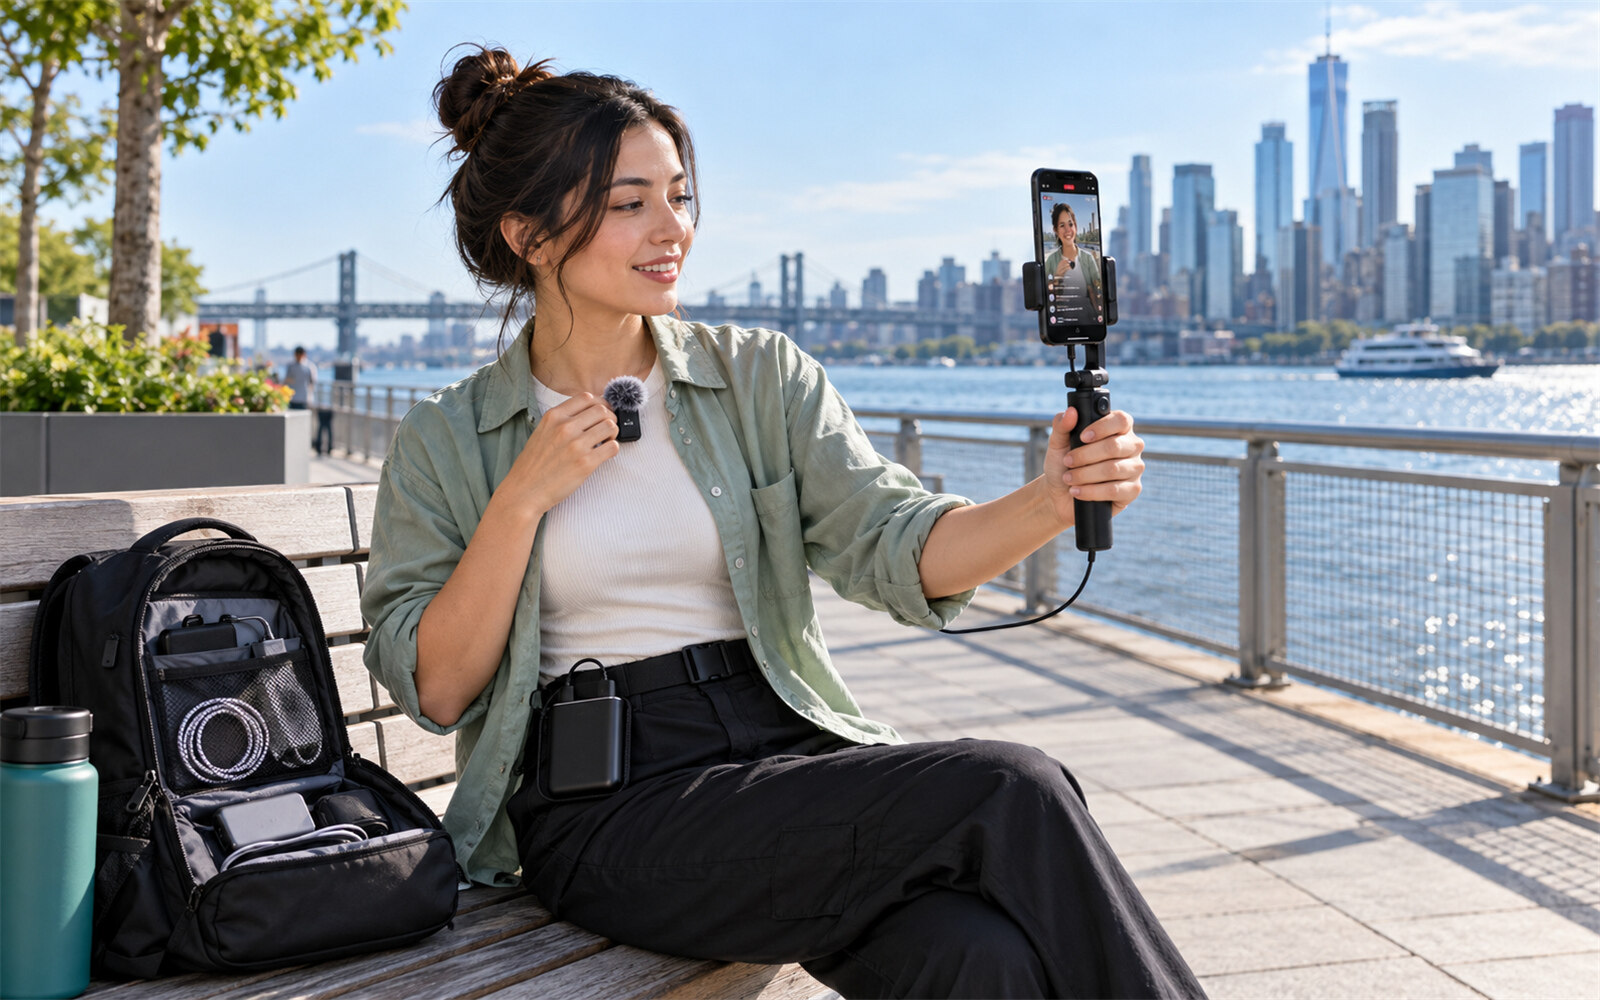
| Smartphone | Testing and under-$100 setups | Needs tripod, external mic, stable power |
When comparing cameras, check these specs:
- 1080p resolution (4K is optional)
- Optical zoom (digital zoom looks soft)
- Low-light performance
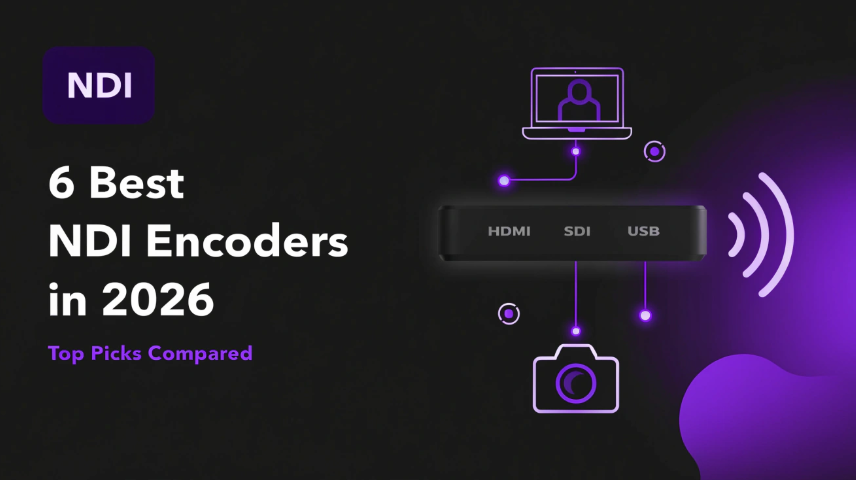
- Output type: HDMI, USB, SDI, or NDI/IP
- Remote control or auto-tracking if you have no camera operator
Mount the camera at the back or center of the room with a clear sightline, on a tripod or a wall mount.
Bonus: One-Operator 4K PTZ Camera for Churches - OBSBOT Tail Air Streaming Camera
If your church has no dedicated camera operator, the OBSBOT Tail Air is a compact 4K PTZ camera that tracks the speaker automatically. One volunteer can set it up, start the stream, and focus on the service instead of the camera.
Key Features:
- Image Quality: 4K UHD video with a 1/1.8" CMOS sensor and 4x zoom
- AI Tracking: automatically follows the pastor or speaker as they move around the stage, with gesture control as a backup
- Streaming Software: works with OBS and other streaming software through USB-C (webcam mode), HDMI capture, or NDI
- Direct Streaming: supports RTMP, so you can send video straight to YouTube, Facebook, or Twitch with OBSBOT Start or OBSBOT Live
- Video Transmission: Micro HDMI output (up to 4K@30fps) and NDI|HX3 over wireless or Ethernet for single or multi-camera setups
- Remote Control: Smart Remote Controller option to control up to three cameras
- Built-in Extras: battery, microSD recording, and a 3.5mm audio input
Streaming Computer, Encoder, and Software
Live streaming equipment for small churches also needs a machine to send the video out.
- Computer: a modern laptop or desktop with a wired Ethernet port. A hardware encoder is an alternative if you want a simpler, appliance-style setup.
- Capture device: an HDMI-to-USB capture card if your camera has no USB video output.
- Software: OBS (free, flexible), StreamYard (browser-based, easy), or a church-focused streaming platform.
- Destinations: YouTube, Facebook, and your church website. Multi-streaming sends to several at once.
- Internet: use wired Ethernet and at least 5–10 Mbps upload for 1080p. Keep a phone hotspot as backup.
Lighting for the Stage and Camera
Lighting affects video quality more than camera resolution. The minimum effective layout is two front wash lights plus one or two back lights. Keep all lights the same color temperature so skin tones look natural, and avoid mixing them with strong window light.
Slides, Lyrics, and Small Extras
- Free or low-cost presentation software for lyrics and sermon slides
- Talkback or intercom for the sound and camera team
- Spare cables, batteries, and a power strip
- Labels on every cable and device
Small Church Setup Budget Tiers
Prices vary by region and brand, so check current costs before buying.
| Tier | What's included | Estimated cost | Best for |
|---|---|---|---|
| Starter | Smartphone or webcam, one wireless mic, basic stand and tripod, free software | Under $500 | Beginners, short services |
| Balanced | PTZ camera or camcorder, small mixer, powered speakers, 2–3 stage lights, capture device | $1,000–$3,000 | Most congregations |
| Upgraded | Two cameras, digital mixer, full lighting, hardware encoder, backup internet | $3,000+ | Larger rooms, multiple services |
What to buy first: audio → camera → lighting → extras.
Part 2: How to Complete Your Small Church Setup, Step by Step
Follow this order and your small church streaming setup will work the first time.
Step 1: Assess the Room and Set Your Goals
Measure seating, ceiling height, and note where power and internet outlets are. Decide whether you need in-room sound only, recording, or a full stream. Also decide who will operate it and how many services you run each week.
Step 2: Set Up Audio First
Place speakers and microphones, set gain levels, and run a soundcheck. To fix feedback, move speakers forward, bring the mic closer to the speaker's mouth, or lower the problem frequency on the EQ. Then send a clean feed from the mixer to your streaming computer.
Step 3: Position and Connect the Camera
Frame the speaker and the stage together. The signal flow is simple:
Camera → capture device/encoder → computer → internet
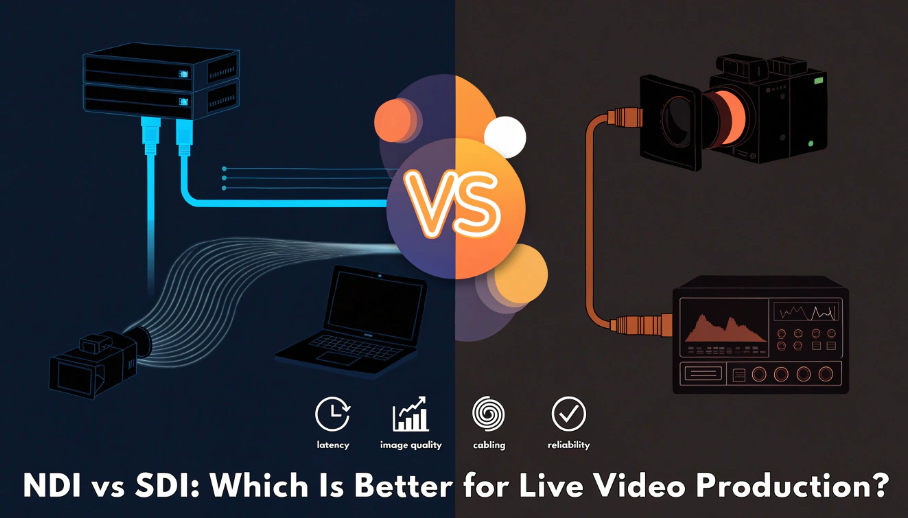
HDMI cables work well up to about 15 meters. For longer runs, switch to SDI or network (NDI) connections.
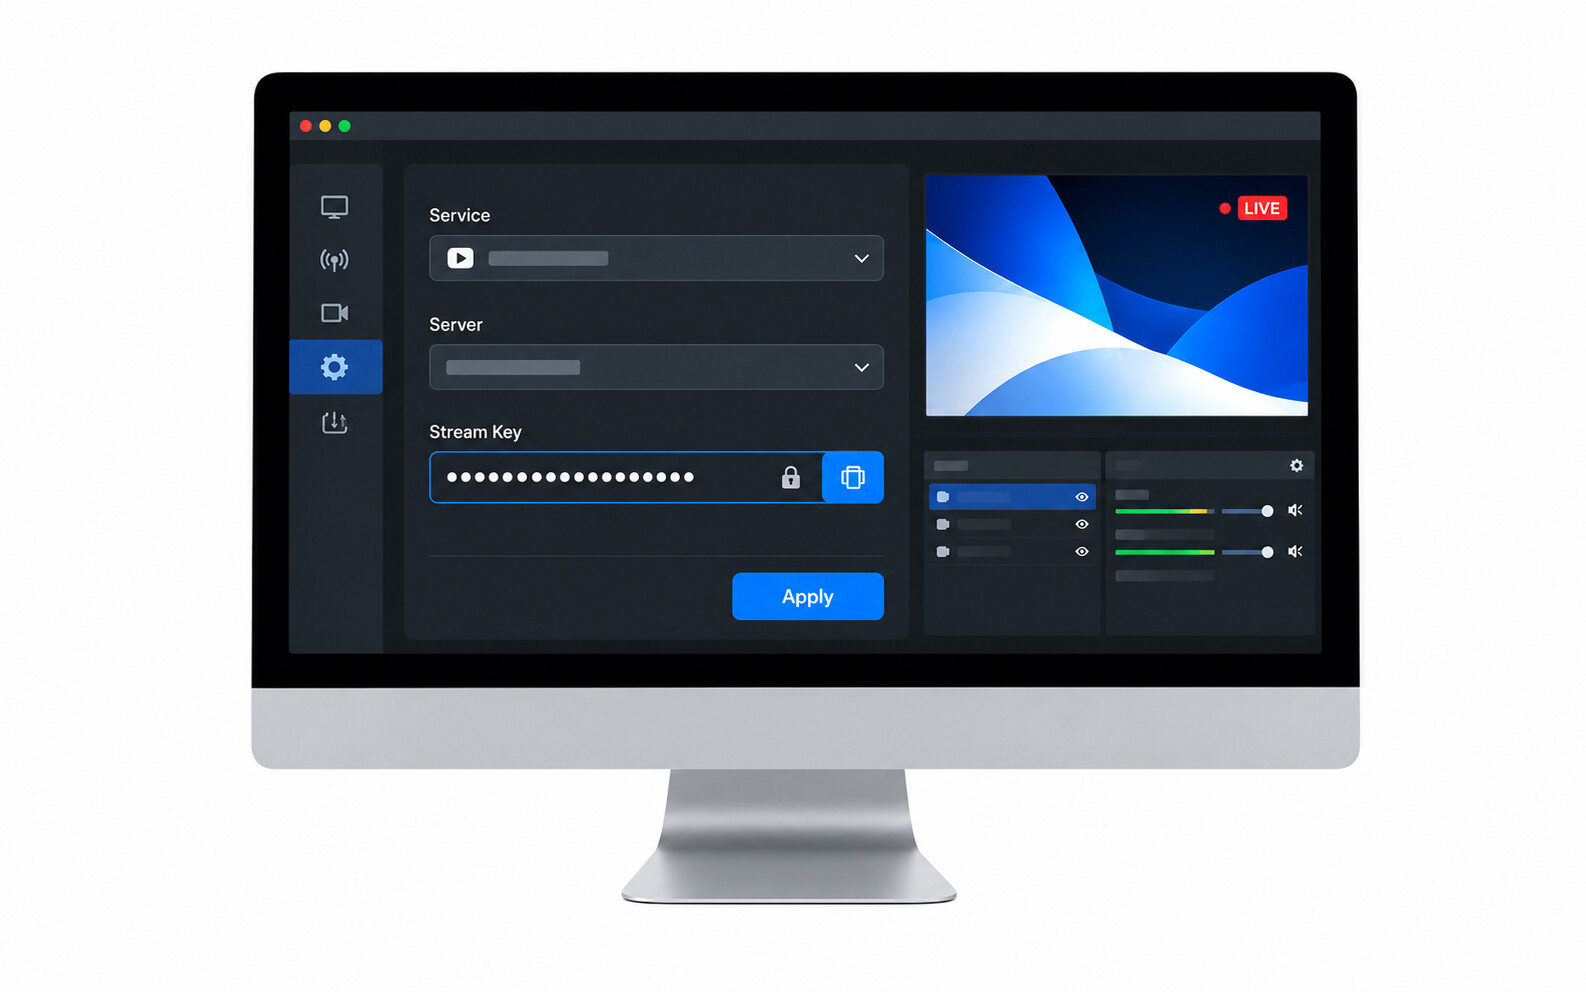
Step 4: Configure the Streaming Software
Create three scenes: a welcome screen, the main camera, and slides. For 1080p streaming, use these starting settings:
- Resolution: 1920×1080
- Frame rate: 30 fps
- Bitrate: 4,500–6,000 kbps
Then connect your streaming account and adjust audio delay if the sound and video drift apart.
Step 5: Add Lighting and Check Exposure
Install the front and back lights, then check the image on camera, not just by eye. Adjust brightness and white balance until faces look natural.
Step 6: Run a Full Test Before Sunday
Do a private test stream and a local recording, then watch the playback for audio and video problems. Check your upload speed, and always record locally as a backup.
Step 7: Train Volunteers and Create a Run Sheet
Give your team a one-page power-on/power-off checklist and a troubleshooting card. A trained backup volunteer matters as much as the gear.
Common Setup Problems and Quick Fixes
| Problem | Likely cause | Quick fix |
|---|---|---|
| Dropped frames or buffering | Weak connection or overloaded CPU | Use Ethernet, lower bitrate, close other apps |
| Echo or feedback | Speakers too close to mics | Reposition speakers, lower gain |
| Quiet or distorted audio | Wrong gain levels | Re-set gain at the mixer, avoid clipping |
| Dark or grainy video | Not enough light | Add front lighting, lower camera ISO |
| Audio out of sync | Video processing delay | Add audio delay in your software |
Part 3: FAQs About Small Church Setup
1. How much does a small church setup cost?
Most small churches spend $500–$3,000. A phone-based starter setup can cost under $500, while a balanced setup with a PTZ camera, mixer, and lighting usually lands between $1,000 and $3,000.
2. What is the minimum equipment to start live streaming a small church?
You need a camera, a clean audio feed, a computer or phone, and a stable internet connection. Add a tripod and one external microphone, and you can go live.
3. What is the best camera for a small church?
A PTZ camera is the best fit for most small churches, because one person can control it remotely. A camcorder is the better choice if you want simple, reliable zoom and don't mind manual operation.
4. Do we need a sound mixer?
Yes, once you have more than one or two microphones. A direct mic-to-camera setup works for a single speaker, but a mixer gives you control over levels and a clean stream feed.
5. Can a smartphone work for a small church setup?
Yes, for starting out. Use a tripod, an external mic, and plug the phone into power. Upgrade when you need better low-light performance and longer run times.
6. How many people do we need to run it?
One trained operator can run a basic setup. Use two people (one for sound, one for camera and stream) as your services grow.
Conclusion
The best small church setup is simple and reliable, not expensive. Prioritize audio, choose a one-camera setup, light it well, and test before every service. Pick a budget tier, buy the first priority item this week, and run a test stream before Sunday.